Push a bit further and make a more worn version of your chrome, as in the reference photo:
chrome_aged_ref

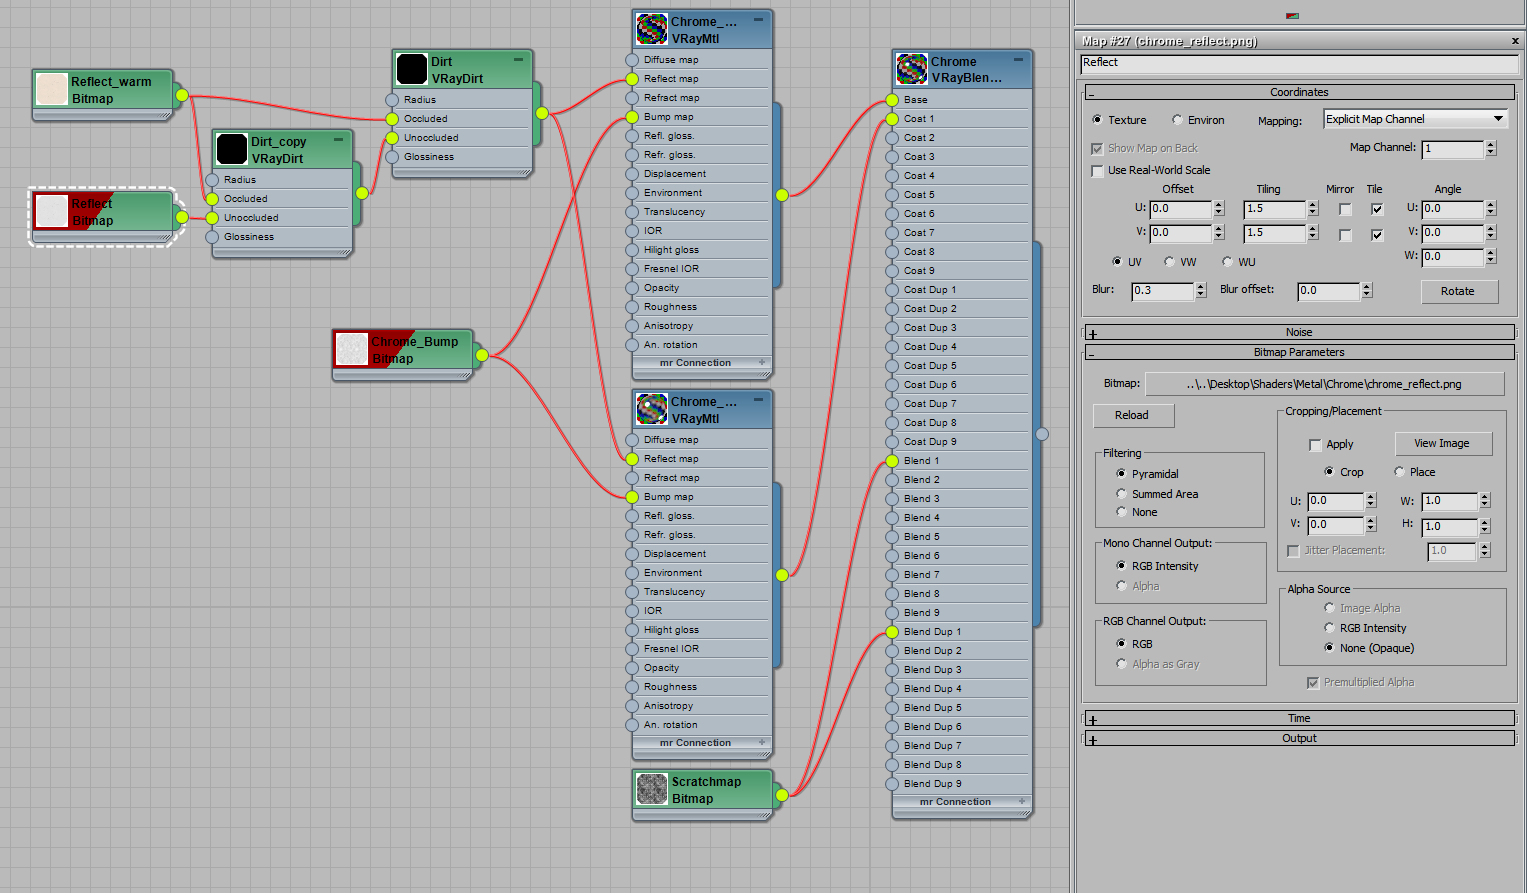
There are three more things to include in the shader:

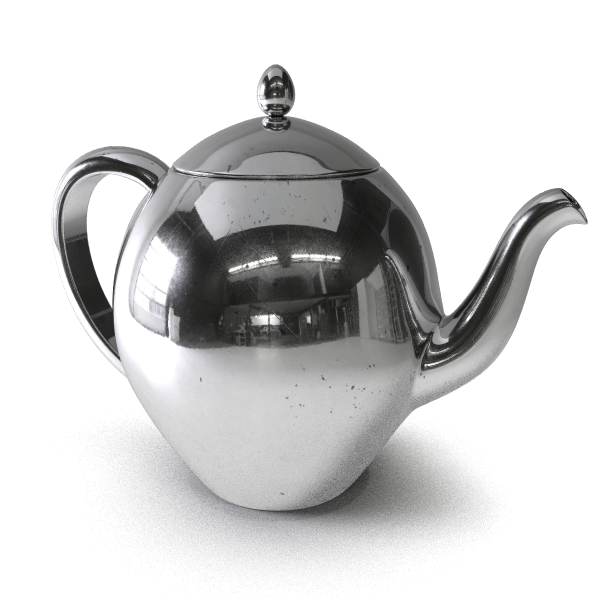
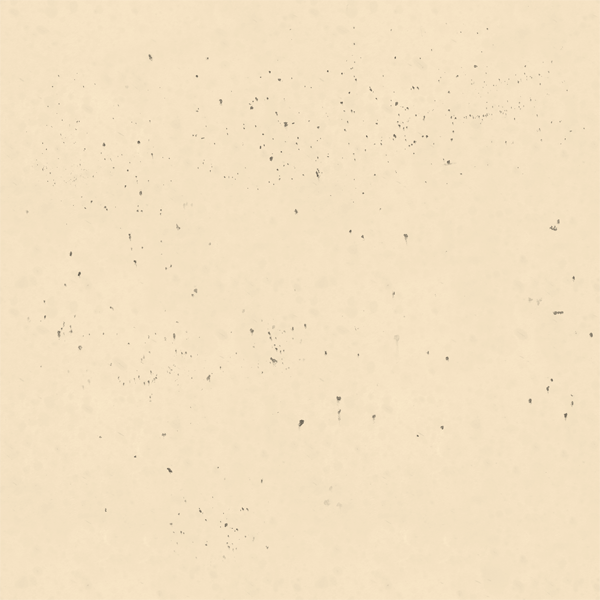
1. Notice that there are some deeper scratches that also catch and reflect the light; a custom Bump map is necessary for that effect.

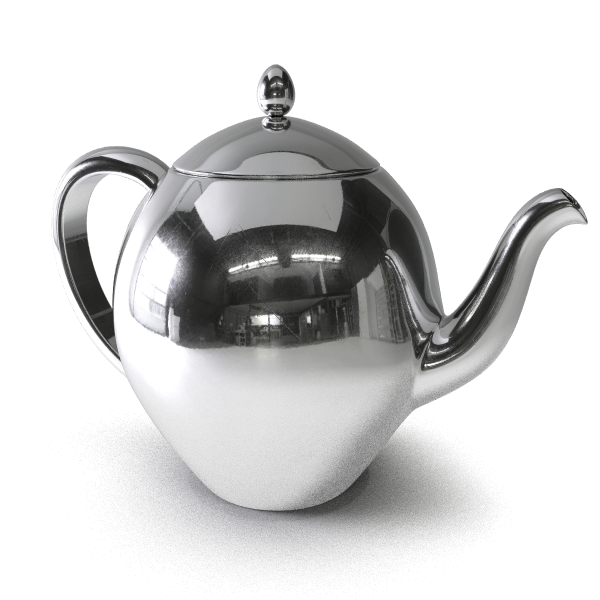
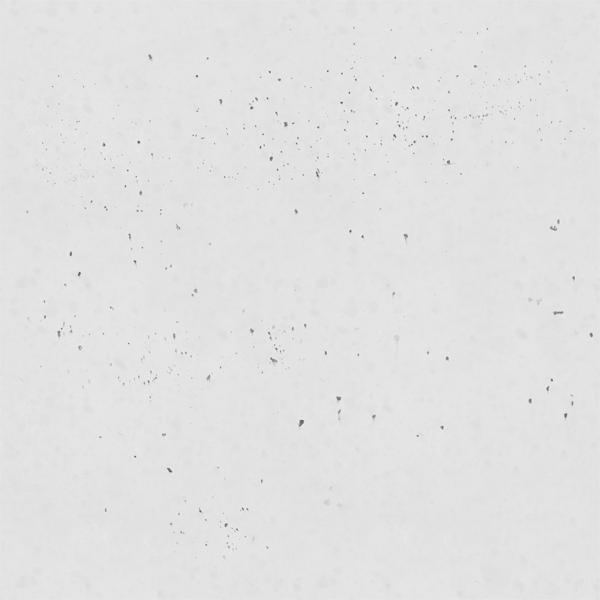
2. There are some darker and dirtier spots that do not reflect as much light as the rest of the surface.

3. Some yellowing can be seen along the inner corners of the object; another – slightly tinted Reflect map is needed, along with VrayDirt, to get this effect


Start by painting another custom scratchmap in Photoshop for the base layer. This time, there are fewer scratches than before. Overlay a few layers of noise in various sizes to add some irregularity to the bitmap. Check the chrome_bump.psd included in the material download to see the layers in detail.
chrome_bump_map

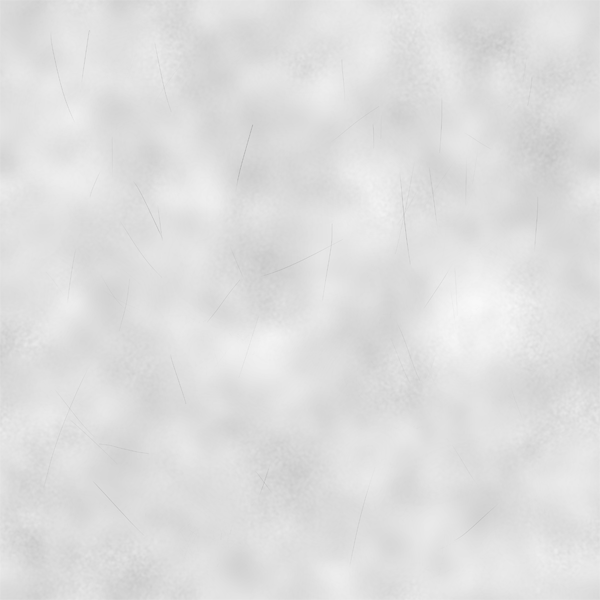
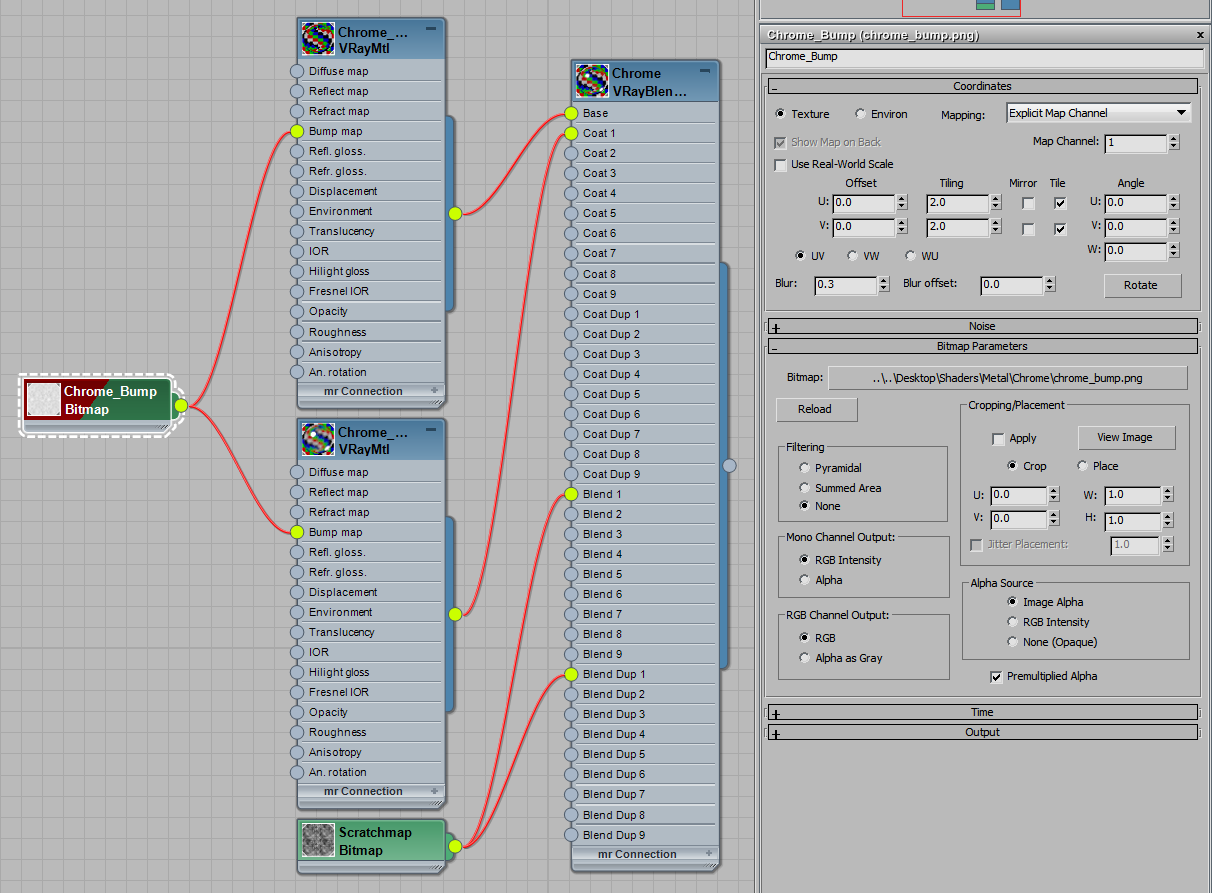
Use this map for both the Base and the Coat material of VrayBlend. Reduce Blur to 0.3 to get crisp details in the render.

chrome_bump_setup


And here is the test render:
chrome_06
Add darker spots to the reflections by creating a custom Reflect map. Combine a couple of spotty textures to achieve this final result.See the PSD file included in the download for full-res details.
chrome_reflect_map
Just like with Bump, we need to assign this map to both the Base and Coat layers.
chrome_07
As a finishing touch, add some warmer reflections to the inner corners of the object. For this purpose, we made a modified version of the Reflect map.
chrome_reflect_warmer

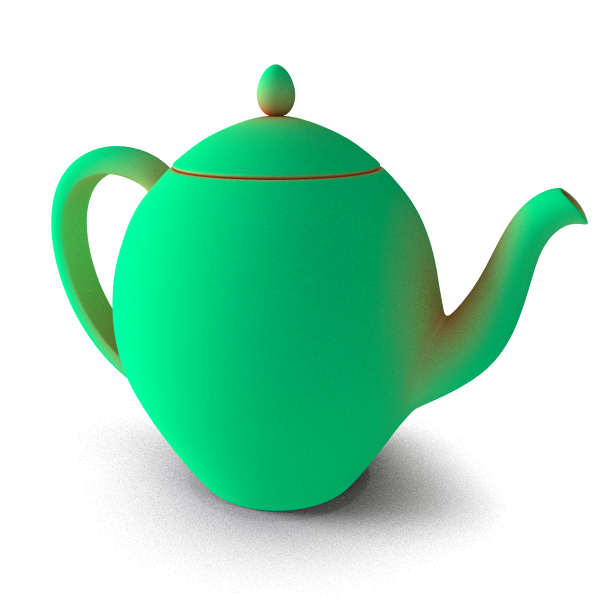
Now we need to set up a VrayDirt map in the Reflection slot. It’s helpful to create a temporary test material that can be used to evaluate the effect of VrayDirt.

chrome_dirt_temp_material


A regular VrayMtl with VrayDirt as Diffuse and Occluded/Unoccluded colors should be set to contrasting colors, like red and green. We copied the VrayDirt and ran it through itself to make the effect stronger. This is the best way to make the dirt more intense.

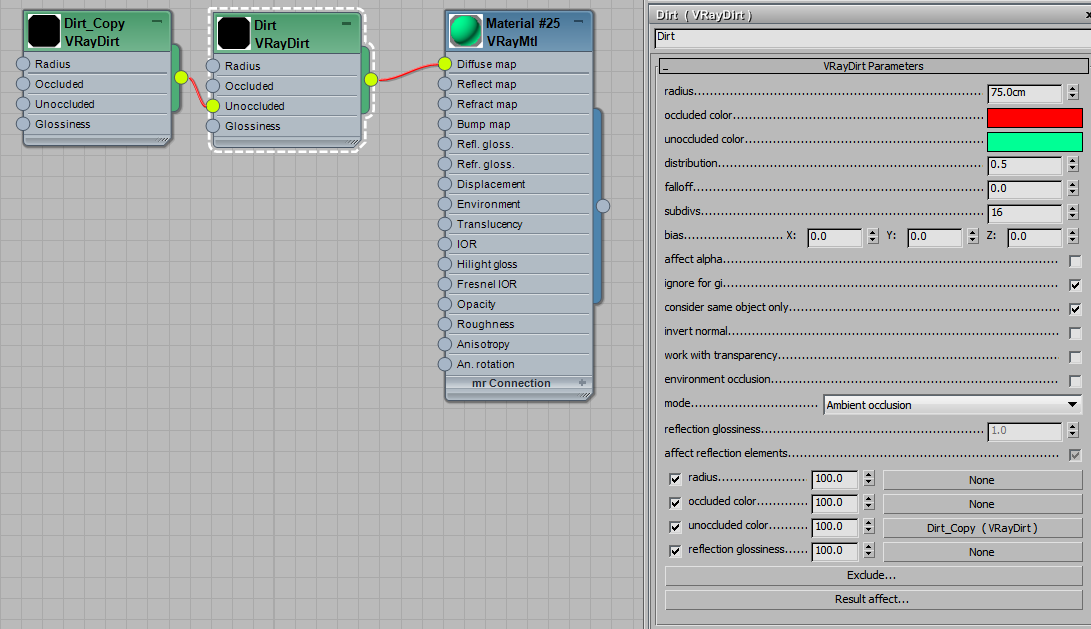
Check the “Consider same object only” option to make sure there is no yellowing where our teapot touches different objects (in this case, the ground).

Once you’re happy with the Radius, Falloff, and Distribution settings, copy this map and use it for the chrome material. Since this teapot model is quite large, the radius setting is pretty high. For smaller models, a lower value may be needed.

chrome_dirt_test

Here is the setup with regular Reflect map in the Unoccluded color slot, and a warmer tinted map in the Occluded slot.

chrome_reflect_dirt_setup

And here is our final result.
chrome_08

Leave a Comment

This site uses Akismet to reduce spam. Learn how your comment data is processed.