
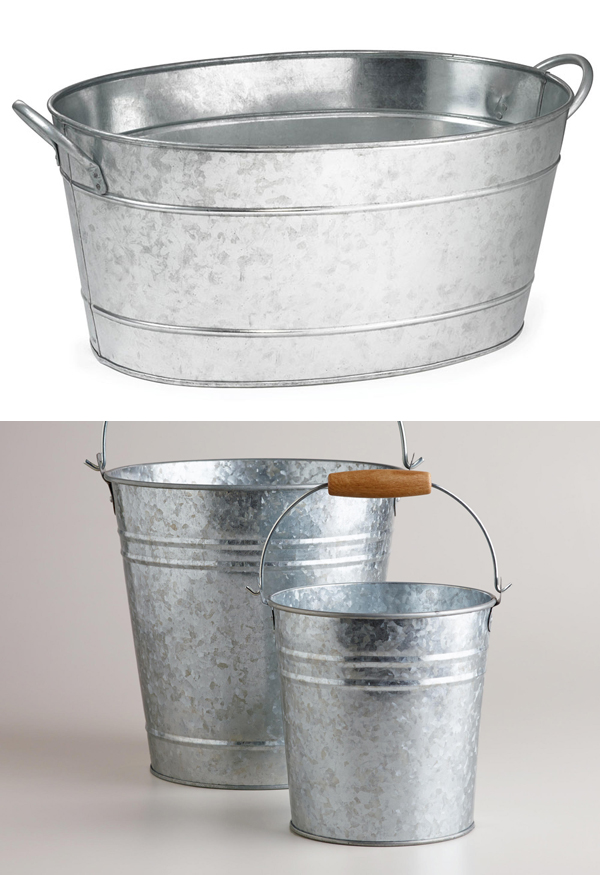
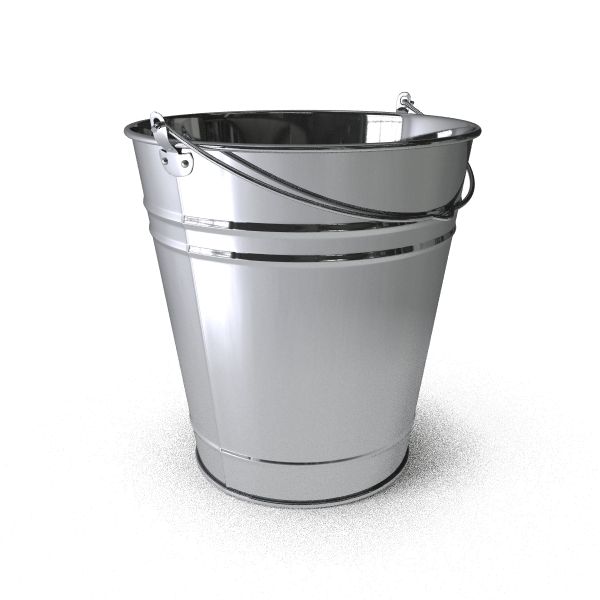
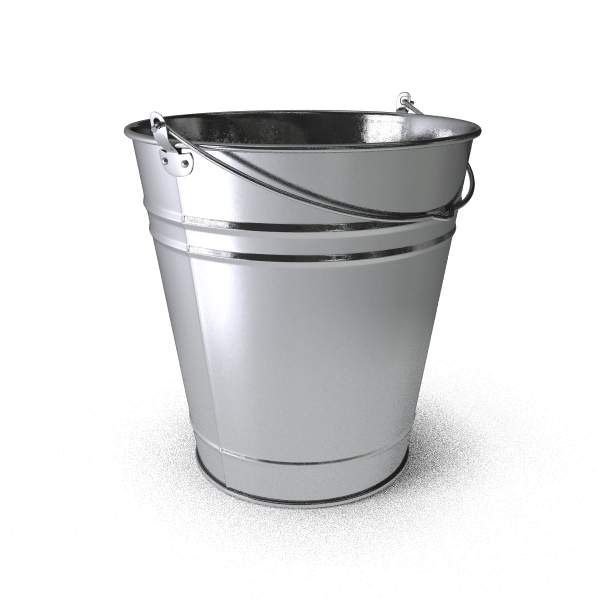
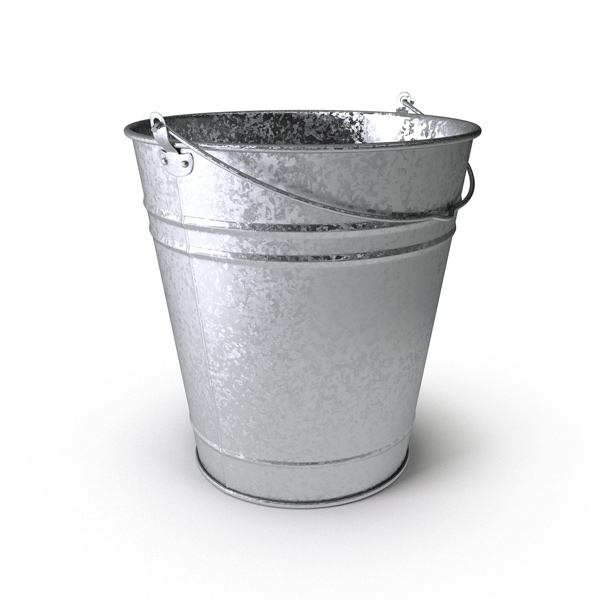
Galvanized metal has a very specific look that can be a bit difficult to recreate in CG. The best way to describe it is that it looks as though the metal is covered with random flakes that reflect the light at different angles. This is caused by the zinc coating forming a crystallic structure on top of the base metal. Take a look at these reference photos to see how it looks.
Obviously, the flake patterns are very random and the flake sizes vary; sometimes all the flakes are small and sometimes they are large. This is probably caused by differences in the coating process.
Start by setting up a basic metallic material. Use a Diffuse value of [7;7;7] and a Reflect value of [135;138;140]. To give the reflections a light tint, Glossiness is set at 0.96 and the Fresnel IOR is set to 40. This is your average, run-of-the-mill, shiny metal.
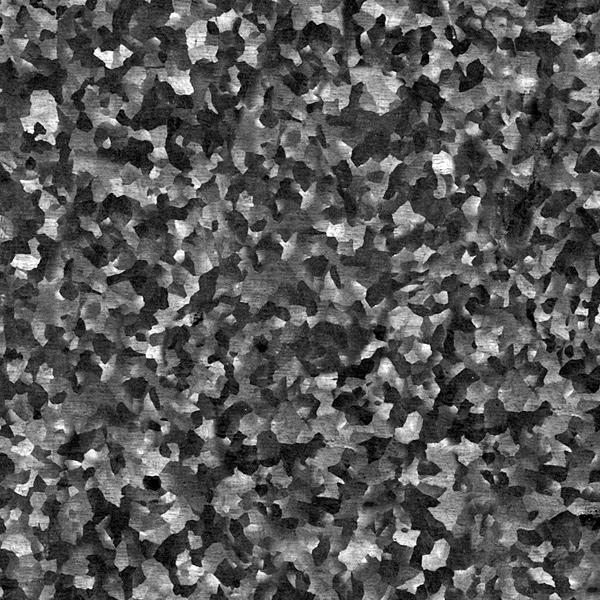
To create the flake effect, we are going to use Anisotropy. Set the Anisotropy to a higher value, like 0.9, and assign a map to the Rotation slot. Try taking a photo of galvanized metal and make a tileable texture from it. Below is a closeup of the texture. Make sure you reduce the Blur to about 0.01 for sharper results.
The texture needs to be a black and white image with strong contrast between flakes. Each shade of gray assigns a different rotation value to the reflections. This should hopefully create a similar effect to what we are trying to achieve.
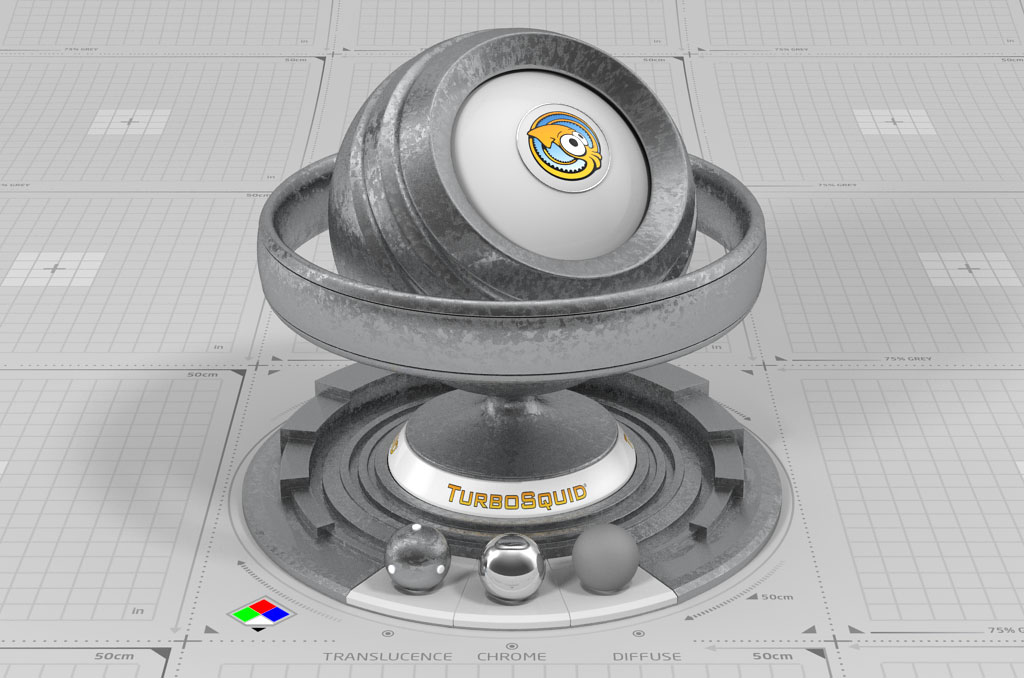
This is how the material looks at this stage in the process:
As you can see, the effect is almost invisible. That is because Anisotropy needs blurry reflections to work correctly. We can fix this material by lowering the Reflection Glossiness to ~0.88. The resulting render is a good fit for a clean, shiny, galvanized metal. The single An.Rotation map takes care of everything we need here.
You can play around with different combinations of Reflection Glossiness and Anisotropy for different effects. There are no hard rules here, so just try to get something that looks good.
Comments
Hi, great tutorial, thanks for posting it. I got a question, I’m adjusting or applying the steps in vray for sketchup, can’t find a Blur option, my guess it’s that the option is called with other name, so to properly found this what does the blur affect? is a camera blur? is the glossiness blur that affects highlight? or refract? I’m looking forward for your answer!
Best regards