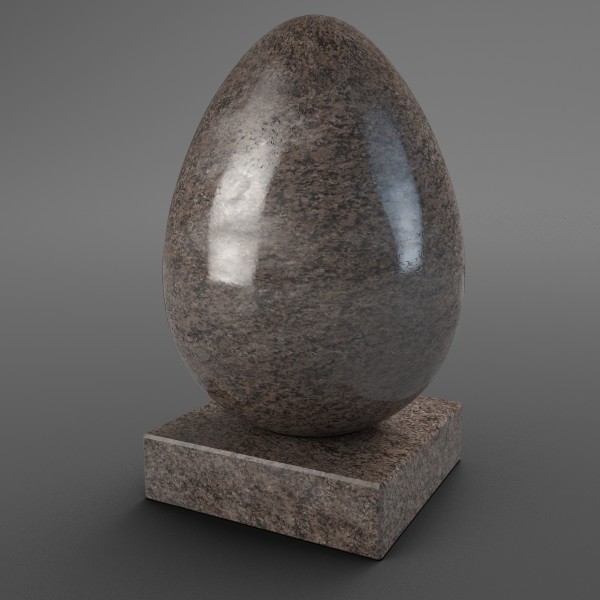
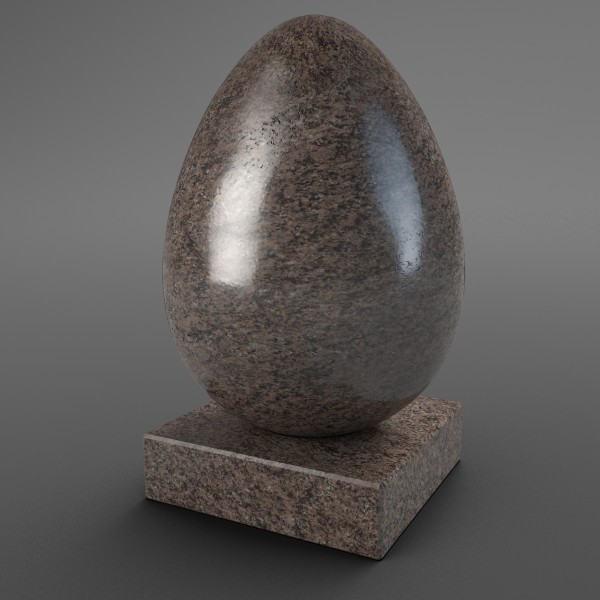
In this tutorial, we will start with a basic, polished Granite.
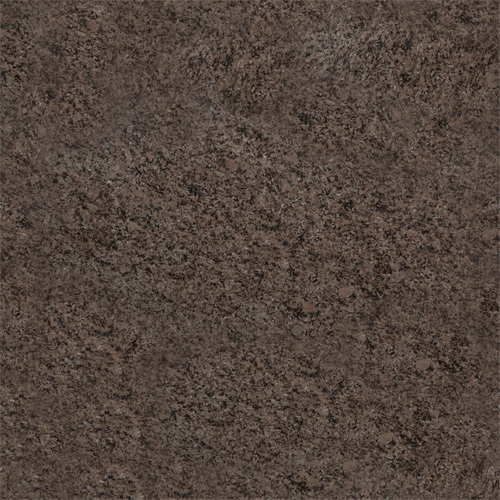
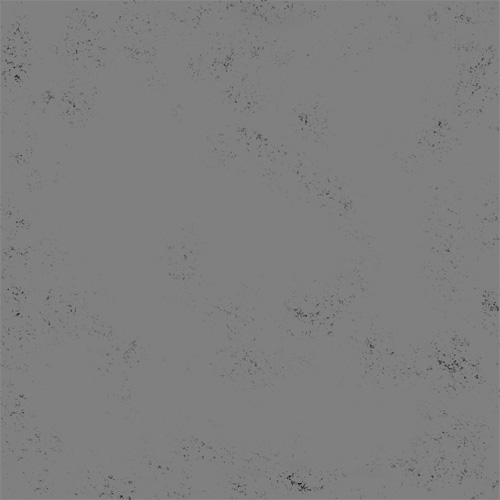
Here is our Diffuse map:
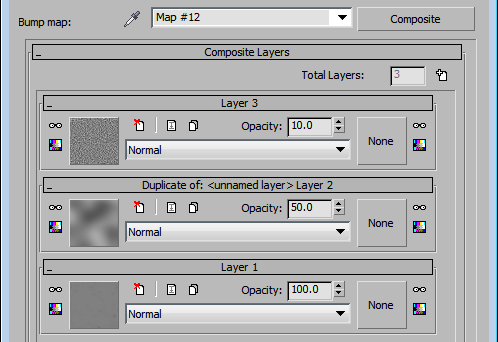
The idea is to make the surface almost perfectly smooth, with just a few rough spots or indents that would appear on a natural stone. So, we need to make a Bump map first. Something like this will work:
To make the Bump a bit more realistic, just composite a couple of differently-sized Noise maps on top of this bitmap.
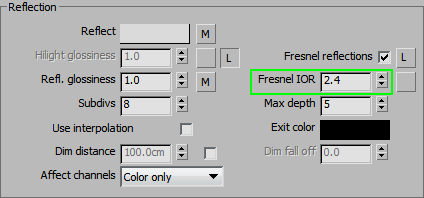
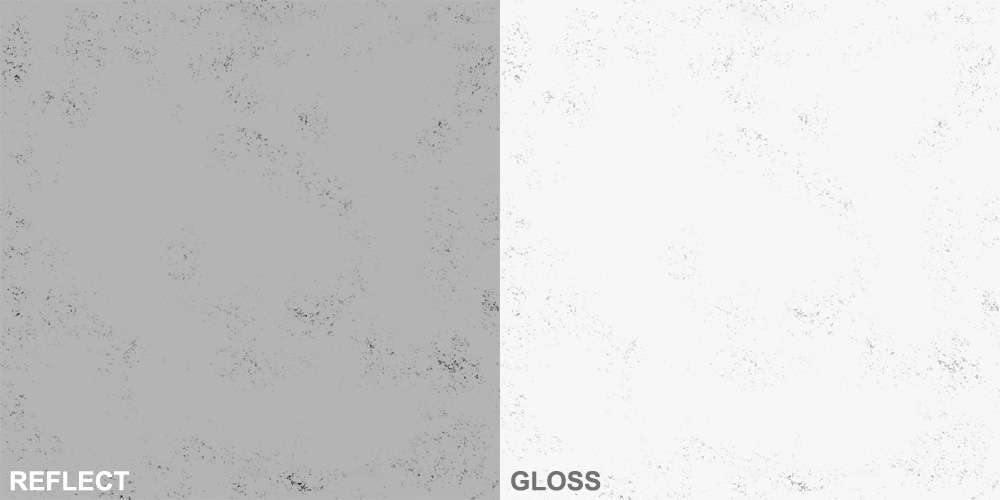
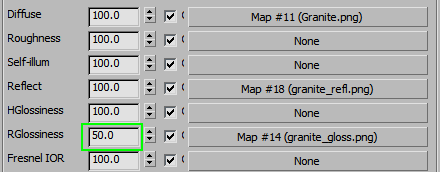
Now that we have defined our Bump map, we can use it to create Reflection and Gloss maps. The lower spots shoud be less reflective, with lower glossiness.
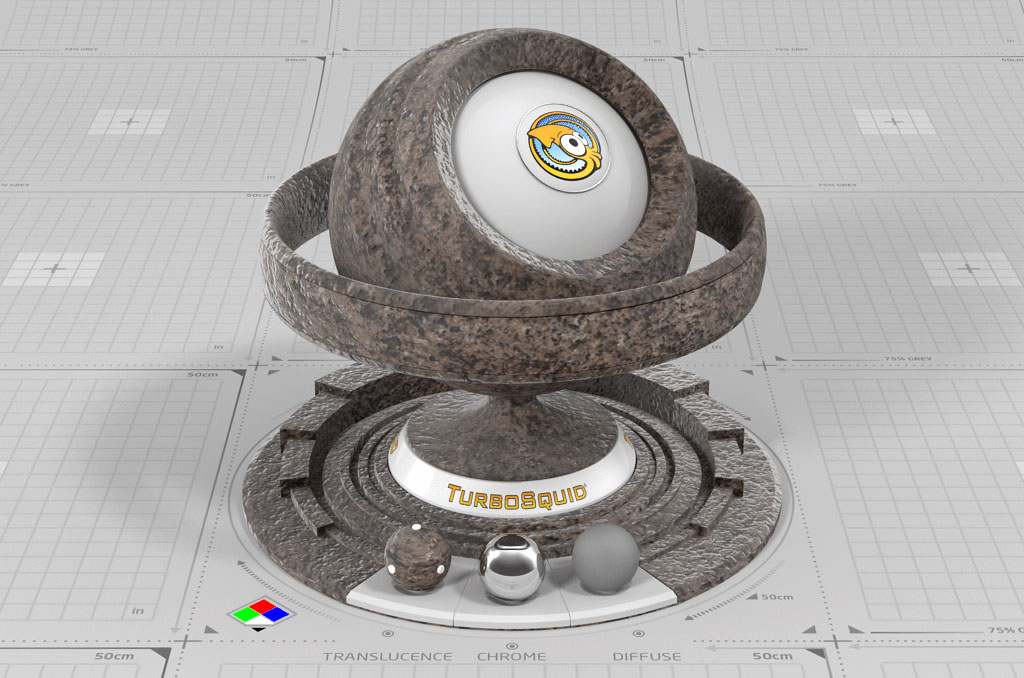
And here is the resulting shader:
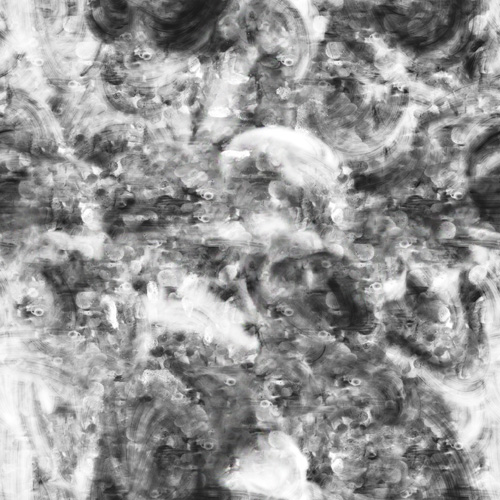
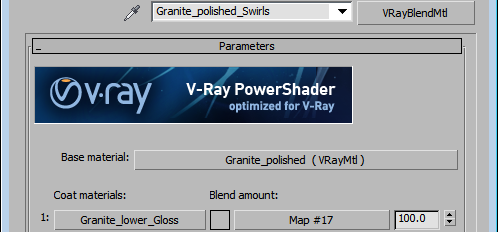
To make a version with swirl marks, fingerprints, etc., we will convert this material to VrayBlend. The second layer will be exactly the same, except the Reflection glossiness, which will be lowered quite a bit (either use a darker map or reduce the strength of the existing one and mix it with a low glossiness value).

Use a map like this for the Blend amount and create a nice, smudged up version of the shader. If you want a stronger or weaker smudge effect, adjust the blend mask and the glossiness of the second layer.