With chipped paint, you are actually looking at 2 different materials: base and coat. The base can be wood, metal, plastic, etc. The coat is paint that could be glossy or matte. When the coat gets scratched, chipped, or otherwise damaged, you can see the base in those areas.
Here is a nice reference photo of painted wood:
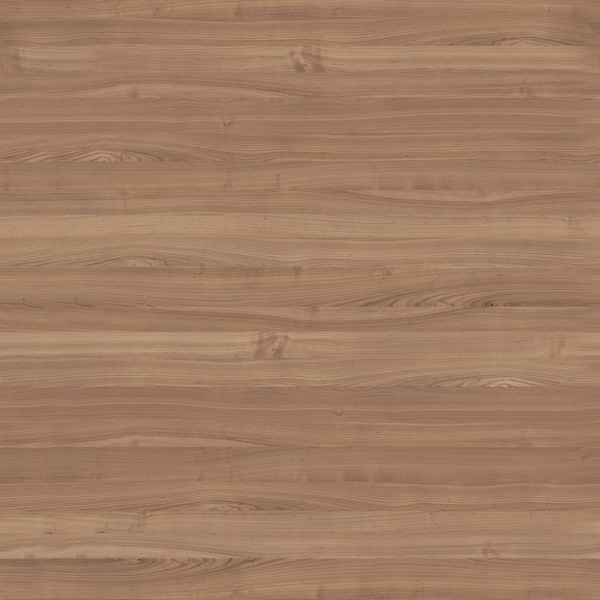
Start by creating the bare wood material.
Essentially, we need a desaturated (unfinished wood) look with weak, blurry reflections.
Create a new VrayMtl and name it Wood. Now assign a bland looking wood texture to the Diffuse slot.
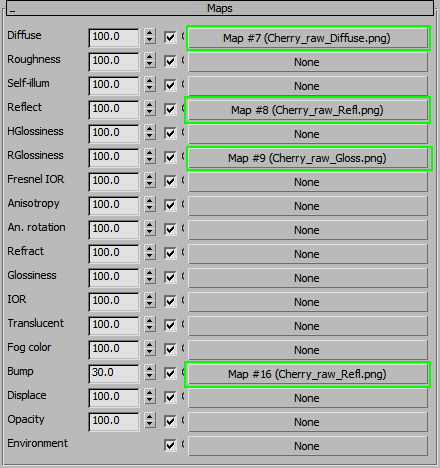
Next, we need to set up Reflect, Glossiness, and Bump maps. These are created from the Diffuse texture, simply by desaturating it and adjusting the contrast and lightness.
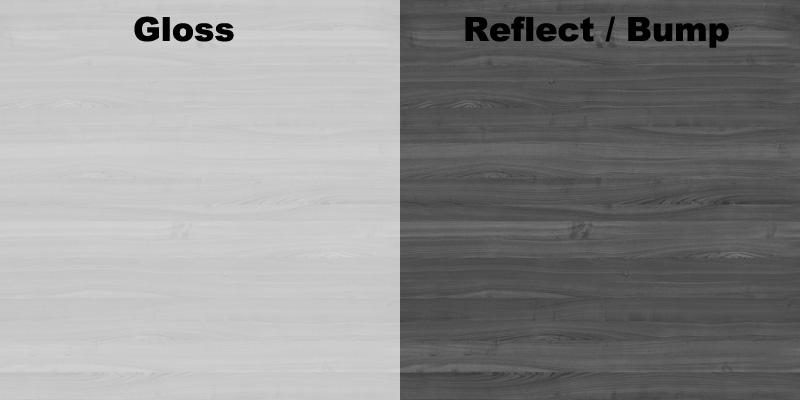
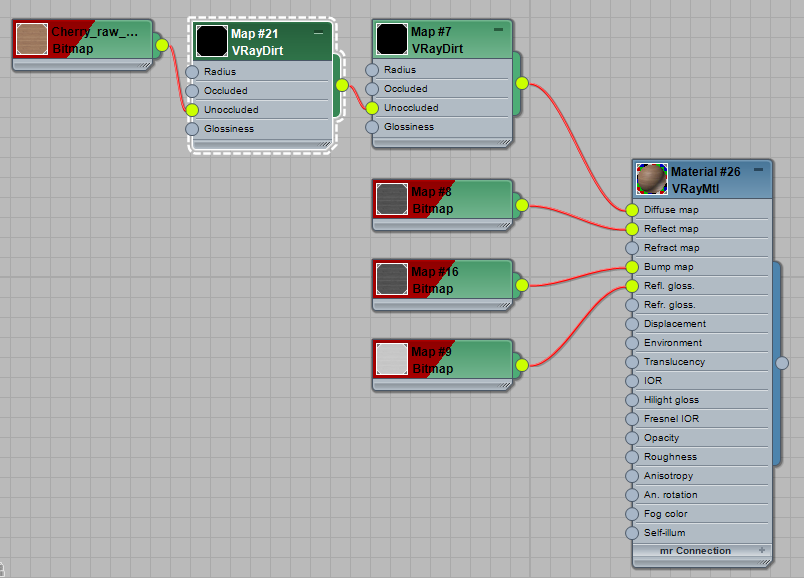
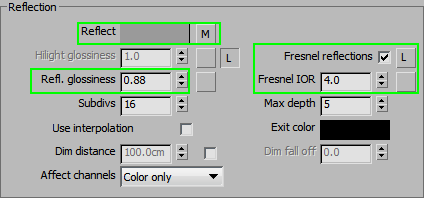
After you set them in their appropriate slots (making sure to use the same tiling options), adjust the Reflection settings as seen below:
The result should have very soft reflections and look like basic, unvarnished wood.
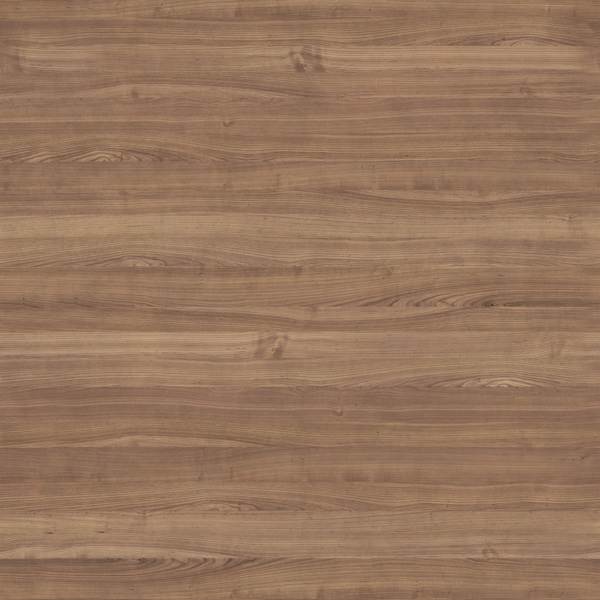
Run the Diffuse through a VrayDirt map to give it a bit of patina and perhaps add some patches to the wood texture itself to make it look a bit older.
Here’s the final wood material:
Create a new VrayMtl and try to make it similar to the reference photo.
For the Diffuse, we can use a simple color:
Since the paint is pretty thick, reflections are quite even and not influenced by the wood grain. Perhaps use a simple grey map with some patches and spots.
Lower the Glossiness and enable Fresnel with these settings:
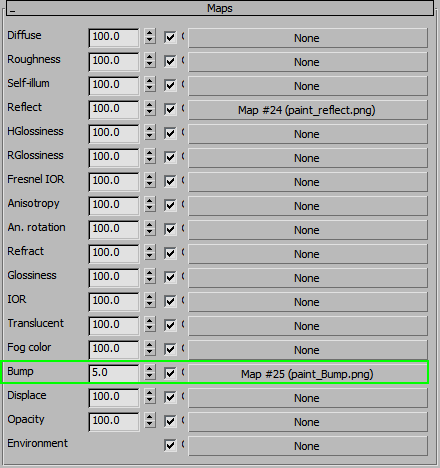
Now we need some Bump. Take a desaturated wood texture and overlay some noisy looking dirtmap to add some surface variation.
Set it in the Bump slot and reduce the strength to get a subtle effect.
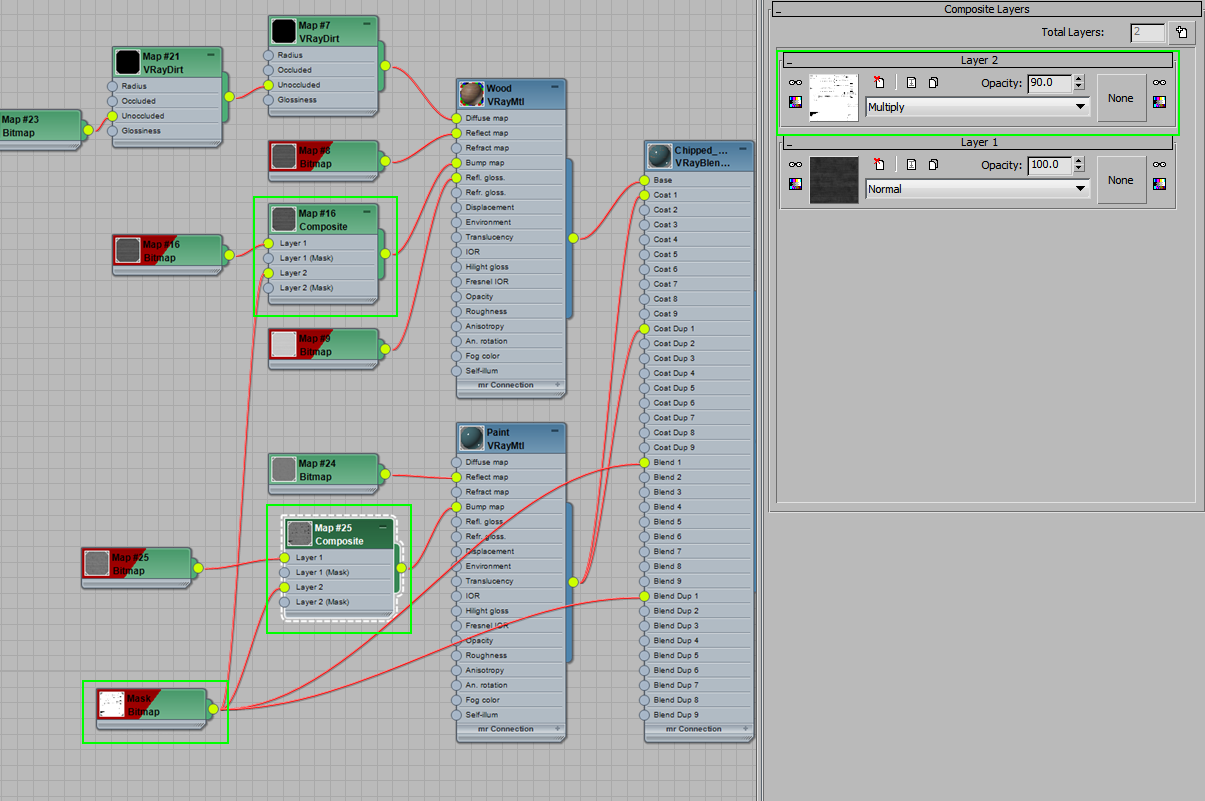
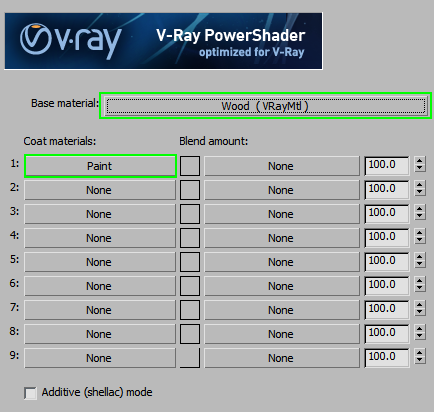
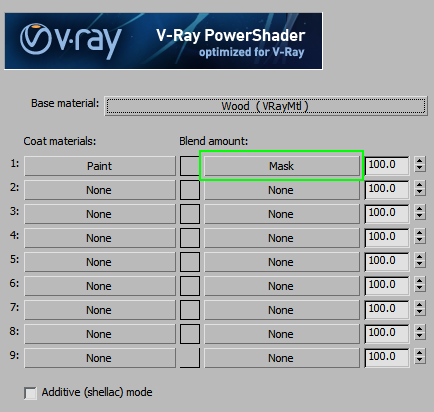
Now we need to blend these two materials together. Set up a VrayBlendMtl with Wood material as base and Paint material as Coat.
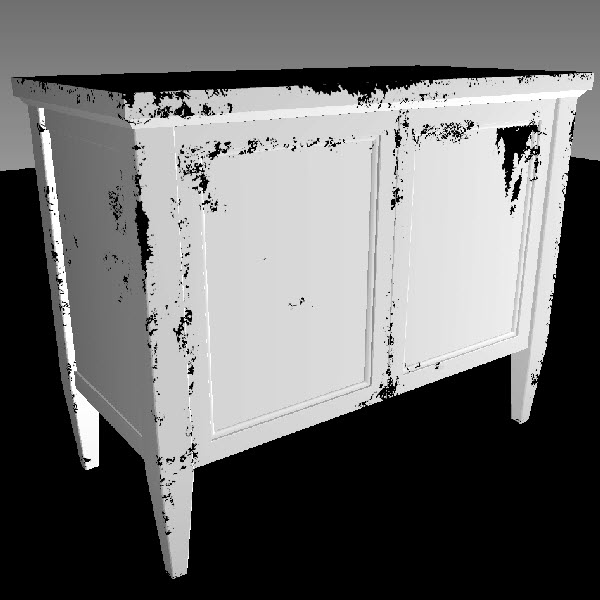
The Blend mask is the most important step. You can either paint a custom map to get the chipping in the exact spots you want, or you can use a procedural method. For this example, we have painted a mask in Mari.
Set it up in the Blend amount slot and reduce the blur to get sharp results.
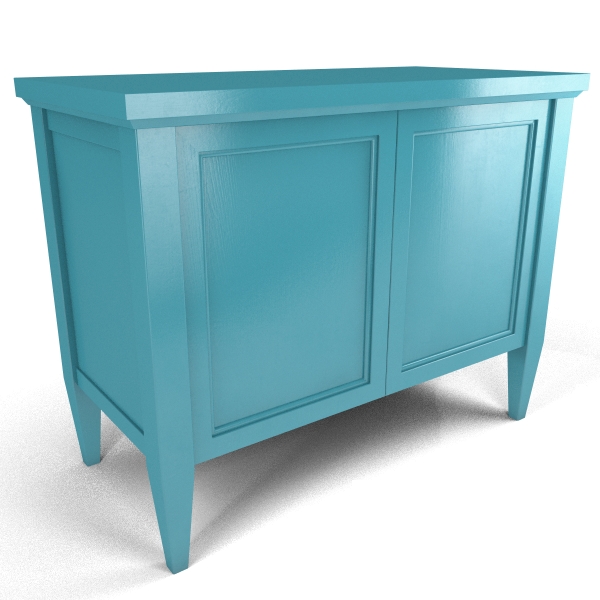
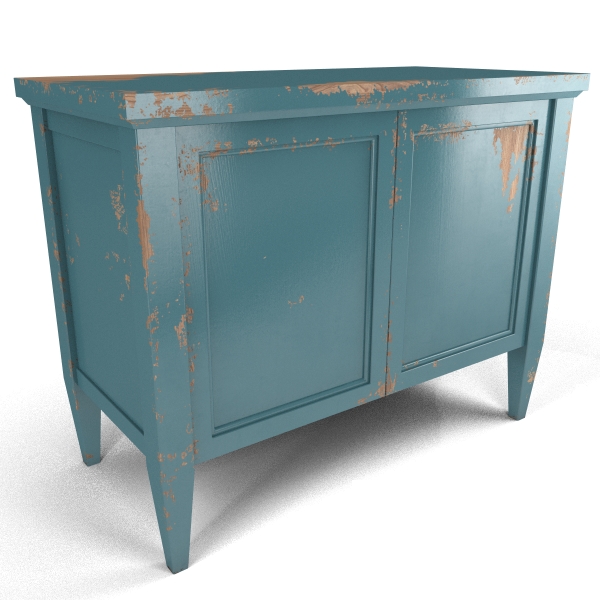
Make the paint color a bit darker to contrast with the wood a bit more and render the result.
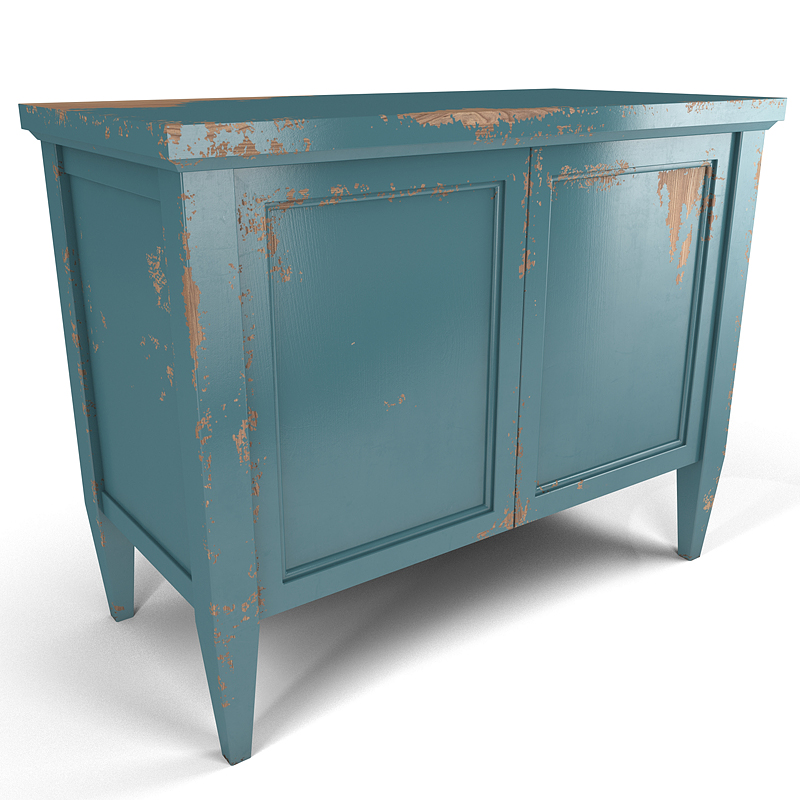
There’s just one more thing missing for realism: the paint layer should be a little higher than the wood itself. To achieve this effect, we are going to change our Bump maps (for both base and coat) to Composite maps and add a Multiply layer of our Blend mask.
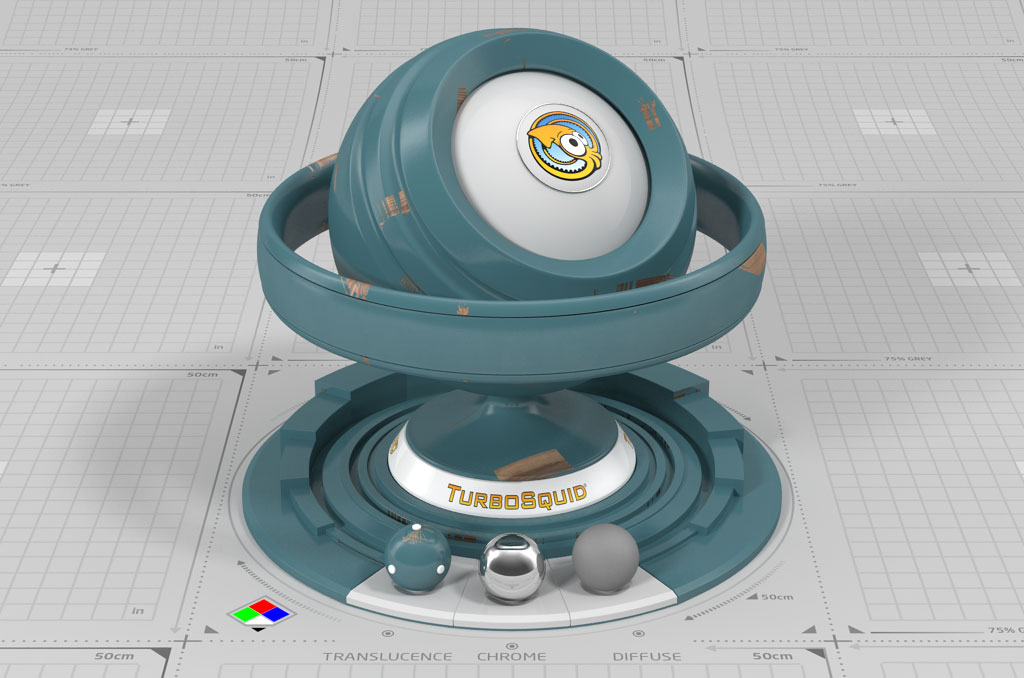
And here is the final result.


Comments
It’s beautiful.