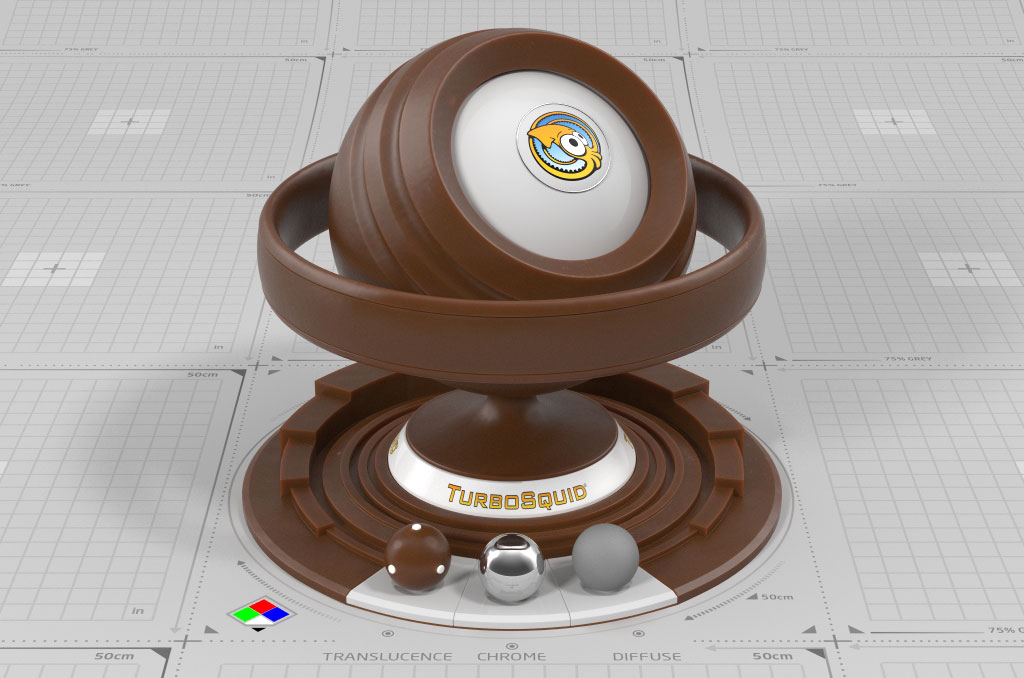
This liquid material exhibits a sub-surface scattering effect.
The most difficult thing with this kind of shader is getting the colors to look right, and it can take a bit of fiddling and experimenting to get the exact look.
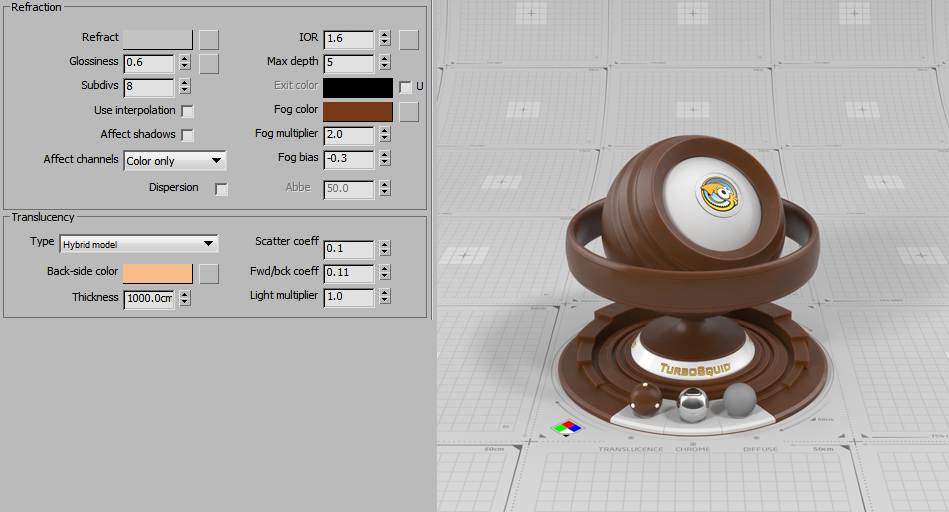
Set the Diffuse color to match the color of the chocolate you are trying to re-create.


The tricky part is balancing various Refraction, translucency parameters, and colors to get the correct SSS look. Because the results can vary, you may have to tweak and re-render a few times to get it exactly right. With that in mind, below are a couple of general guidelines.
Set the Fog color to be slightly more intense than the Diffuse and increase the multiplier. Drop the bias to negative values to make the edges look lighter.
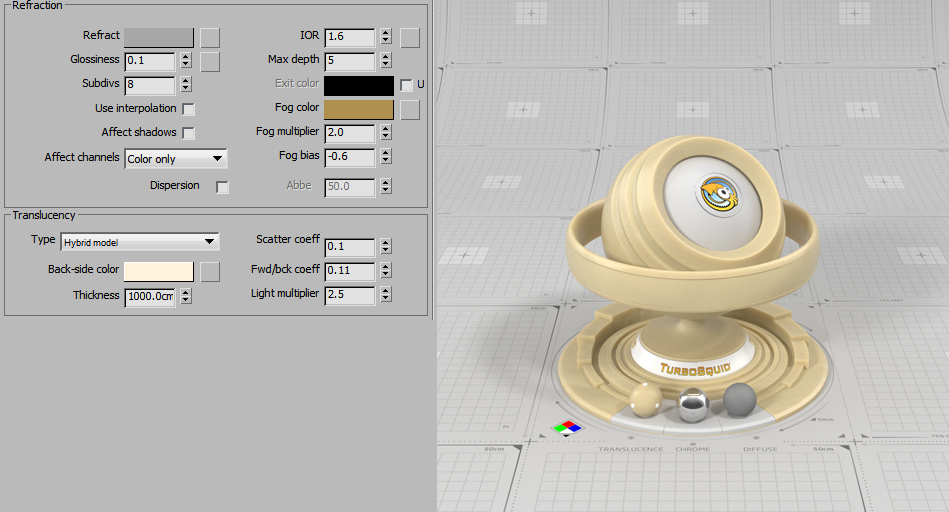
Translucency needs to be set to Hybrid mode if the chocolate color is a shade of yellow or orange. For some types of chocolate, this will be more intense, while others will need a more desaturated color.
Try to use Scatter coeff and fwd/bck coeff set to 0.1, which seems to work fine for this type of shader.
For white chocolate, you need to bring up the Light multiplier, otherwise, the result is less than ideal.
Brighten the Refract color to increase the SSS amount and lower the gloss to spread the light more within the object.
Below are some presets for dark, milk, and white chocolates.