

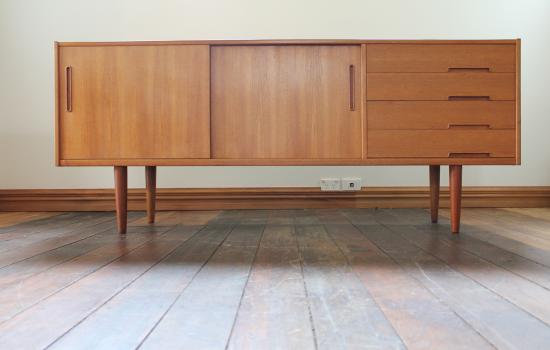
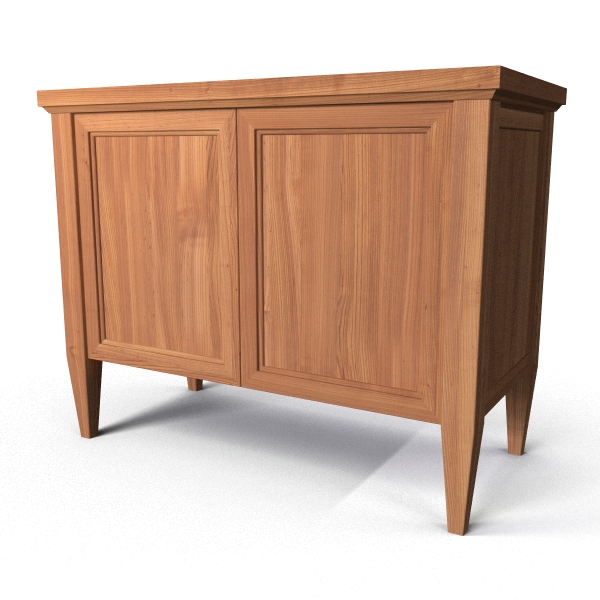
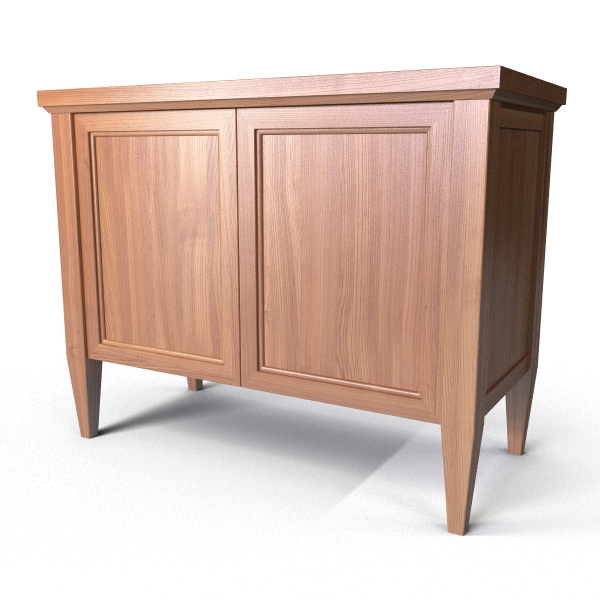
Oil is popular choice for finishing wood. The result has strong colors, soft reflections, and still shows the texture of the wood very well.
This is an example of an oiled piece of furniture.
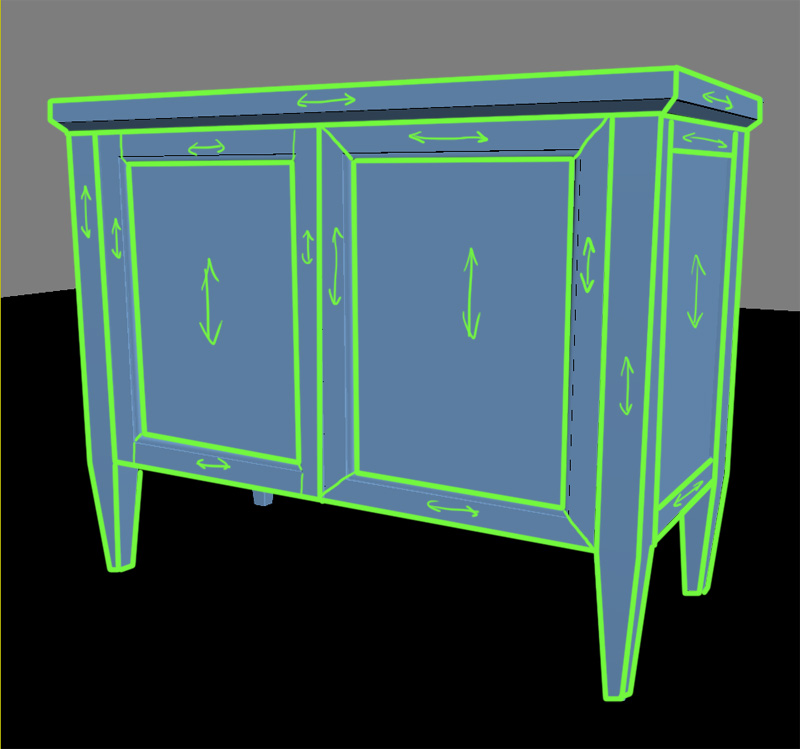
Note: things are a lot easier if you have arranged your UVs so that the wood grain goes in the right direction on all parts of your object. With solid wood construction, wood grain always goes in the direction parallel to the longest edge of the piece. We’ve sketched out how it should go on the example model (two different ways to do the front doors; both are correct).
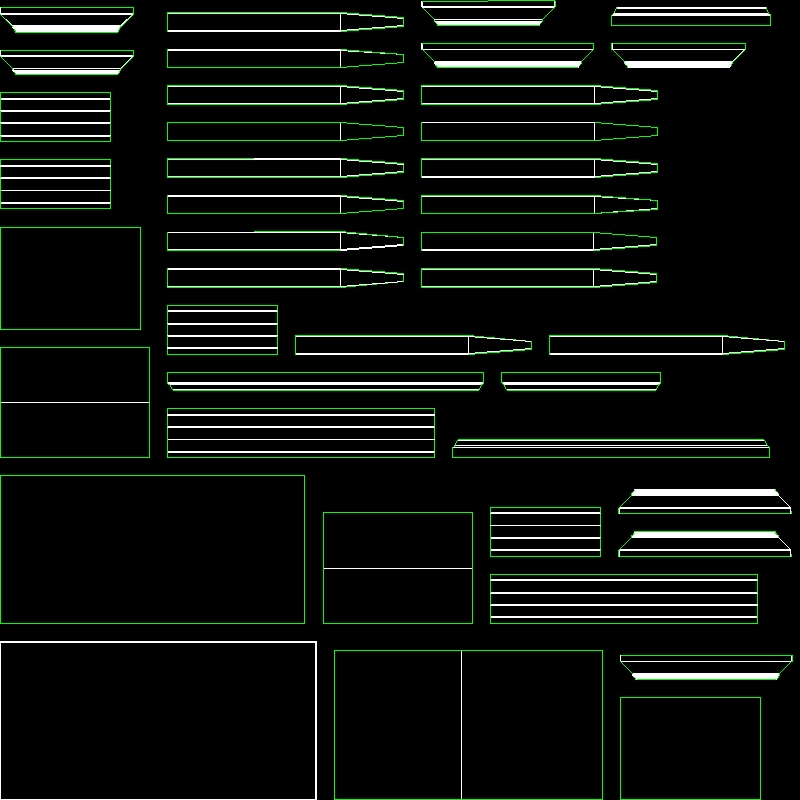
Here is the UV layout. All the pieces are arranged horizontally.
Of course, if the object is not solid wood, but veneered, this rule goes out of the window. You can have the grain going across, on a diagonal, or in any other configuration.
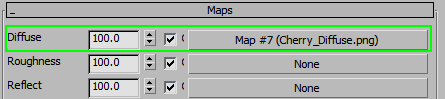
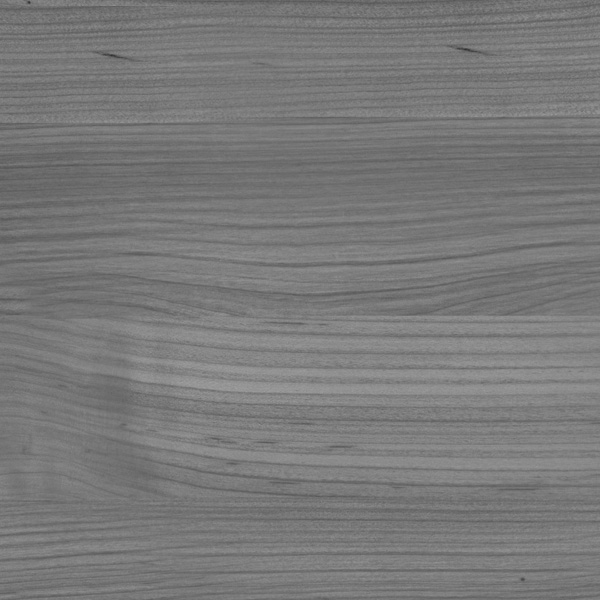
The first step for our material is the Diffuse texture. It’s good to start with a tileable one.
If the texture looks bland, it might need some Curves adjustment in Photoshop to to get that saturated, oily look.
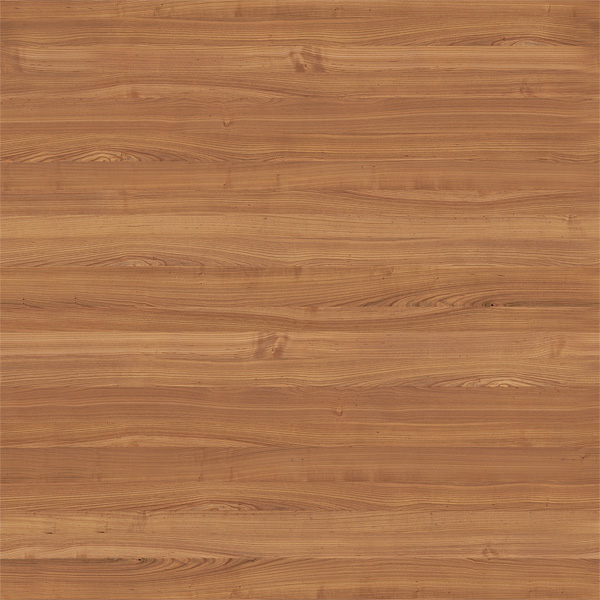
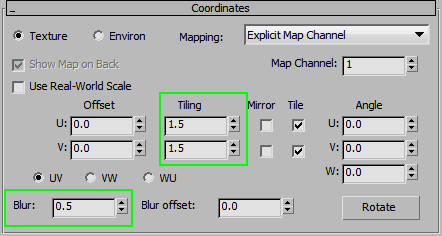
Assign it to the Diffuse slot of the material and adjust the tiling to fit the object. Reduce the Blur value to get crisper results.
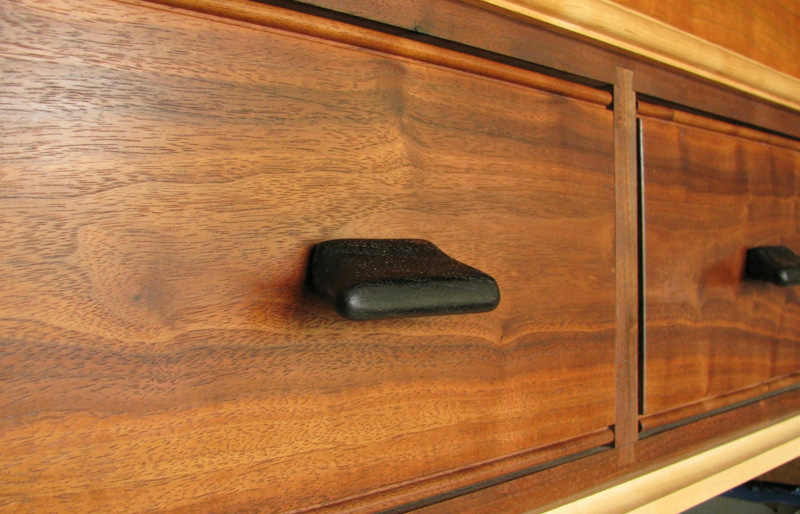
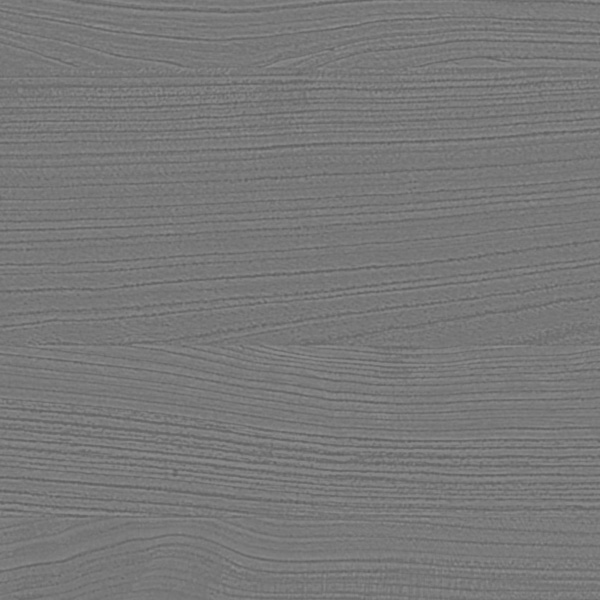
Next, the Reflect Map; usually the finish is quite thin, so you can see the pores in the wood, as in the reference photo below. The rest of the reflection is pretty even.
Open the Diffuse texture in Photoshop and Desaturate.
Now duplicate the layer and run a High Pass filter.

Bring up the contrast for this layer with Levels.
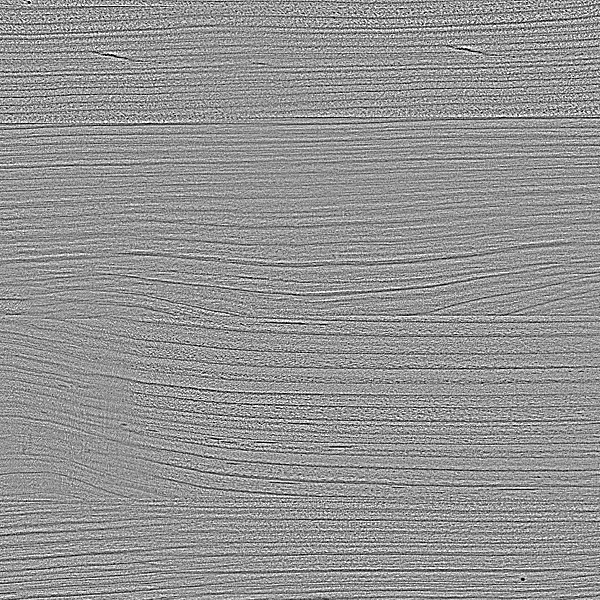
Change the Blending mode to Darken and reduce the Opacity to 50%.
Lower the contrast of the lower layer.
Here’s the result.
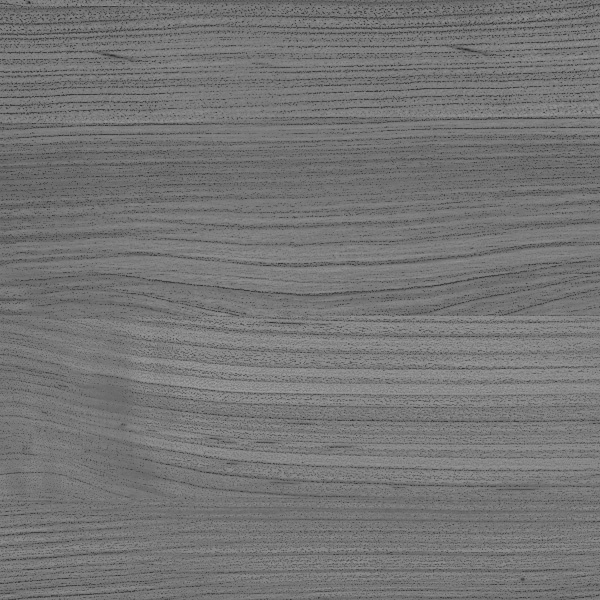
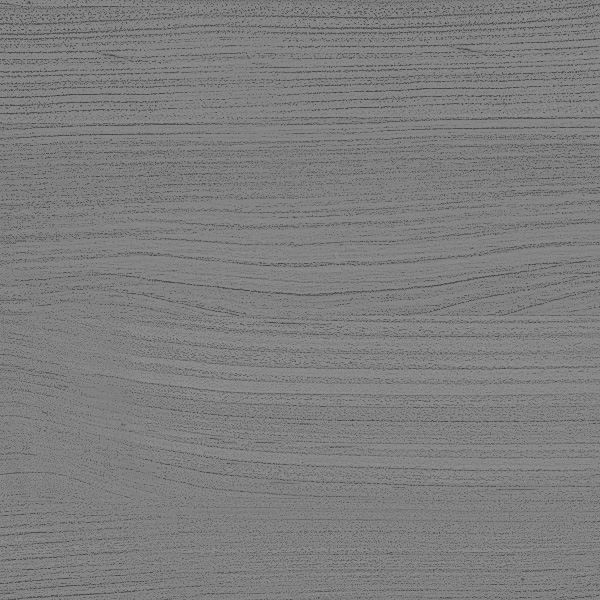
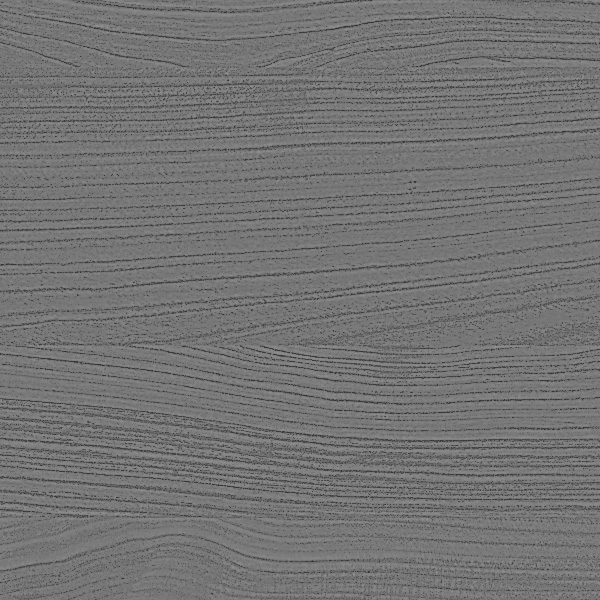
The Bump map is a slightly modified Reflect map. Start by making the background closer to medium gray.

Duplicate the dark grain layer and blur it. Make it a bit darker so it is visible with Darken blending mode.
Add the non-blurred version on top.
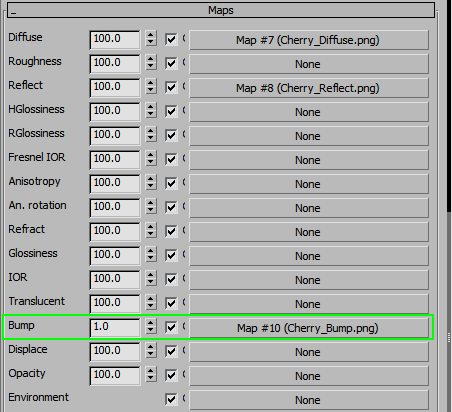
Assign it to the Bump slot with the same tiling settings. Reduce the Bump amount to something like 1.

Comments
Dear Sir/Madam,
I would like to thank and also congratulate you for this eight paged tutorial series. Being a intermediate in this field, I’ve studied every page and almost every material one by one. I find texts very clear and comprehensible by giving reasons, explaning the logic behind. I will try to create my own material library and would like to ask whether I may use maps/masks you provide within these tutorials.
Regards