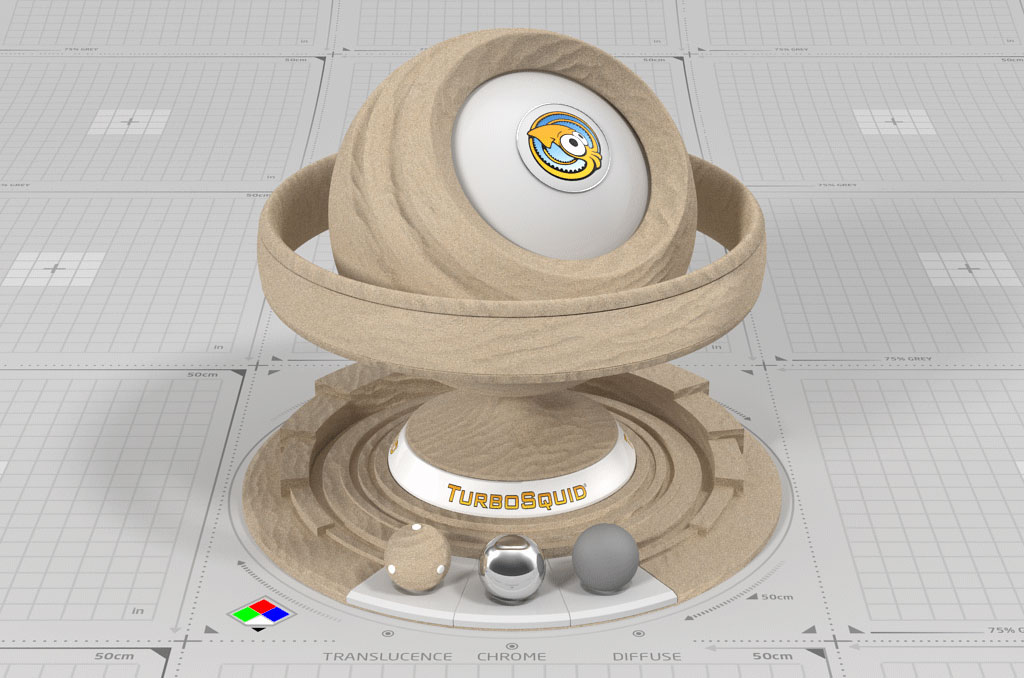
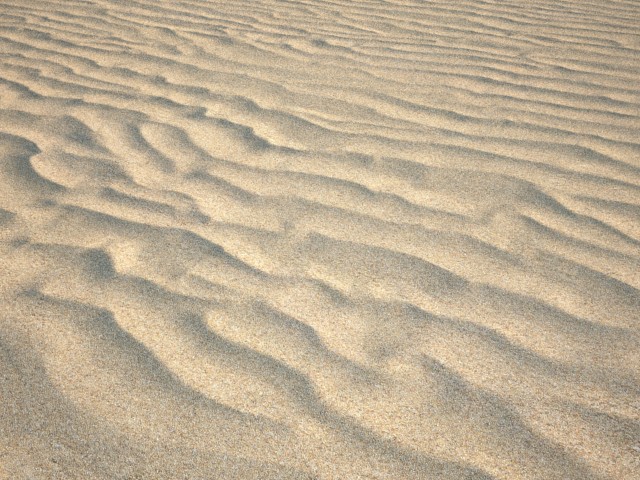
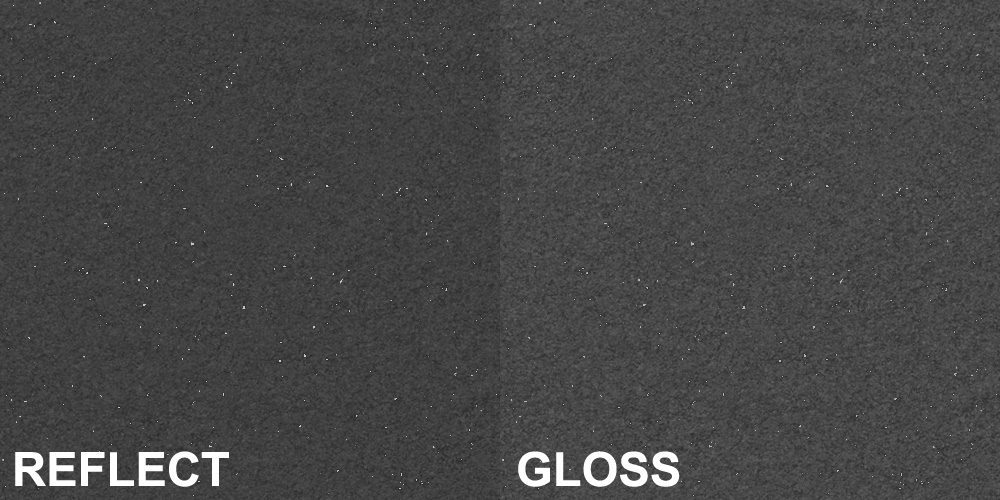
Here is our reference, which we will try to achieve.
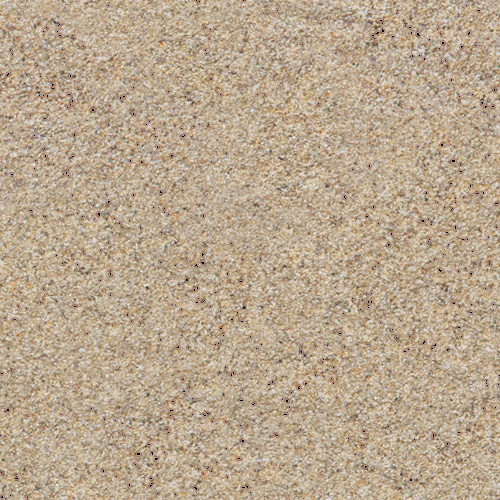
The Diffuse map is a simple, tileable photo of sand (the example here is a crop).
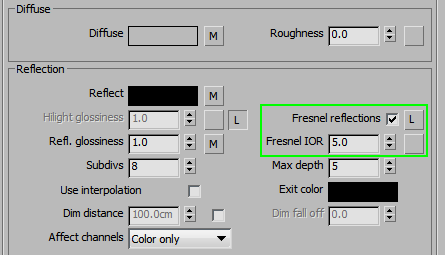
Reflect and Gloss maps are based on a greyscale version of the Diffuse, but with some brighter specks added in. These brighter dots simulate the little quartz grains in sand that sometimes are much more reflective than the rest. Fresnel is on and set to 5.
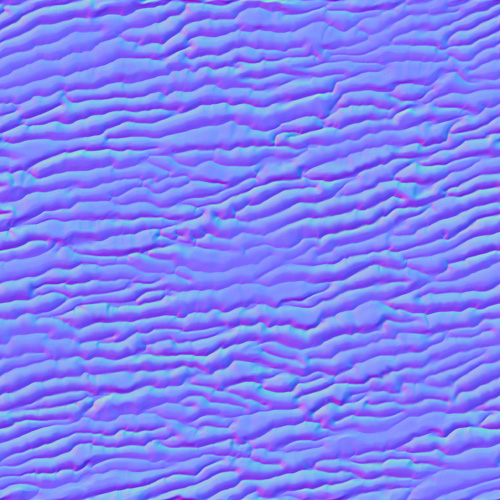
The most important thing for the sand material is the Normal map, which creates the characteristic “waves.” We created this one manually in Photoshop as a b&w map and converted it to Normal map with the Nvidia filter. It’s a good idea to introduce some lower and higher areas to avoid a result that’s too artificial.
You can also sculpt a tileable map in zbrush, since it might be easier to add footprints and other irregularities that way.
You can also sculpt a tileable map in zbrush, since it might be easier to add footprints and other irregularities that way.
Set it up in Bump slot, along with a noisy bitmap for the smaller scale Bump. Adjust the Normal strength to make the waves higher or lower.

