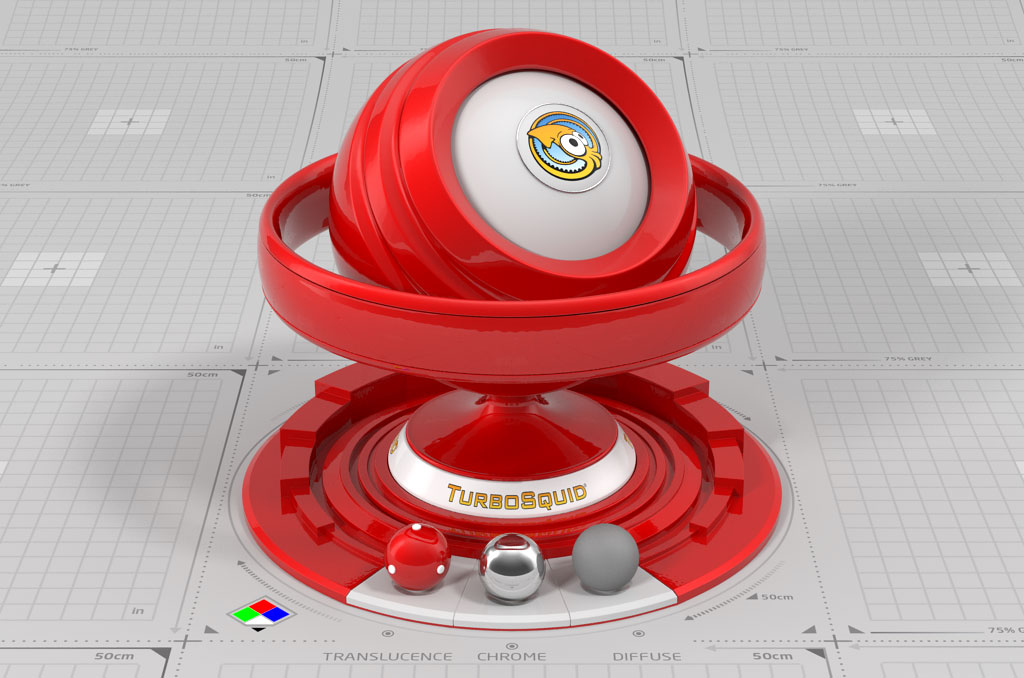
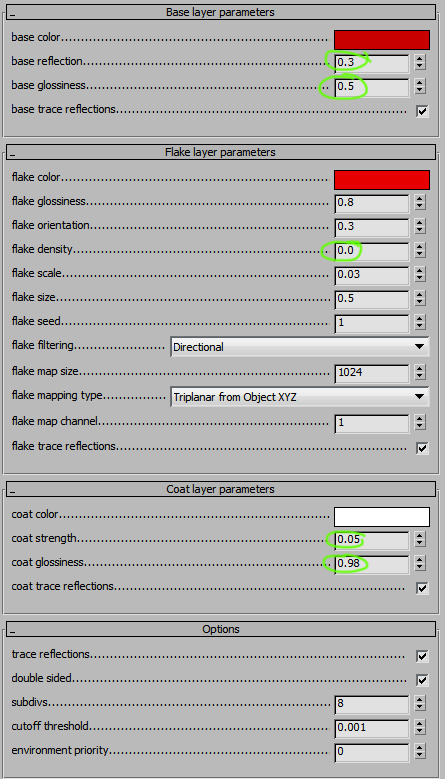
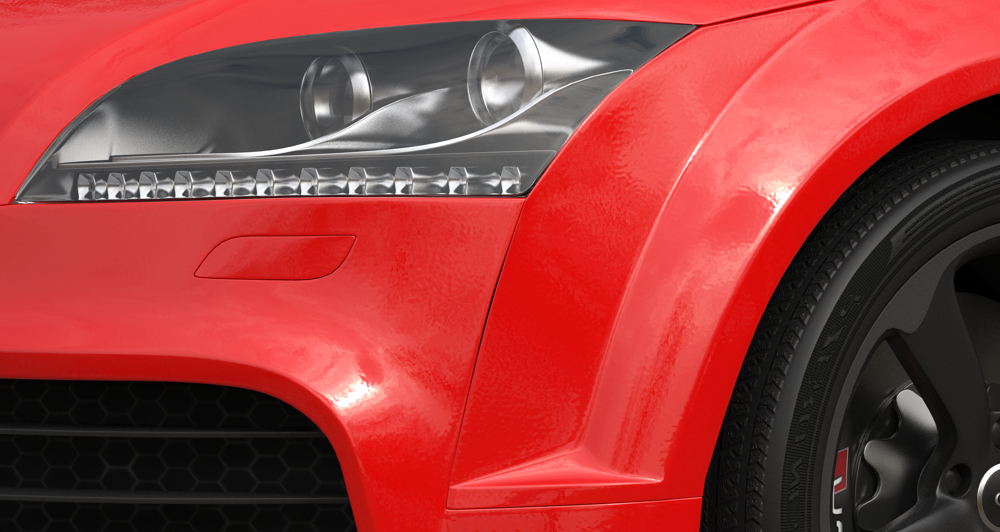
A simple car paint material is easy to set up. V-ray comes with a fairly good material that is specifically designed for automotive paints. The shader is called VrayCarPaintMtl. It consists of 3 layers: base paint, metallic flakes, and clear coat.
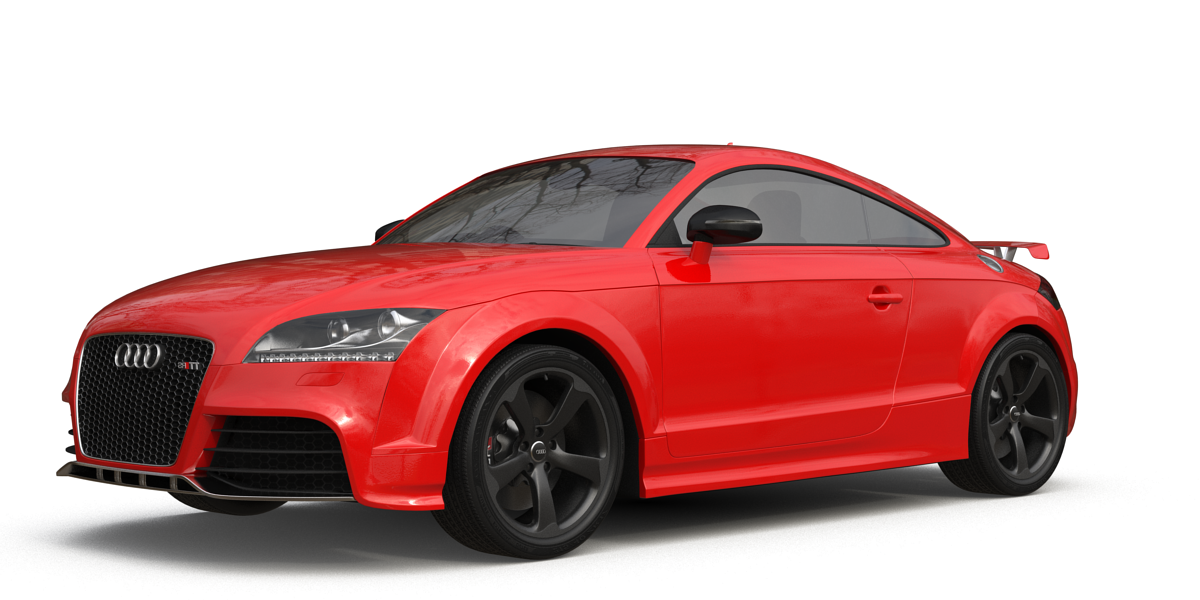
For a simple, “standard” car paint, there is no need for the Flakes layer. We have reduced the Flake Density to 0, effectively turning this layer off. Only metallic paints have this effect.
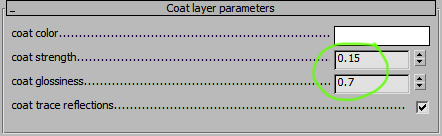
The coat layer is supposed to be pretty glossy (which creates sharp reflections), so we set the glossiness to 0.98. Make sure Trace reflections is turned on for realistic results. You can play with the Coat strength to simulate the amount of polish/thickness of the clear coat, which can vary a bit between different cars. Still, you don’t want to overpower the base layer.
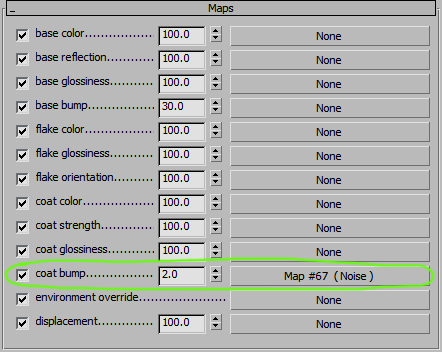
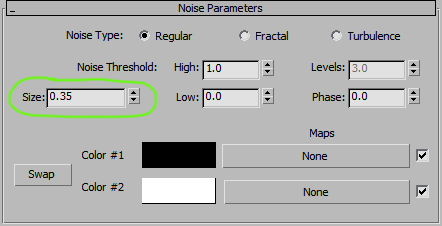
There is one more element that is essential for a realistic looking paint: the ‘orange peel’ effect in the Bump slot. Even polished, high-end paint jobs show this effect slightly. Cheaper, lower quality paint will have a stronger Bump.
Adding Swirls & Fingerprints
If the car is not freshly polished, it might benefit from a small amount of smudges/swirls on top of the paint coat.