Introduction
The VrayBlendMtl could be best described as an utility material. It does not have any shading options, it just combines multiple other shaders in different ways.
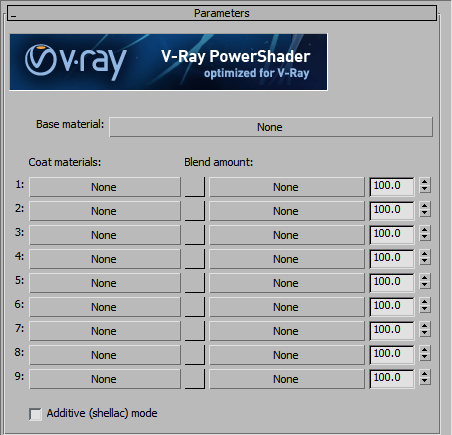
The layout is simple. You have a Base material and 9 Coat materials. In fact, they all function in the same way, very similar to layers in photoshop, so really what you get is 10 layer stack. Each layer after Base has a Blend amount Color and Map.
Blends can be as complex as you want them to be, You’re not limited to the 10 slots, you can always add another blend in the last layer slot and keep piling on the layers. However, in the real world, this is not a practical way to do things. Each new layer makes the render slower, since Vray has to calculate all the materials in the blend and then blend them together. This means you could quickly get insanely slow rendertimes if you get too carried away.
Most of the time 4-5 layers should be the absolute maximum to use, with 2-3 being the norm. It’s also easier to manage the shader with fewer layers.
Let’s see how they work.
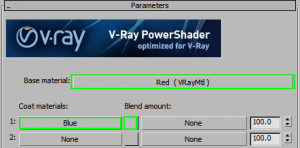
We’ve set up a Red material in Base slot and a Blue material in the first Coat slot. You can see how the Blend amount color affects how much of the second layer is visible. It’s a simple opacity scale – black makes the coat invisible, white makes only the coat visible. Everything in between is a mix of the two.

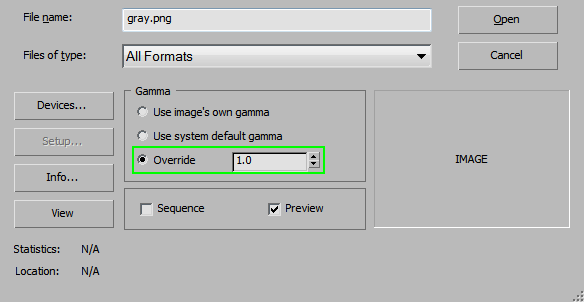
Of course, you can also use a map in the Blend amount slot. The map needs to be grayscale and the the Gamma when loading the image should be set at 1.0 for correct results.
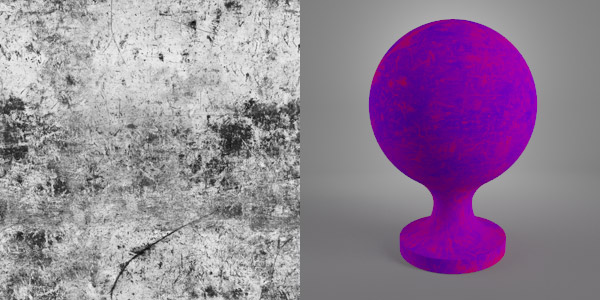
Here’s an example with a b&w map in the slot.
You can also mix the Map with the Blend amount color using this numerical value. At 100 it only uses the map, at 70 it uses 70% of the map and 30% of the color, etc. This is great when you need to fine tune the exact amount of blending, without changing the texture itself.

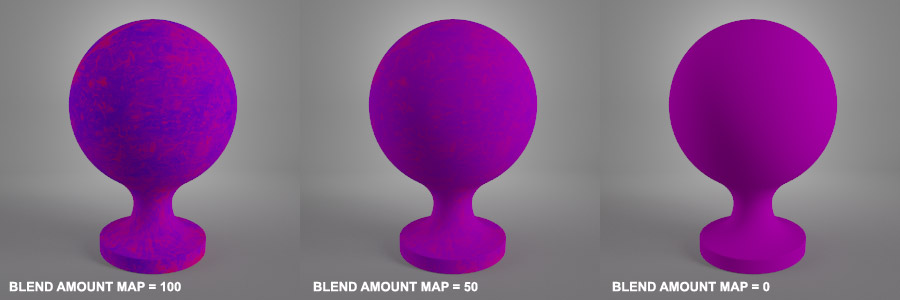
Okay, but what about adding another coat layer? Once you add another material to the list, everything above it is combined and treated as a single base layer. Exactly like in photoshop, except the layer list is reversed (from the top down).
If I add a Green layer to my Red and Blue, the result is not Red+Blue+Green, it is Purple+Green, since the first two layers get mixed at 50% and the result is mixed at 50% with the next layer.
Lastly, the Additive mode checkbox always needs to be turned OFF for physically correct renderings. It is only there to mimic the functionality of a regular 3ds max blend Mtl, but should not be used if you want believable shaders.
Alright, now we have the basics out of the way and we can look at some fun ways to use VrayBlendMtl.

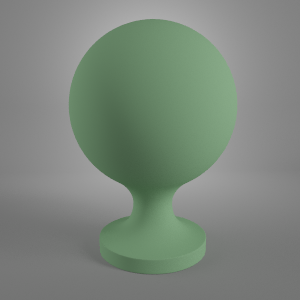
2. When should we use blend over other types of materials?
Typical scenarios where you would need to use Blend are:
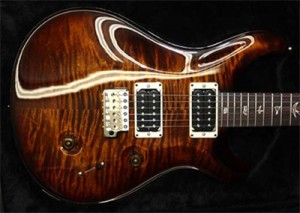
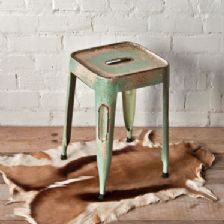
2. When an object has radically different surface properties in large areas. In this example photo it’s easier to create two different shaders for galvanized metal and rust and blend them together, instead of trying to do it all in one material.
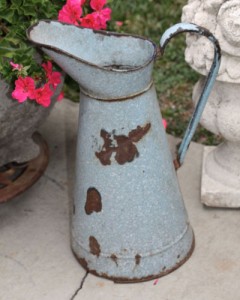
3. When the shader needs to be easily and quickly modified. Let’s say you have a rusty painted metal material with 3 different types of surfaces – metal, paint and rust. Theoretically it would be possible to build elaborate mix maps and custom painted textures to create all these effects in a single material… but imagine if you need to change the rust pattern “oh yeah, the material looks great, just make it a bit less rusty!” What a nightmare! You have to go through all the maps and adjust them one-by-one to make this “small” change.
Now imagine that you have 3 layered blend instead (Metal, Paint and Rust layers). Everything is controlled by two simple b&w masks that can be adjusted quickly and easily. Saves a ton of time and is far less frustrating.
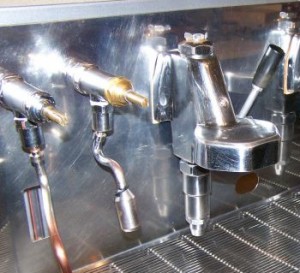
4. When the object needs a specific shading effect that is not possible with a simple material. A good example would be worn and/or slightly dirty metal that has glossy and blurred reflections at the same time.
3. Examples and Common Issues
3.1 Blending Two Different Materials
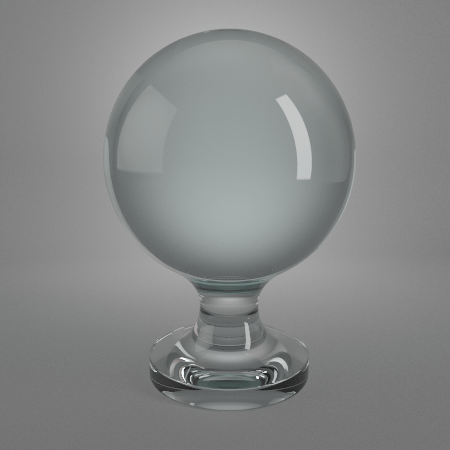
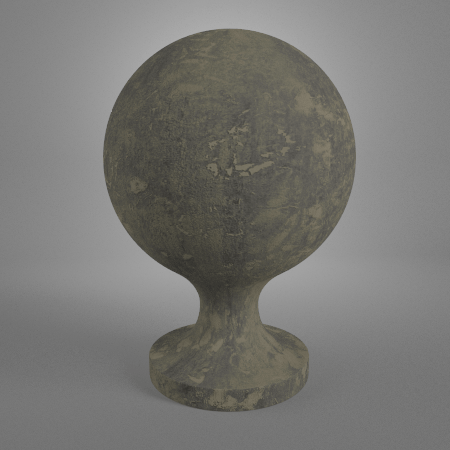
This is perhaps the most common use of VrayBlend. Imagine that you have two radically different materials that are assigned to the same object. For example – dirt spots on glass. Glass is refractive and reflective, while dirt has very weak and blurred reflections and it’s not refractive at all, so It makes sense to create 2 materials and just blend them with a black and white map.
Here’s the glass material…
And here is the dirt material…
Now we simply plug them into the Base and Coat slots and assign a texture to the Blend Amount…
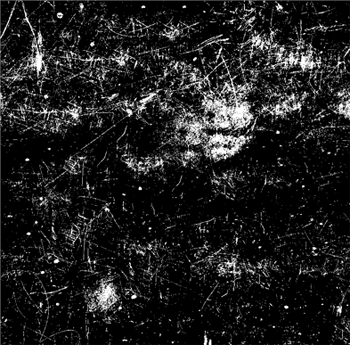
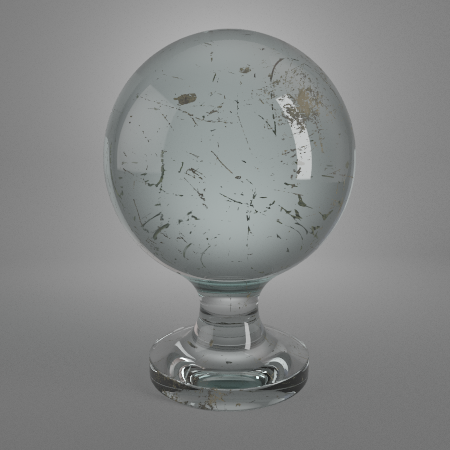
That’s it! The result looks good and you can always swap the Blend Amount texture for something different to change the dirt distribution.
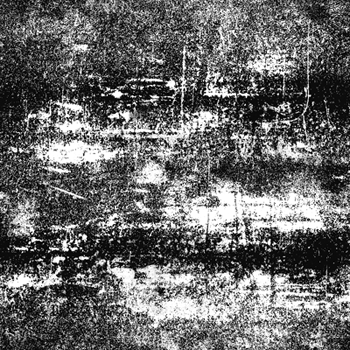
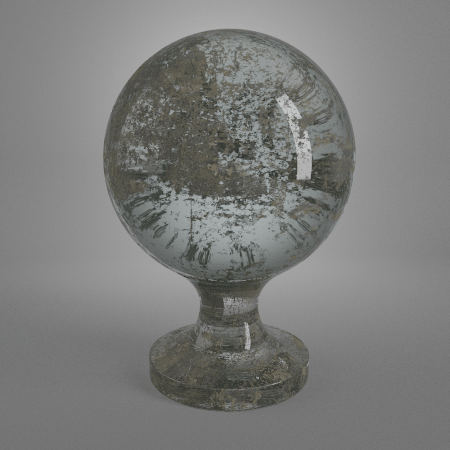
3.2 Reflective Layers
Most of the time it’s fairly easy and intuitive to break down the Blend into multiple simple materials. They look exactly like you think they should look. Metal is metal, wood is wood, etc. The only exception is with Refractive layers. Things like Lacquer, Clear Coat, Epoxy, etc. While they’re refractive in the real world, you should not make them refractive in Vray. This simply gives a strange and incorrect result.
Let’s say we have a green plastic material and we want to add a clear coat reflection to it (imagine it’s been dipped in lacquer).
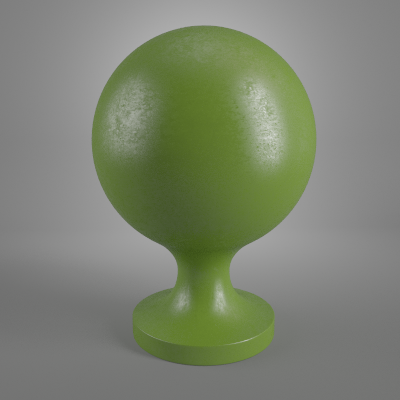
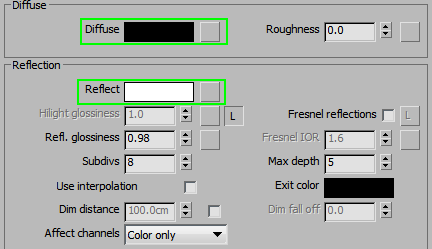
The way you would approach it is perhaps counter-intuitive, but it works very well. Set up a VrayMtl with black diffuse and 255 white reflections (fresnel off) in the Coat material slot.
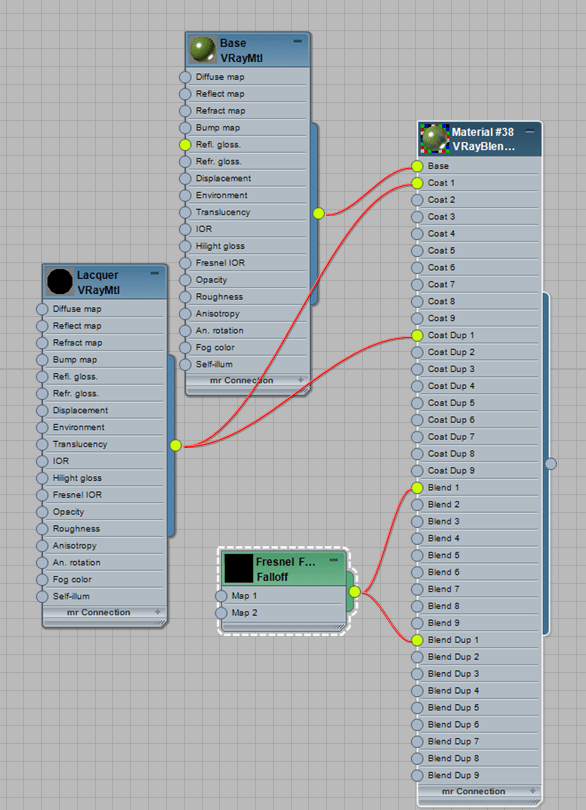
For the Blend amount, use a Falloff map set to Fresnel with 1.5 IOR (acrylic). Now lower the white color slightly to something like 215.
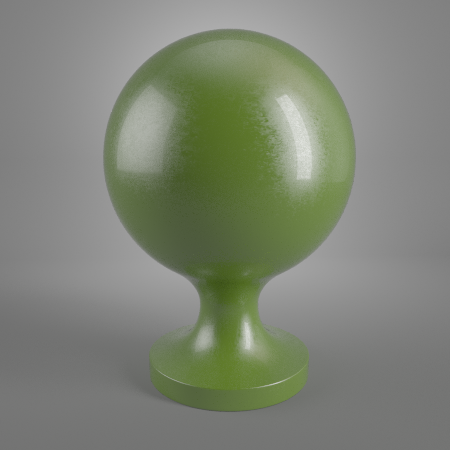
And here is how the resulting shader looks. The effect is exactly what we were trying to achieve.
3.3 Bump
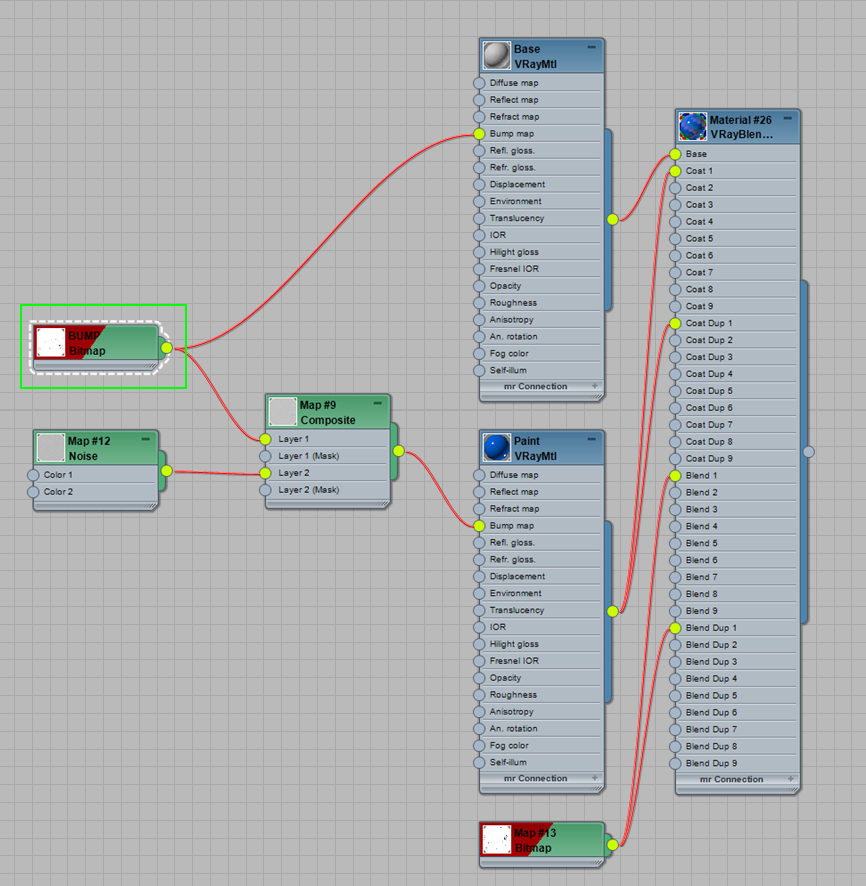
One of the most common problems with VrayBlendMtl is Bump. To look realistic, the same map should be featured in all the layers, especially if the mask is very high-contrast with sharp borders around patterns.
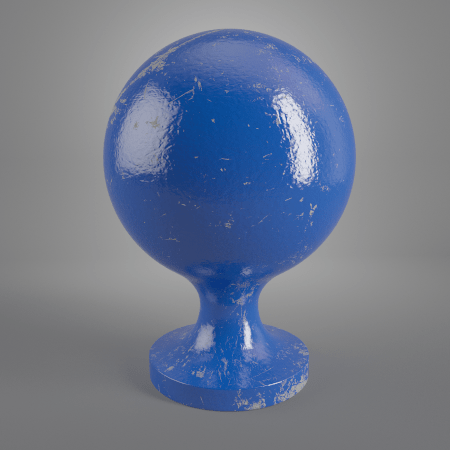
Here is an example. This scratched paint material has bump in white layer only. Not that great, is it?

Now, we’ve added the same bump map to the Paint material as well.

Looks better, but what if you also want to add some ‘orange peel’ effect? If you need additional bump effects, you have to change the map type in that particular layer to composite and instance the common texture in there. Now you can composite other maps on top of it, while still keeping a the common bump as well.
In future VRay versions (v3) this can be made much simpler by using a VRayBumpMtl. This functionality will allow you to add common bump to the whole material, on top of each layers existing bump.
3.4 Glossiness blend
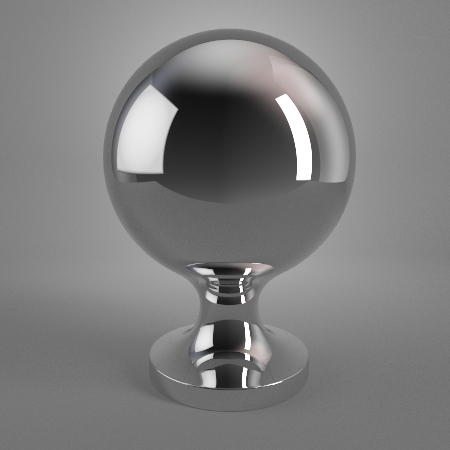
Let’s see how we can create an advanced shader that currently is impossible with regular VrayMtl. The effect we’re looking for is a ‘tail’ for the Reflections.

First of all, I’ll set up a basic metal material in the base slot.
Now let’s copy the material to the next two coat slots and gradually reduce the Glossiness value like this.


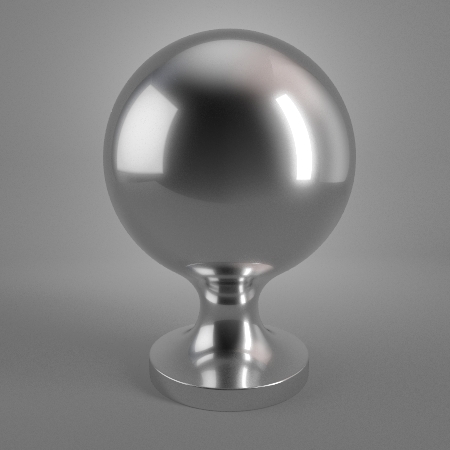
Finally, you just need to adjust the Blend Amount color for both coat slots. Usually the further the reflections are blurred, the less we want the layer to be visible. So reduce the second coat amount more.

And here is the result…
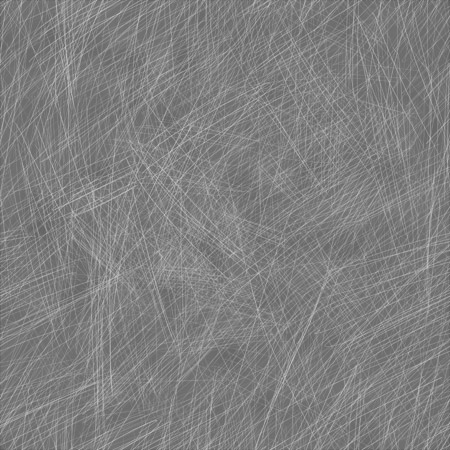
To make it more interesting, you can use texture instead of color in the Blend Amount slots. Here we’re using a simple scratch-map…
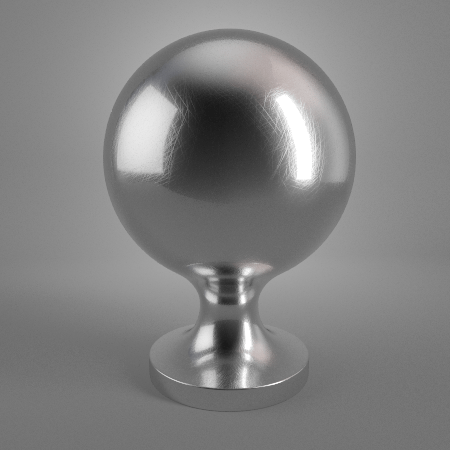
As you can see there are many different ways you can use the VrayBlendMtl. It’s not just for blending two different materials, it can be used in much more creative ways as well.
Special thanks to Austris Čingulis from Viscorbel.com for helping us create this material tutorial.

