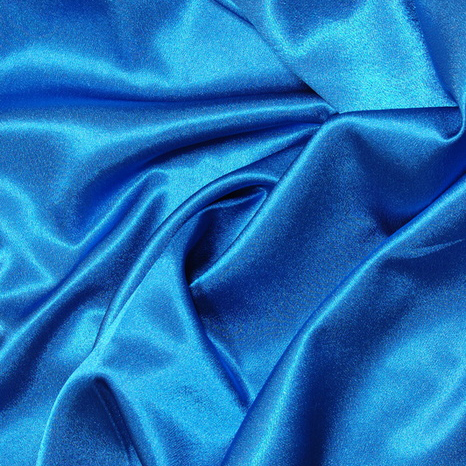
Silk fabrics need some special shader setups to look realistic. Since these effects are caused by thousands of fibers reflecting the light in different ways, it’s not easy to replicate the look exactly, but we can get close.
The main characteristic of silk is that it has a beautiful shine. The highlights appear only at specific angles, mostly on the areas that are facing the viewer directly (the exact opposite of velvet).
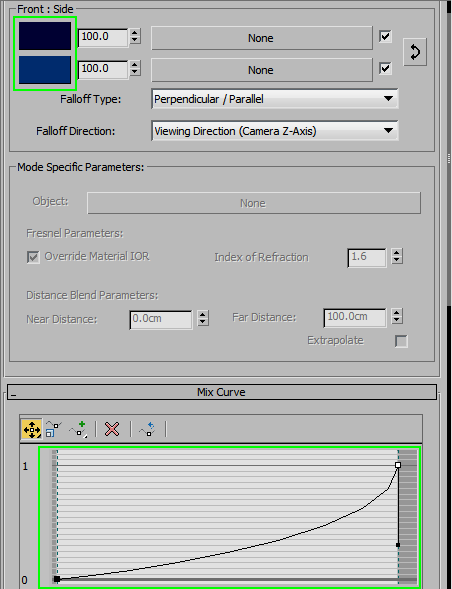
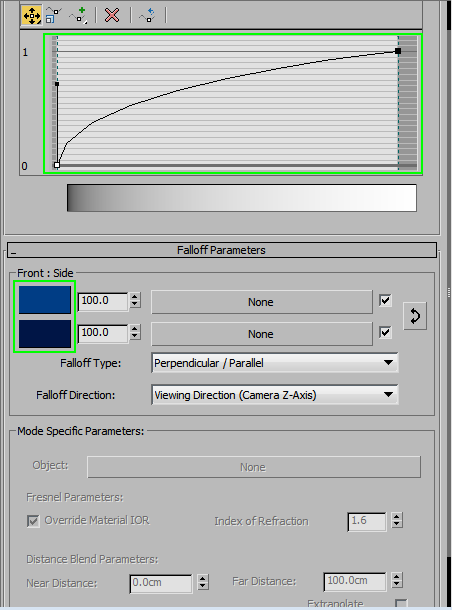
Let’s start by creating a new VrayMtl and setting up a Falloff map in the Diffuse slot.
Use two different shades of blue and adjust the curves as shown:
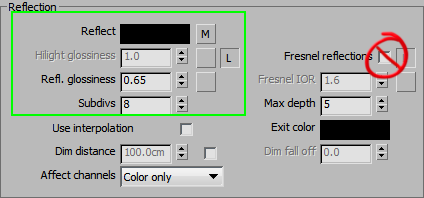
In adding some reflection, we will try to create the signature look of silk.
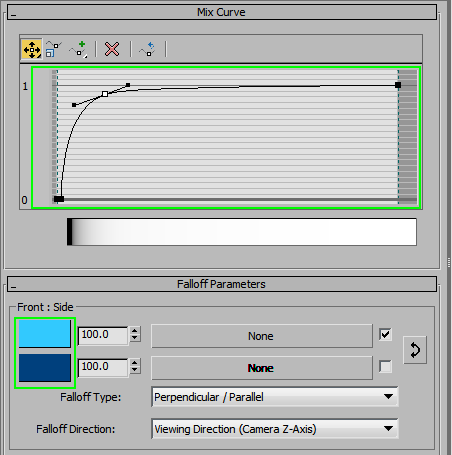
Use a Falloff map in the Reflect slot for this effect (settings in example below). Reduce the Glossiness to make the silk look shinier. You do not need to enable Fresnel, as the Reflection curve is controlled by the Falloff map.
The goal is to get the highlights only on the areas that directly face the viewer. This is how it looks when rendered:
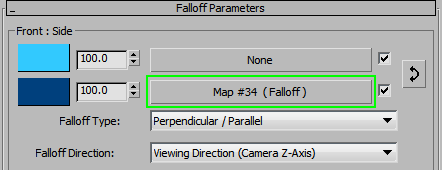
The color transition should be a bit deeper, so set up another Falloff map in the ‘Side’ slot. This way, three colors will be used to define the final Reflection map.
Now the darks are a bit deeper around the edges.
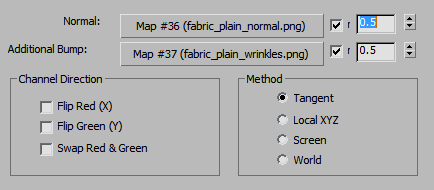
Now we need some bump. We can re-use the Normal Bump map from our plain fabric. The thread pattern is similar to silk and the wrinkles are good fit as well.
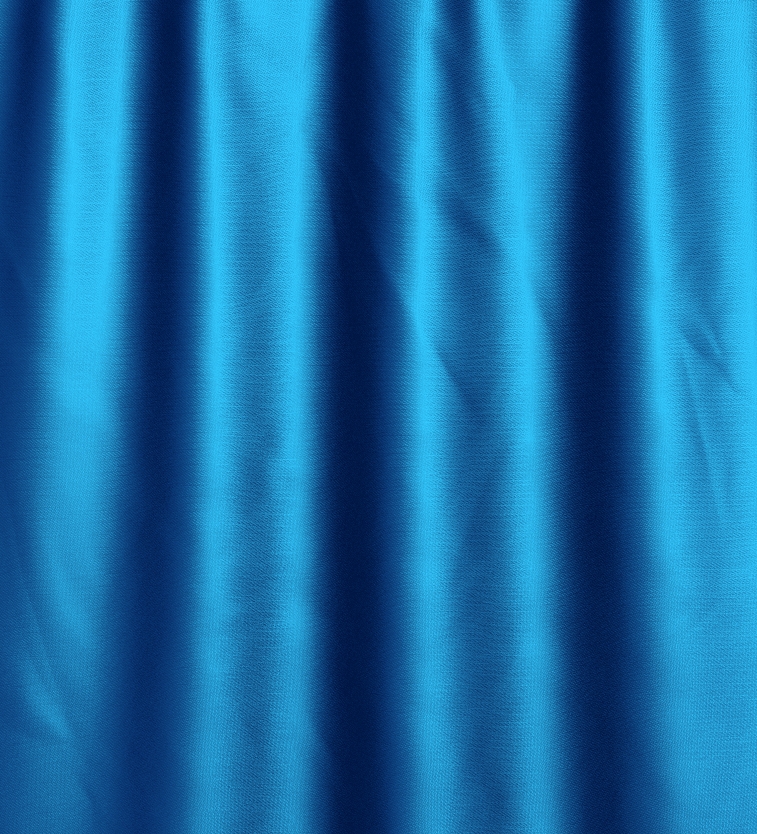
This is our final Silk material:

