Human hair is a simple material. Even so, there are a few key things to keep in mind.
The Diffuse color should always be black for clean hair and fur. Leave it at the default setting. The color will be defined differently.
Primary specular should be a desaturated gray, usually dark, or a bit lighter for oily hair. You can play with the specular amount and glossiness to create different effects. For dry hair, the specular color and amount should be lower (same goes for the glossiness). Oily hair will be more ‘shiny,’ so brighter specular and higher glossiness will be more appropriate.
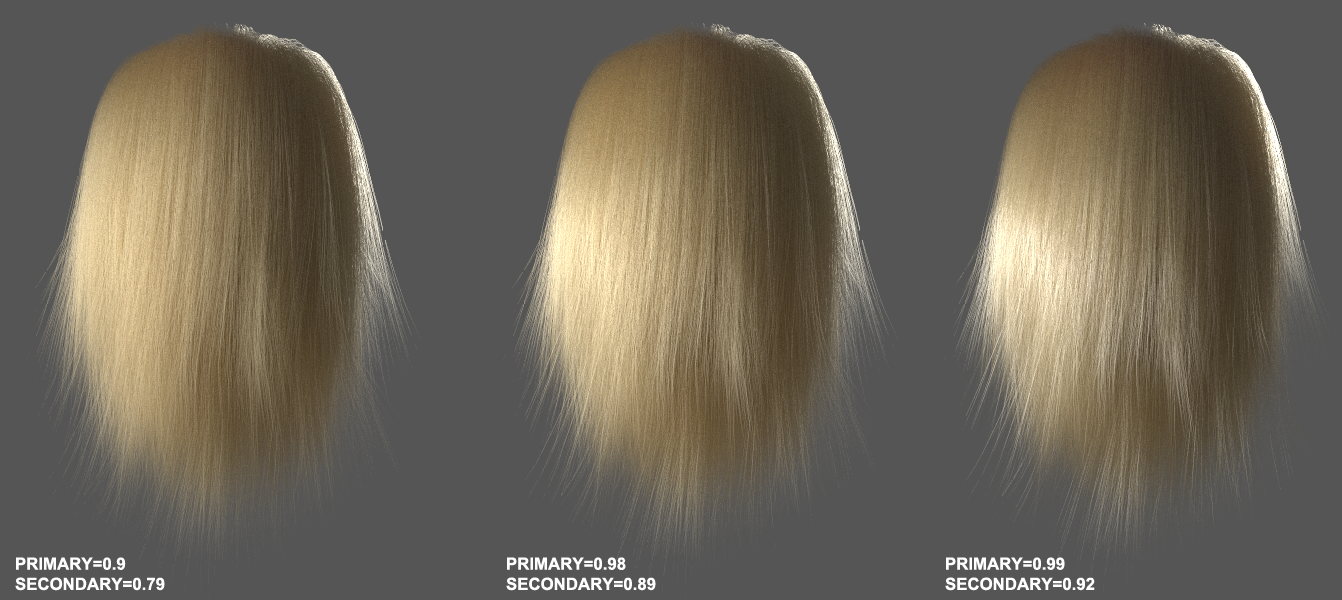
Secondary specular should be locked to transmission. This will disable the color and amount inputs and use an adjusted version of the Transmission settings. The only thing you should control here is the glossiness. There are no strict rules, but we suggest using something like 0.79~0.92. This value needs to be lower than the Primary specular to look realistic.
Here you can see how rising the glossiness values for primary and secondary speculars can make the hair look more slick and oily.
Transmission is the place where we actually define the hair color. So, for the most part, if you want to change the color, just change the transmission color. Leave the transmission amount at 1 and adjust the glossiness from 0.5 (for thin, light hair) to 0.9 (for dark, thick hair). We find it best to have both values the same.
It’s easy to get different hair colors by just adjusting this one color.
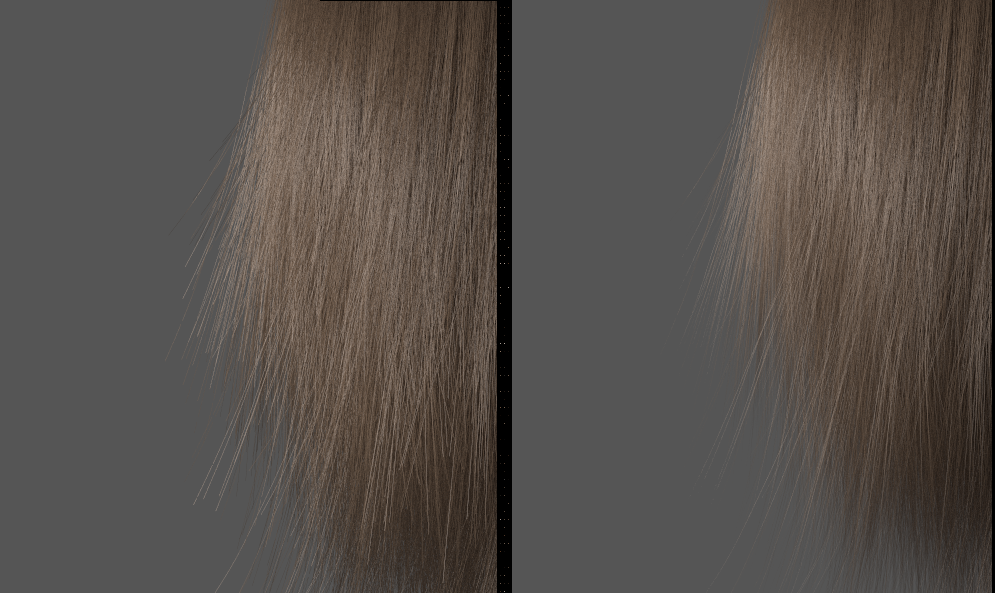
Here’s another little trick that makes the hair look softer and more realistic. It also has a side effect of making the render time longer, but in most cases, the results are worth it. You will want to use a VrayHairInfoTx as an Opacity map to change how the hair ends look. This map allows you to map a gradient along each hair strand.
Here’s the setup:
And here, you can see the difference it makes:
In the Options tab, use these settings to speed up the rendering of opacity mapped hair without losing quality.


Comments
thank you so much ~ ;_;