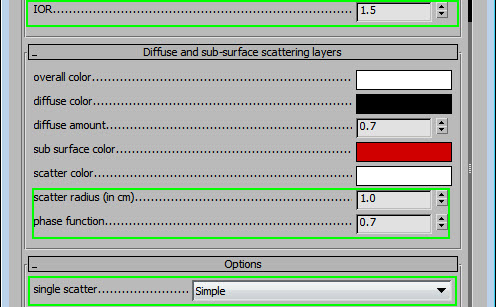
Human skin is a tricky subject that needs a SSS shader to achieve good looking results. We will use VrayFastSSS2 material for this purpose.
First of all, the skin is composed from multiple layers. The outer layer is very thin and light, while the inner layer is quite red or pink in color. Together, they create the characteristic color we see every day. Different skin colors need slightly different combinations of these two colors.
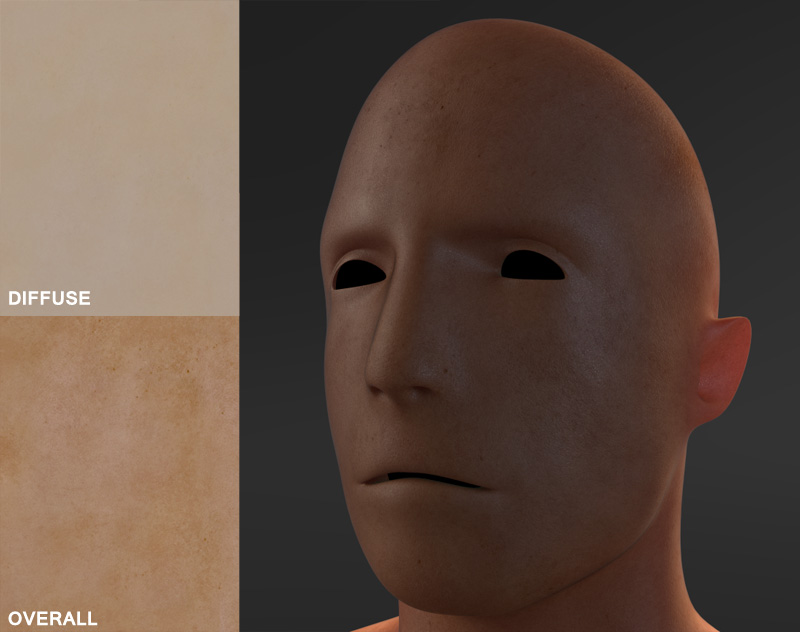
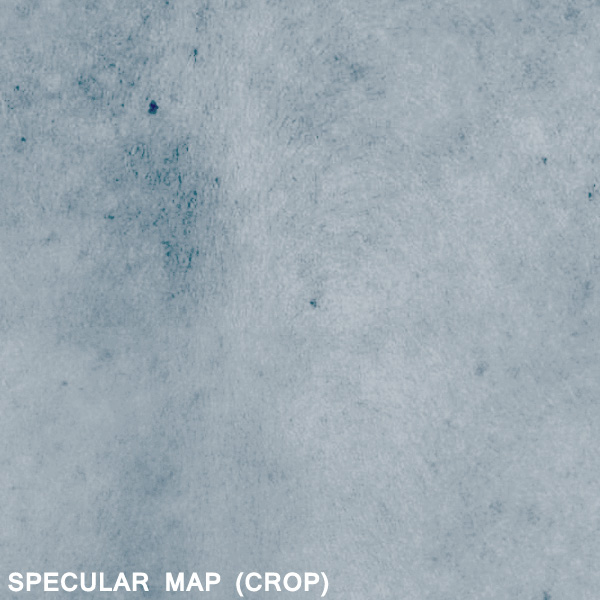
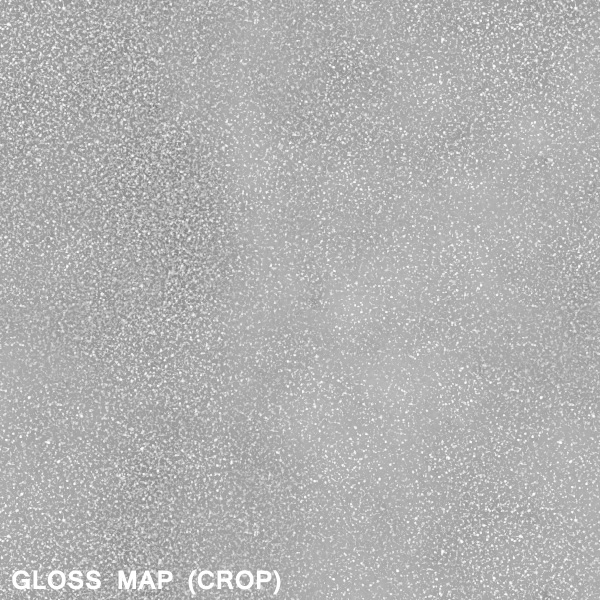
Here are the basic maps for pale/white skin: the Diffuse is set at 0.7, so 70% of the color comes from that map. When combined with the red subsurface and pink overall color, it gives a pretty good result.


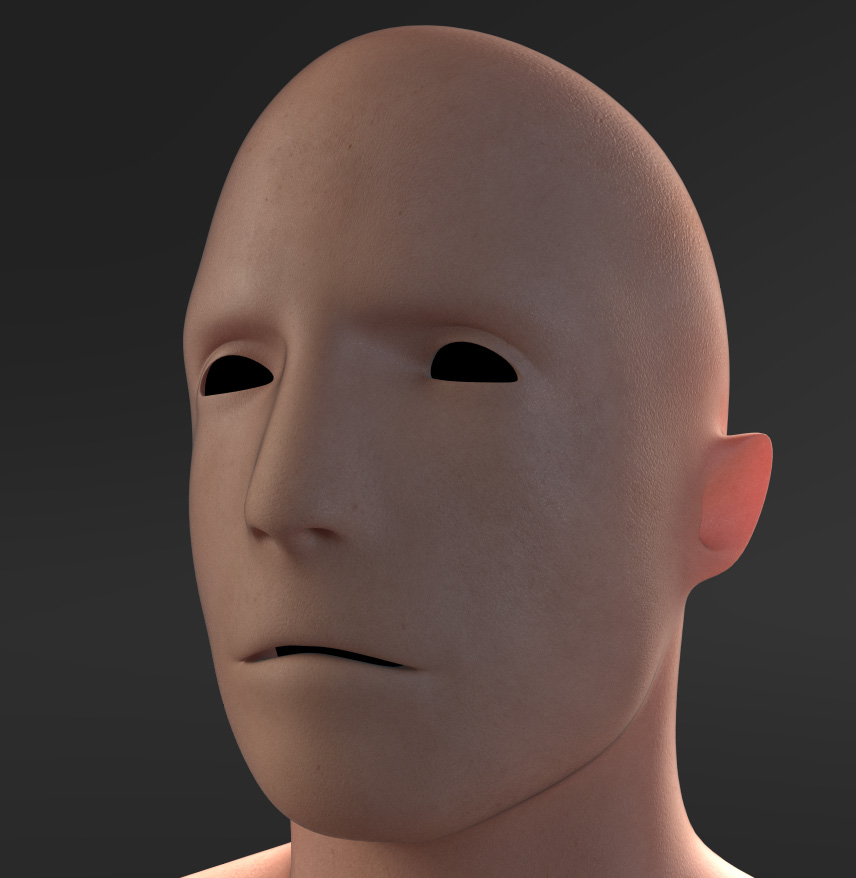
The resulting shader has nice translucency in the thinner areas (ears). Obviously, this is not tweaked to look correct on the head, but we’re just using it as an example model to show the shader on various organic shapes.
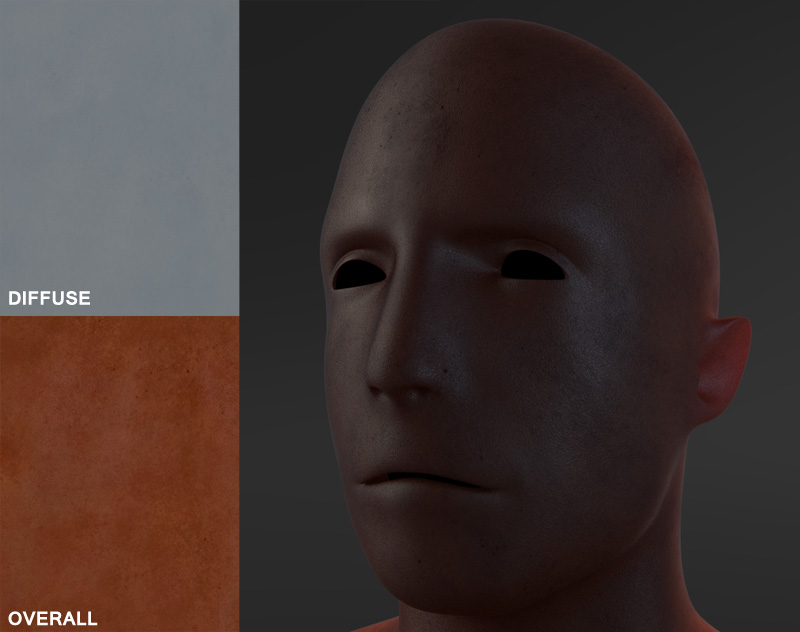
To adjust the skin color, adjust the Overall color and Diffuse color maps a little bit. Leave the Subsurface texture as it is: pink or red.