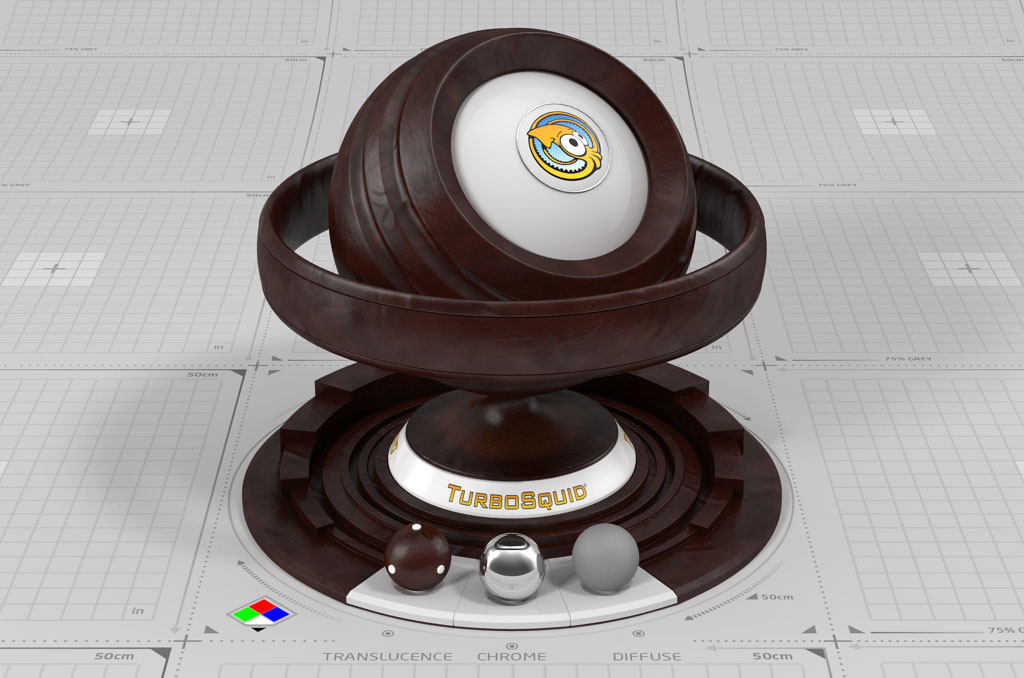
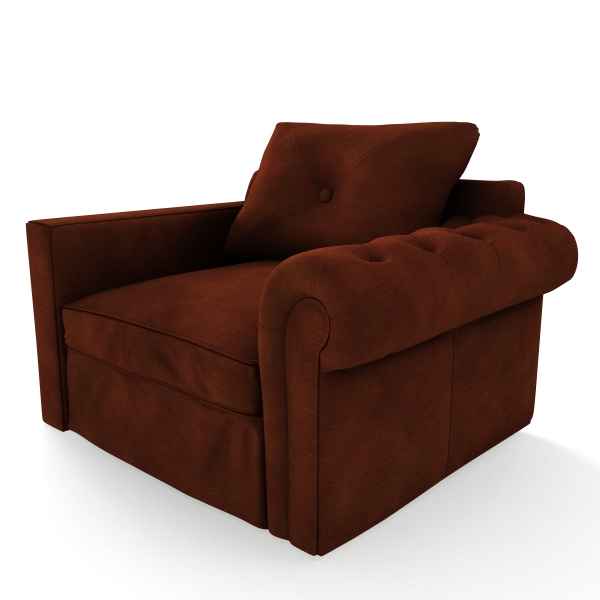
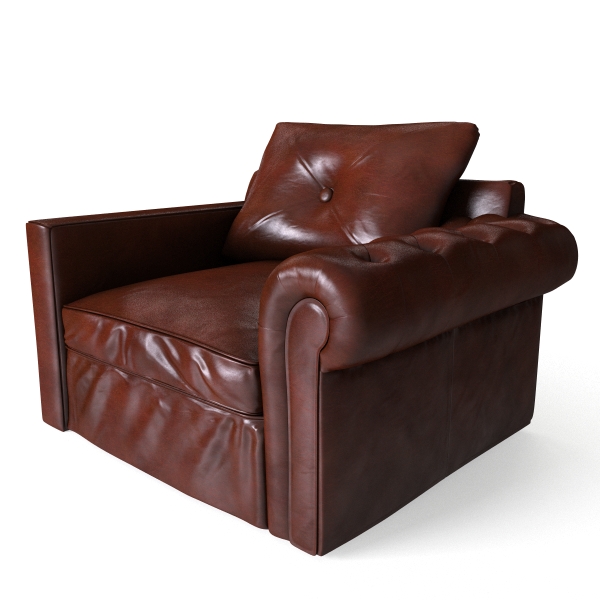
We are going to create a rich, brown, oiled leather material. This kind of leather is mostly used on high-end furniture.
First step: make the Diffuse map. At this point, you have to decide whether the material going to be re-usable on different objects, or if it will be tailored for a specific object. In this example, we will be creating a re-usable material. This will force us to use only tileable textures in the material and we won’t be able to add any specific detail in specific places on the object. The main advantage of this method is that we can easily re-use this material for different objects, by just changing the tiling options for the maps.
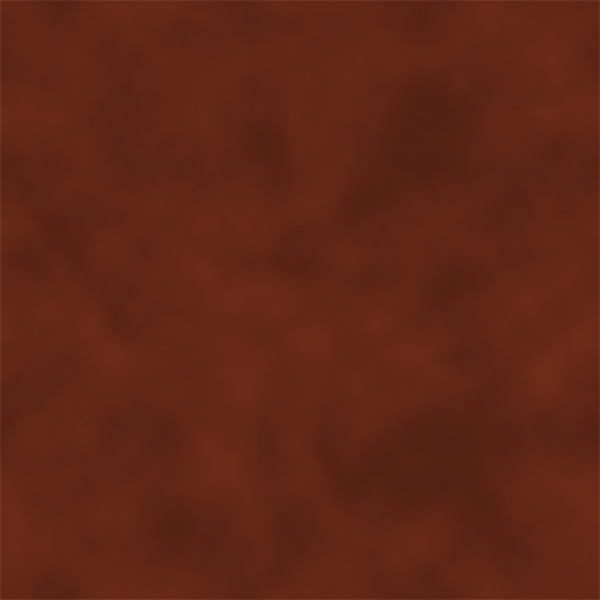
Let’s make a 4k image in Photoshop and fill it with a brown color.
Now add another layer with some dark patches. Blur it and drop down the opacity so it gives a hint of brightness variation to the texture. You can also use Filter->Render->Clouds to generate some procedural patches for this layer.
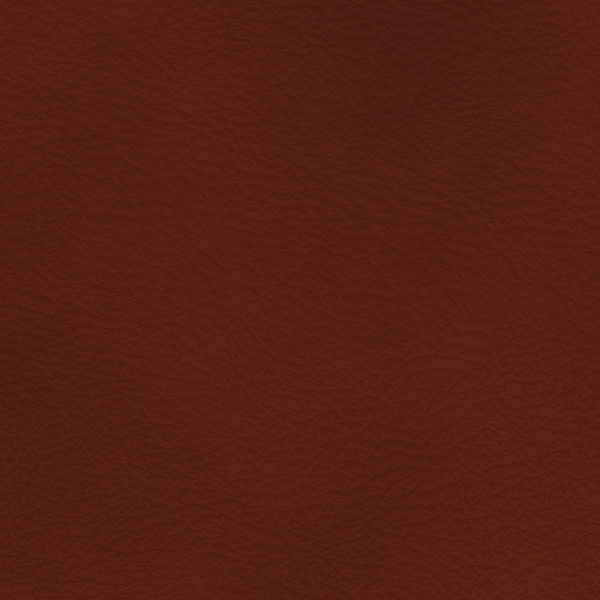
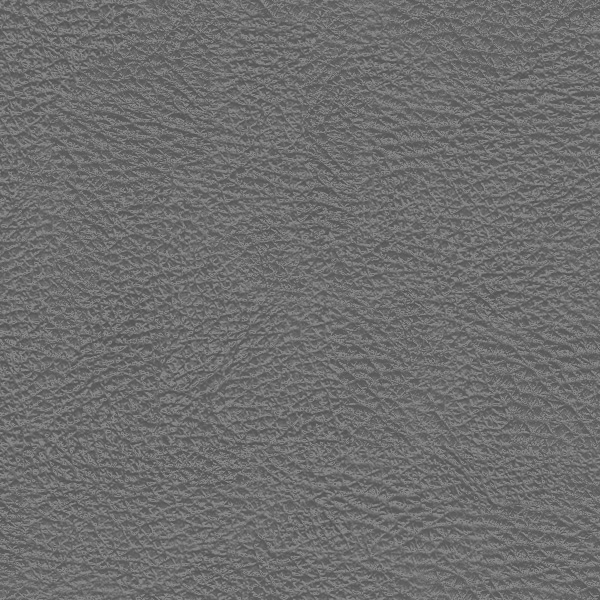
Add another layer (this one should have a tileable leather pattern). Drop down the opacity and set the blending mode to Soft Light. Here’s a 100% crop:
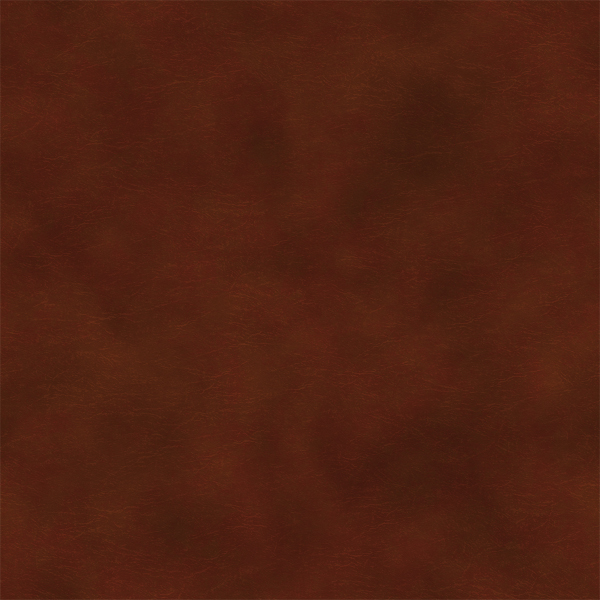
Add some hue variations to the texture. Add a hue/saturation adjustment layer and shift the hue around +5. Now add a mask to this layer and paste some patchy, tileable, 4k texture in there.
We’ll go ahead and add one more layer, this one with a few longer creases to make the leather look a bit worn in. Make the creases lighter than the rest of the map.
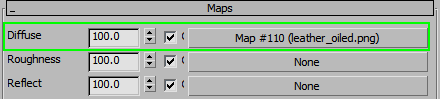
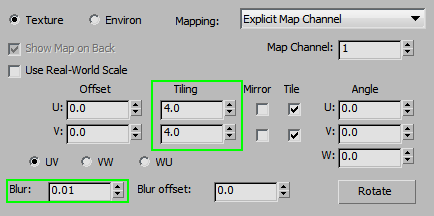
Save the image and use it as the Diffuse map. Adjust the Tiling as necessary and reduce the Blur value.
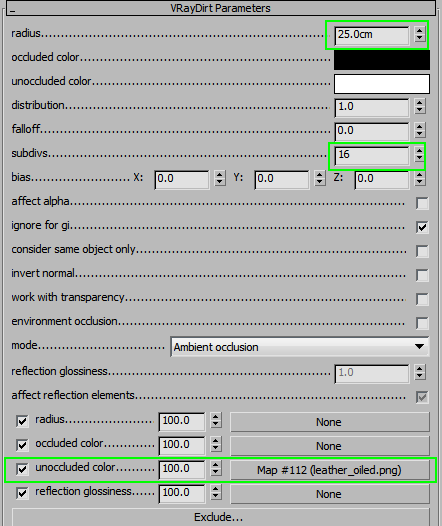
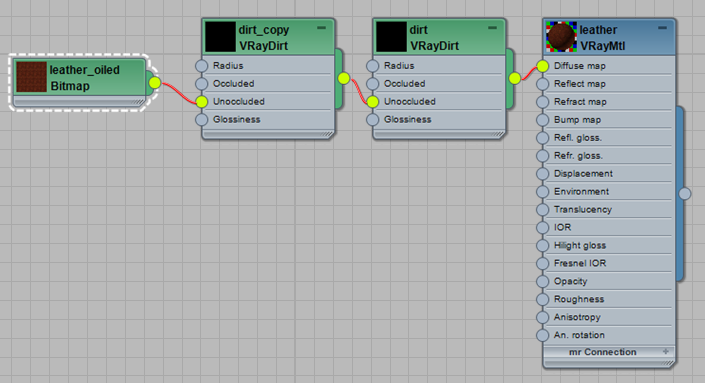
Since we are creating a re-usable material, add some ambient occlusion with VRayDirt. Just keep the old Diffuse map as sub-map and move it to the Unoccloded color slot. Adjust the radius of Dirt and increase the Subdivs to at least 16 (otherwise, the effect is quite noisy).
If the dirt is too weak, copy the Diffuse map go inside the VrayDirt and paste it in the Unoccluded color slot, this whould make it twice as strong.
When you are happy with the Diffuse, proceed to the Reflect map.
Move all the Diffuse layers in your PSD file into a group and name it Diffuse. Now take that group, duplicate it, and rename it Reflect. We are going to adjust these layers to create a Reflect map that matches the Diffuse.
Start by desaturating the base layer. Now take the next layer and invert it, which will make the darker areas more reflective. Merge it down and adjust the contrast.
Invert the crease layer and merge it down to the leather pattern. Adjust both for contrast and set the Opacity to 30%.
Using an adjustment layer, adjust the lightness. You can fix it later if the test renders show it’s too reflective or not reflective enough.
Finally, add a Soft Light layer with some patchy looking texture. This should make the reflections a little bit more interesting.
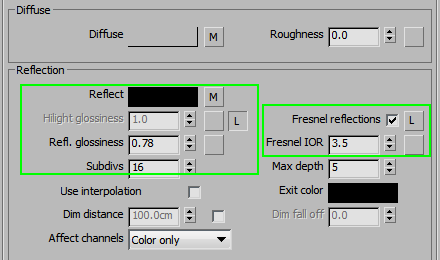
Now assign the resulting texture to the Reflect map (make sure you use the same tiling options as for the Diffuse map). Enable Fresnel and set IOR to 3.5. Finally, reduce the Gloss to about 0.78.
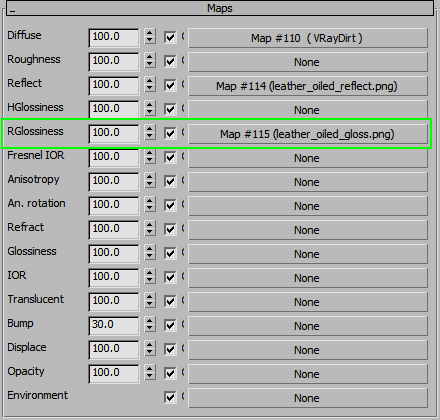
To finish off the Reflection part of the material, we’ll make a glossiness map
Duplicate the Reflect group in Photoshop and make some adjustments to it.
After adjusting the opacity level of all the layers in the group, merge them together, blurring a bit and using curves to make it brighter, but without too much contrast.
If necessary, you can blur it a bit more and use Hue/Saturation to reduce the contrast even further (do this by first decreasing the lightness, then increasing it back to the original level).
Copy the crease layer from Diffuse group and paste it on top. Invert it to make the creases darker, and adjust the opacity.
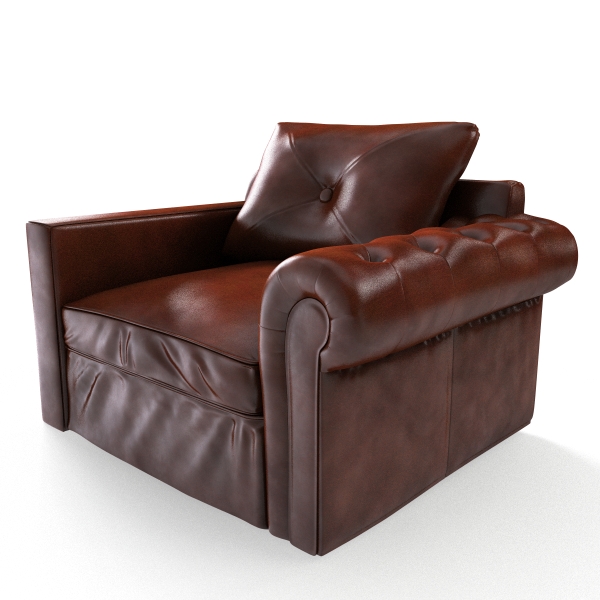
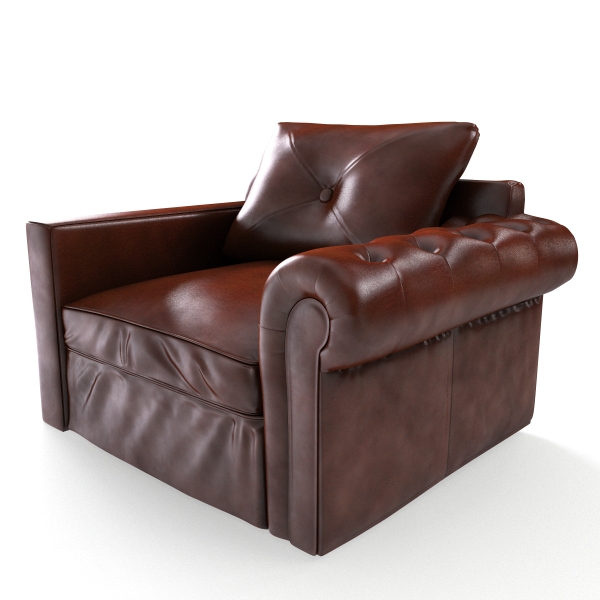
This is the resulting render after assigning the map to the Glossiness slot:
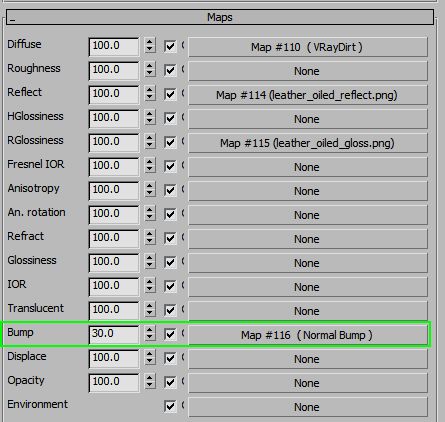
Now you may move on to the Bump and Normal maps
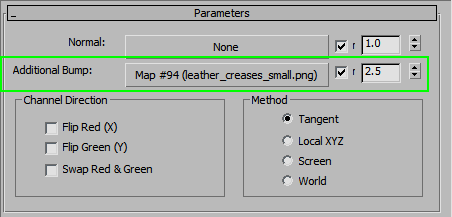
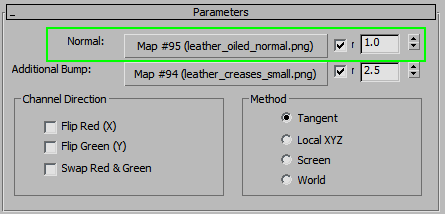
Set up a Normal Bump map in the Bump slot and use the thin leather wrinkle texture from the basic leather tutorial in the Additional Bump slot. Adjust the tiling as needed.
Change the light rotation so the reflections are a bit more visible.
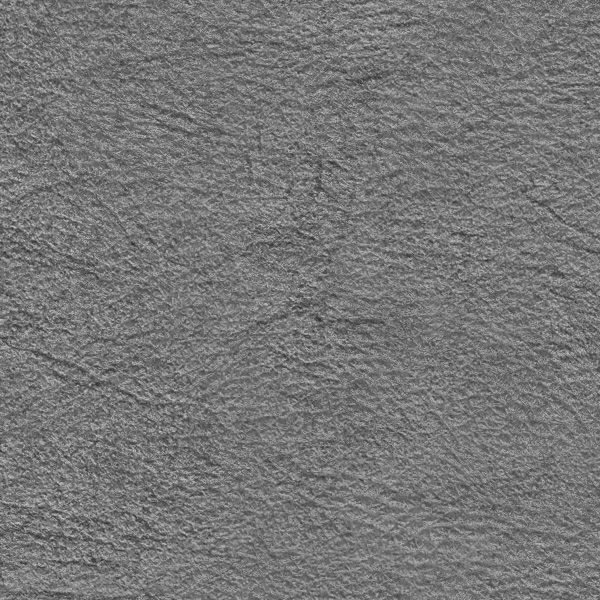
Now let’s make a normal map. Duplicate the Diffuse group in Photoshop and rename it to Bump.
Get rid of the noise, patches, and Hue/Saturation adjustments. Change the base to a simple grey color.
Increase the Leather pattern opacity.
Invert the creases, so they appear dark.
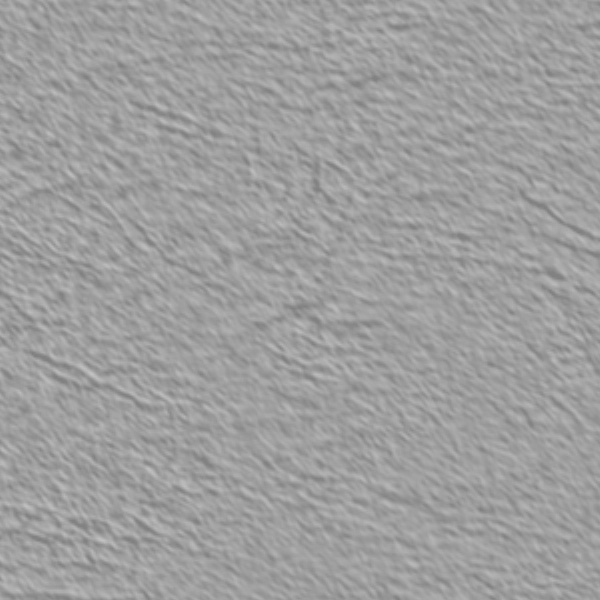
Save the resulting image and run it through CrazyBump to generate a displacement map.
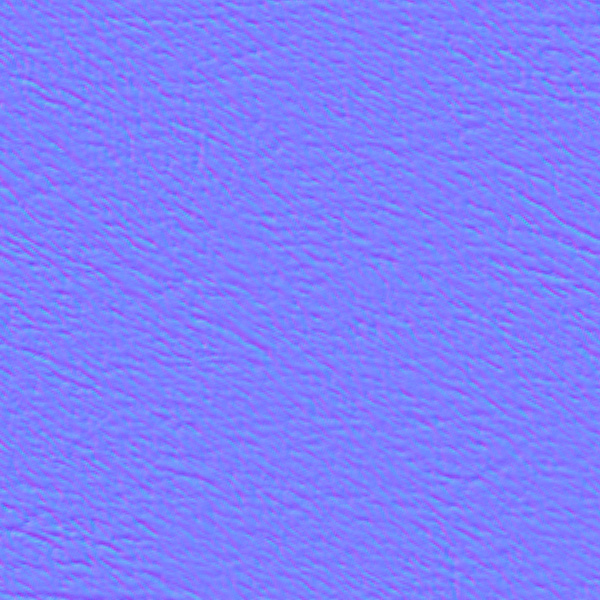
Now open that image in Photoshop and use Nvidia NormalMapFilter to generate the Normals.
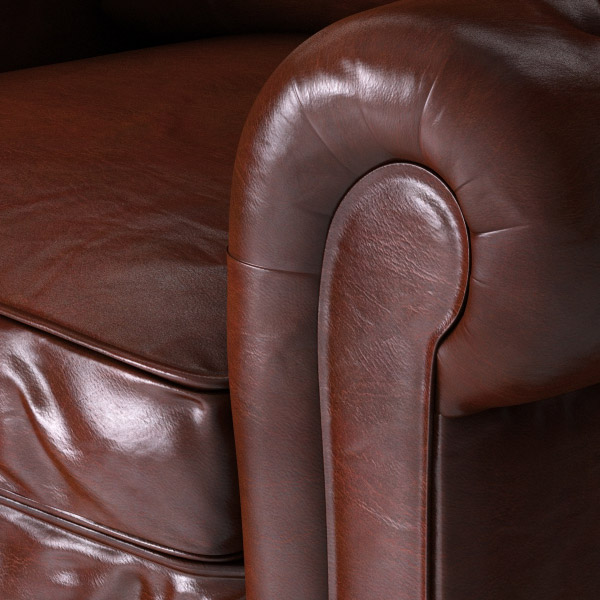
Set it up in the Normal Bump slot and check your results:
For the last step, we want to add some lighter areas to the leather. This needs to be done procedurally, since we are making a tileable, reusable material.
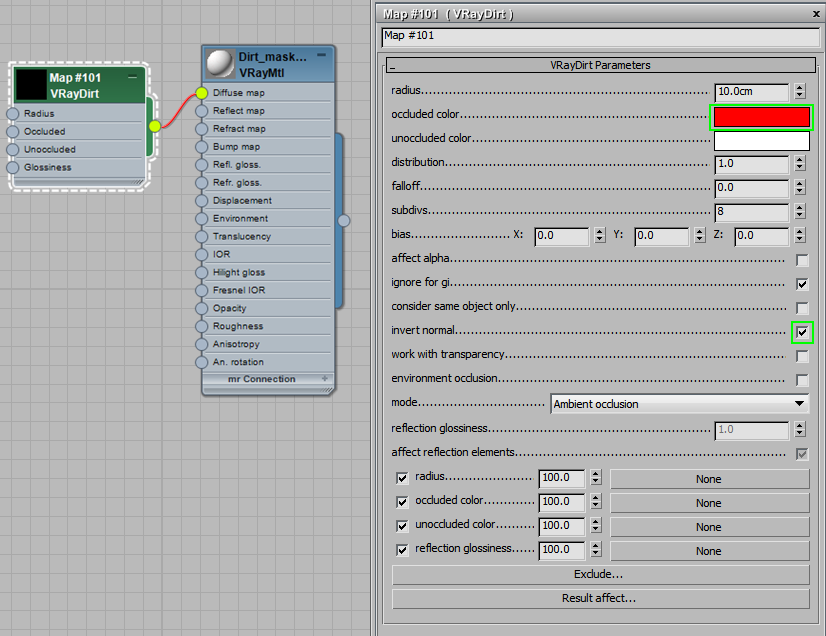
Set up a new test material with a simple VrayDirt map in the Diffuse slot. Use it to evaluate the dirt effect precisely.
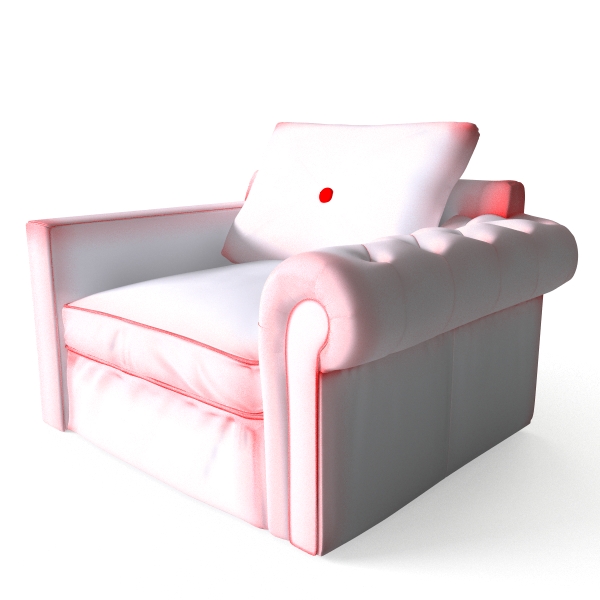
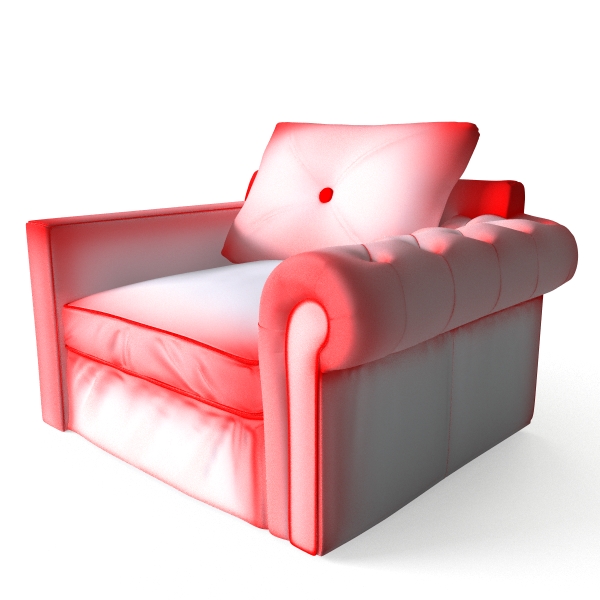
Set the Occluded color to red to get a better view of the dirt. You’ll want the dirt effect to be visible on the outside corners, so enable the Invert Normal option.
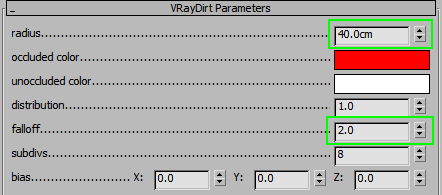
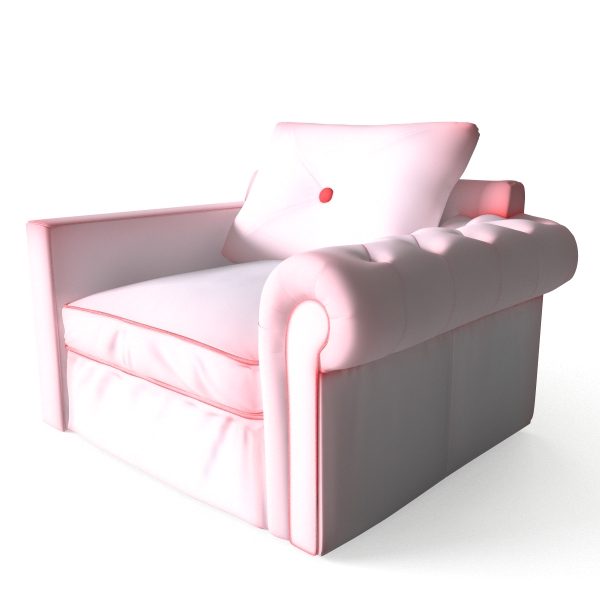
The radius should be larger, so try increasing to 40cm. We also want to make the dirt falloff a bit shorter, so increase Falloff value to 2.
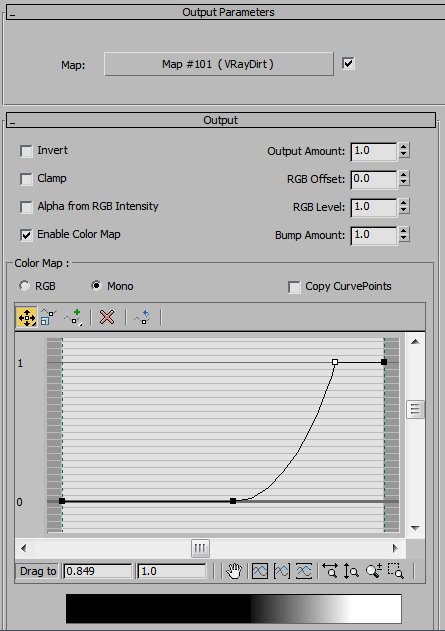
Route this VrayDirt through an Output map. Enable ‘Color Map’ and adjust the output curve as shown to make the contrast between red and white stronger.
Change the red color to black and the mask will be ready to go.
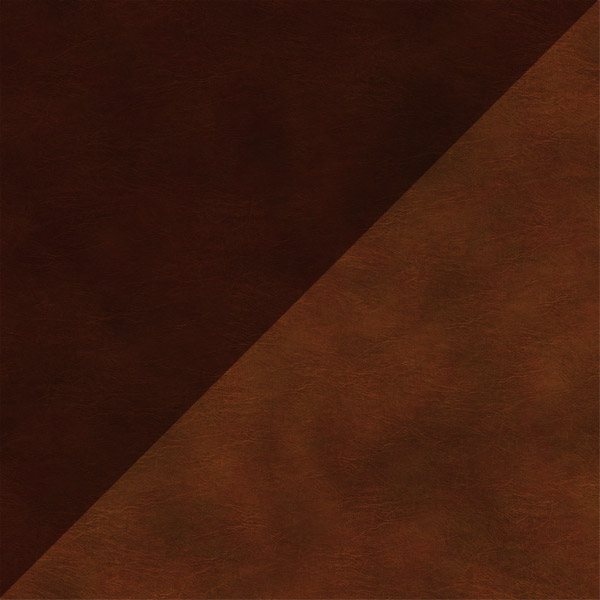
Use this mask to make the Diffuse texture more interesting. Two Diffuse textures are needed now: one darker and one lighter. This is what they will look like after some quick color adjustment in Photoshop.
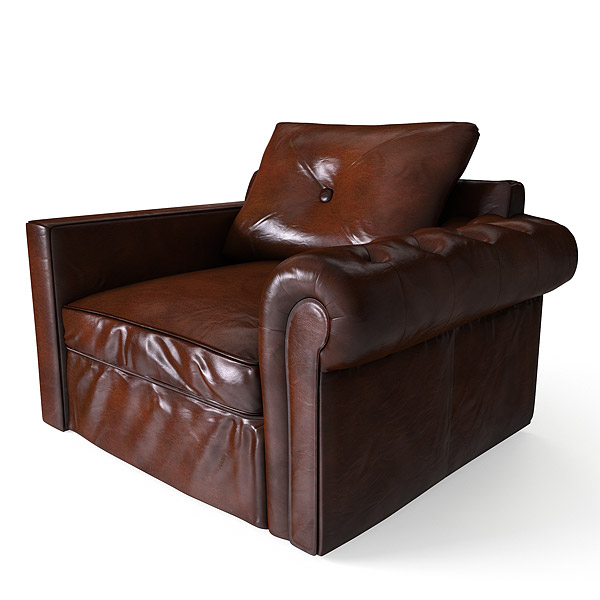
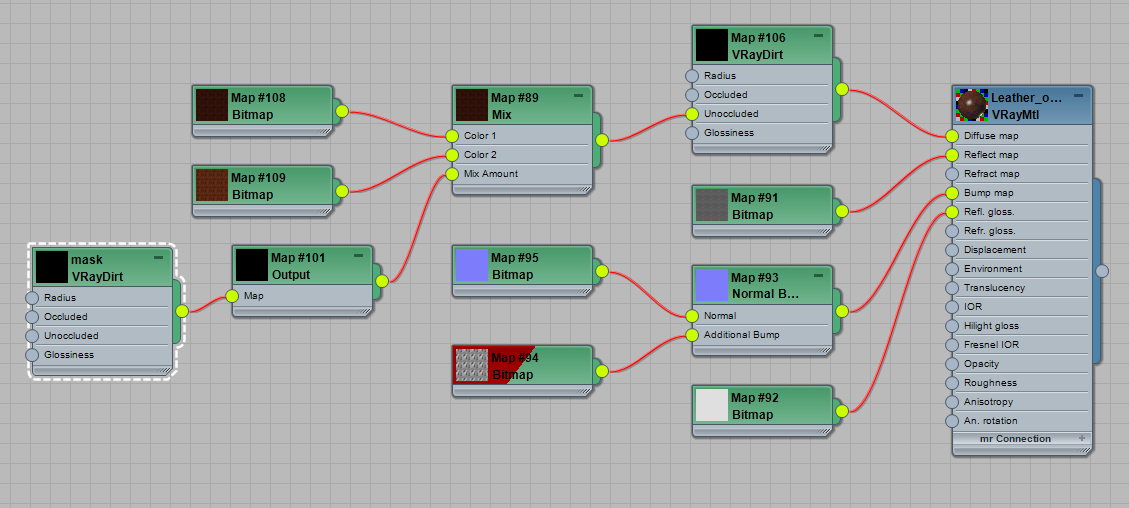
Take your oiled leather material and go inside the Diffuse slot to change the unoccluded color in VrayDirt to a Mix map.
Copy the Output map from the test material to the Mix Amount slot. Set up the dark Diffuse map in the first slot and the light one in the second slot. The result should look like the example below.
The color looks much more rich than before. Some adjustment to the Dirt and output settings may be necessary for different objects, but this method is still faster than creating a new shader for every piece of furniture.