
This tutorial focuses on a more worn material, similar to this reference photo.
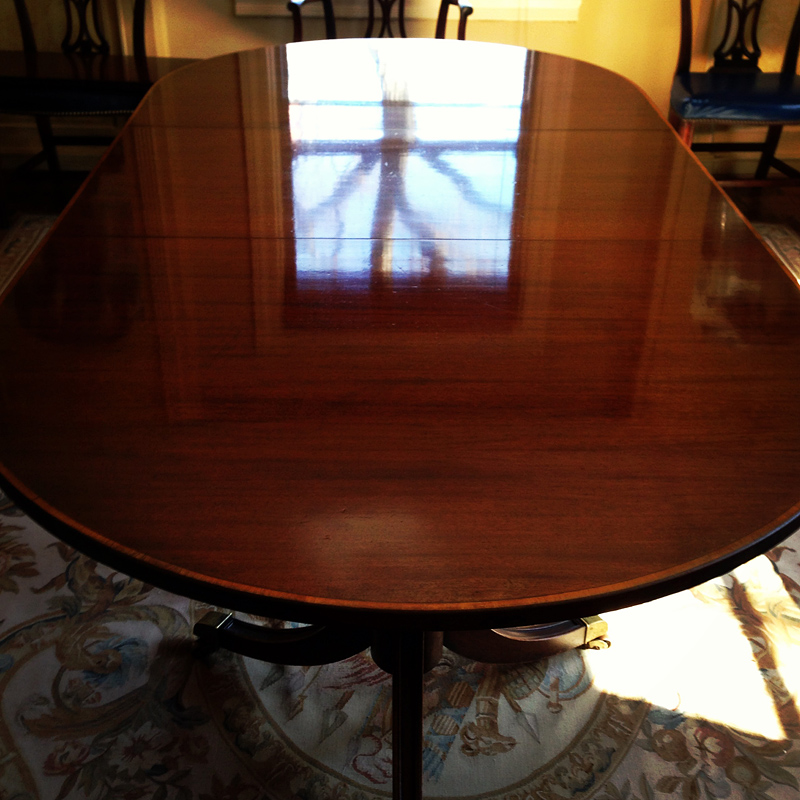
The main differences from the base material are: dirt and patina along the edges; patchier glossiness variations; and wear like spots, smudges, scratches and dents.
For faster renders, you can work on a single layered material (just drag-and-drop an instance of your VrayBlend Base material into a different mat editor slot and assign it to the test object).

Change the Diffuse map to VrayDirt. Keep the texture in the Unoccluded color slot and adjust a few settings. In this example, we increased the radius to make the effect extend further; increased the Fallof value to 1.0 to make the dirt stronger near the edges; and also enabled “consider same object only” to make sure the floor, or other objects, do not affect the final result.


On the Reflect map, add a few darker, less reflective spots and smudges.
For this example, we added a few b&w dirtmap layers on top of the original texture and adjusted the blending modes and opacity.

How it looks when rendered:

A glossiness map should make this look more interesting.
Start with a very light version of the reflect map and add a few smudges. Overall, the map needs to be very light, with the spots just a little bit darker.


For the bump, take the original map and add the scratch layer from the reflect map.


Optional Steps
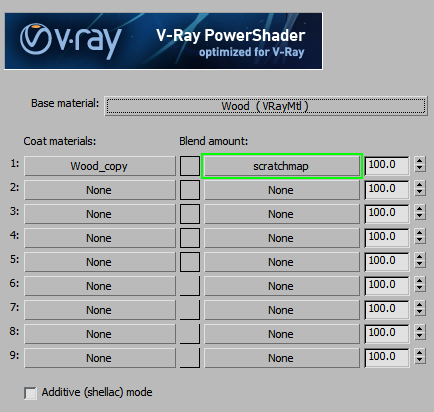
For the last step, we will go back to our VrayBlendMtl and add a scratch texture as the mask.
Here is the map:

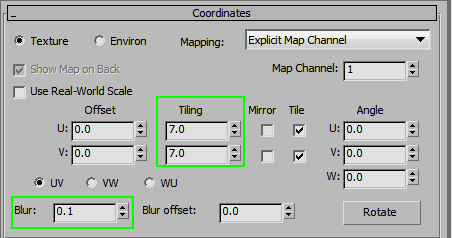
Using the setup below, you can adjust the tiling settings as needed for the object.
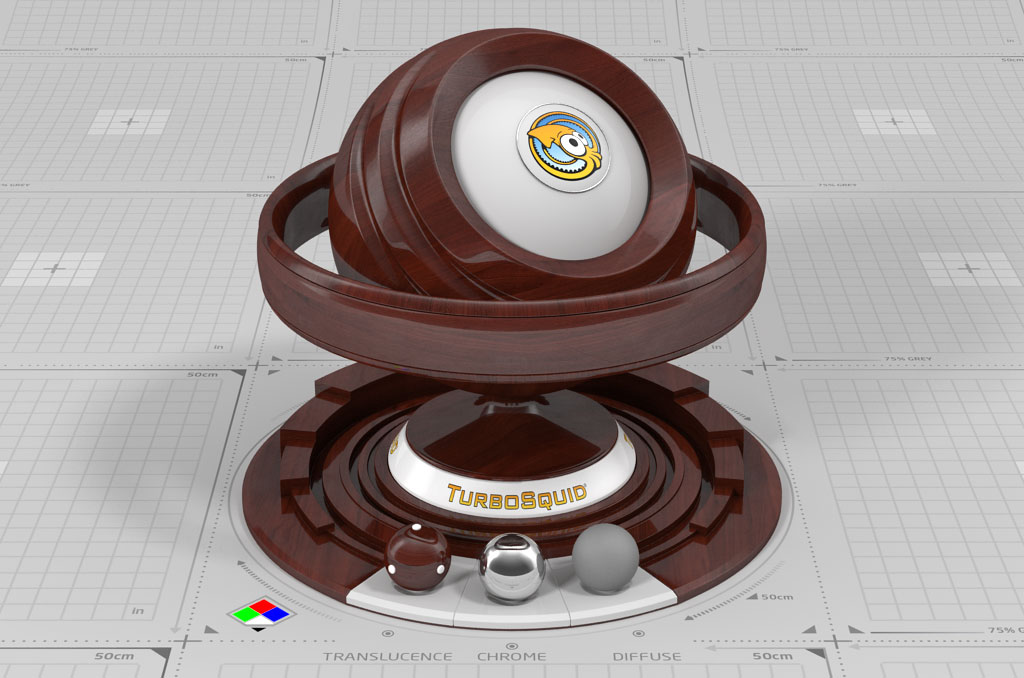
Here is the final render:
