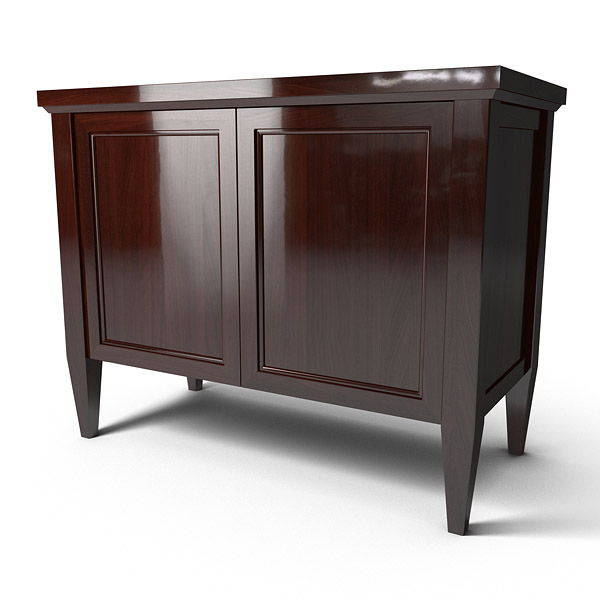
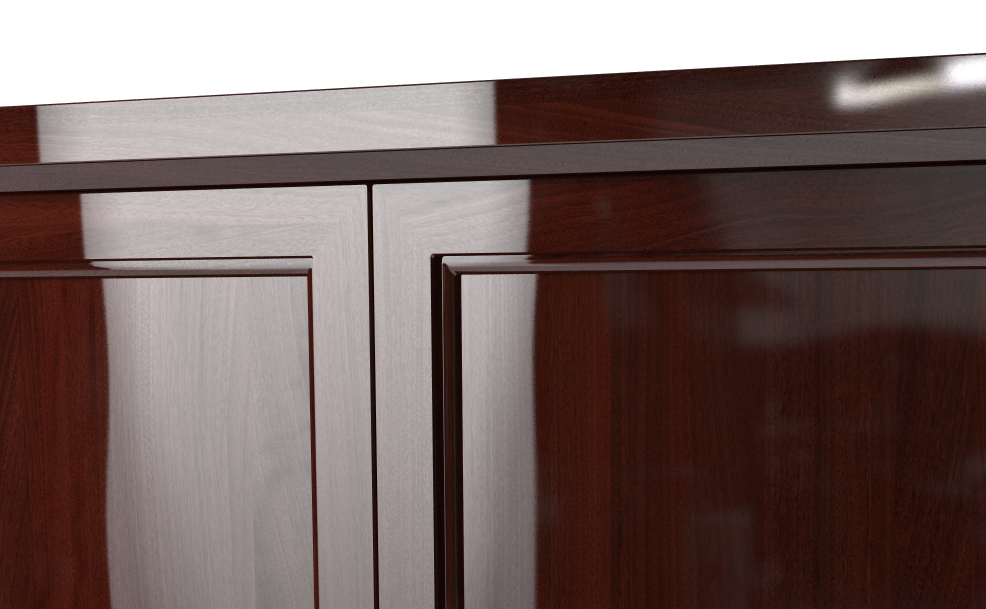
Shellac is a type of wood finish that is usually applied by hand. It can be quite reflective, but it is different from sprayed lacquer. Sprayed and polished lacquer is perfectly smooth, like glass, while shellac has a bit of a texture to it. Look at the reference photo below and notice the reflections; they are not completely sharp and look a bit distorted and uneven.

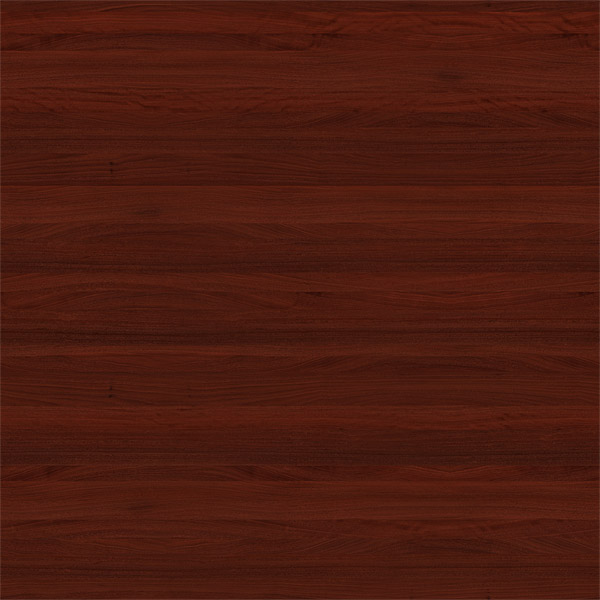
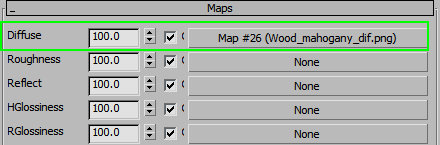
Since it’s easier to see the reflections on dark colors, use a dark mahogany-colored wood texture as the Diffuse.
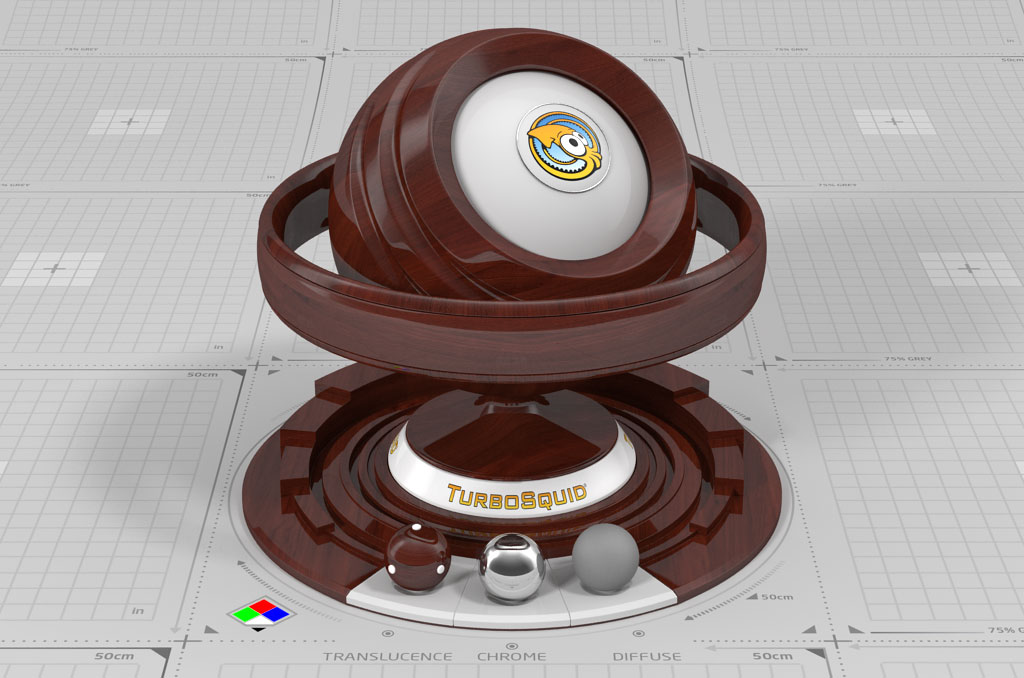
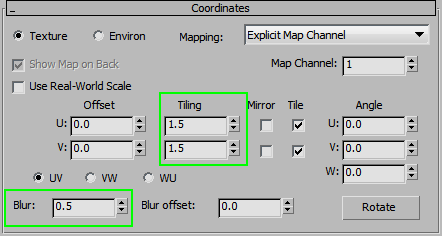
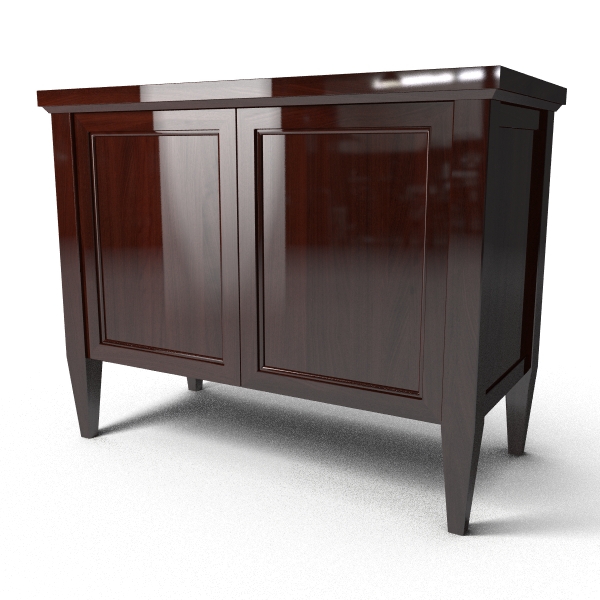
Here it is on the model. Adjust the Tiling as needed and reduce the Blur to 0.5.

This needs some reflection, so make a desaturated version of the wood texture and reduce the contrast.

Put the image in the Reflect slot and set the tiling options the same as for Diffuse. Turn on Fresnel and set the IOR around 6 (anything from 3-6 will work). Now reduce the Glossiness to 0.98 and increase subdivs to 24. This should create nice, slightly blurry reflections.

Now let’s look at the reflections a bit closer.
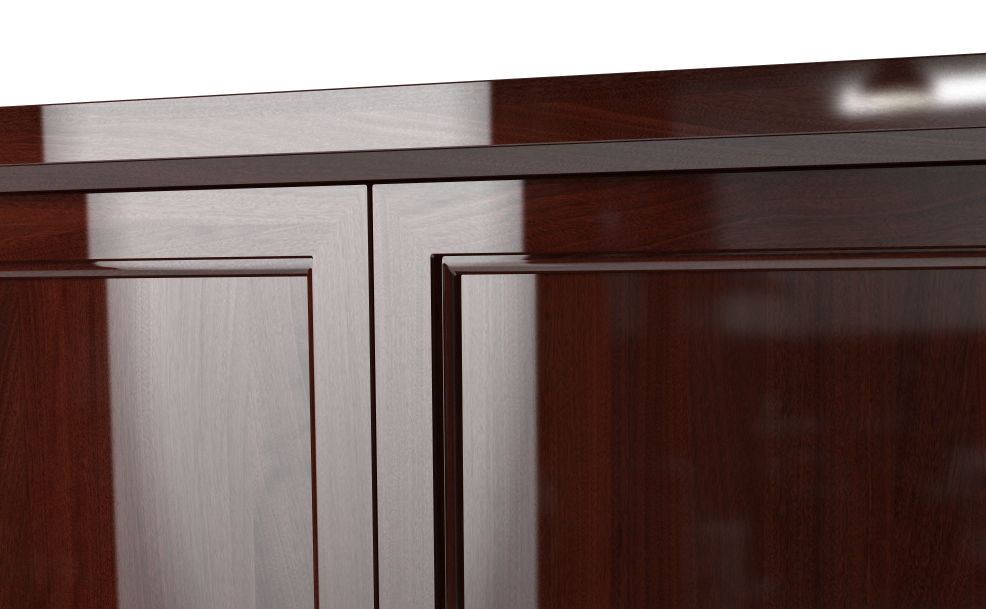
To make this look more realistic, we need to add some Bump. Right now, it looks like the surface is perfectly smooth, as though cut with a laser and polished to perfection.
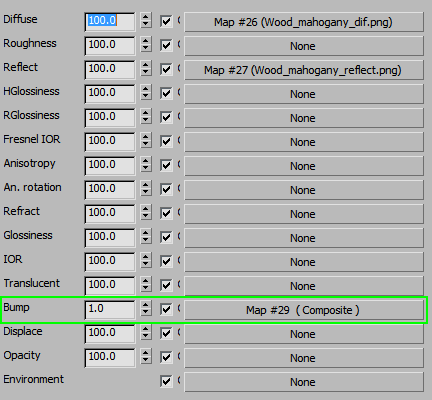
To get a nice, hand-polished look, create a composite Bump map and mix together multiple Bump maps.
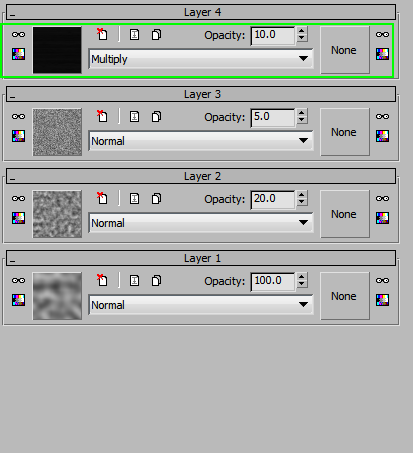
Start by creating a Composite map in the Bump slot and add a Noise map as the first layer.
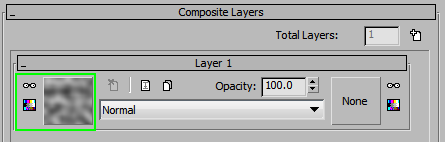

The goal for this first layer is to create some larger surface undulations, so the size is quite large when compared to the object.
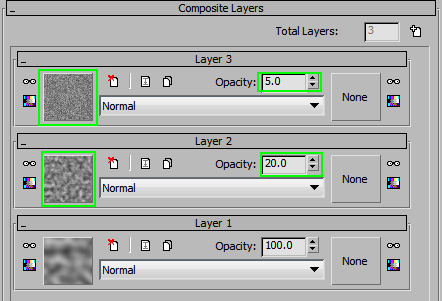
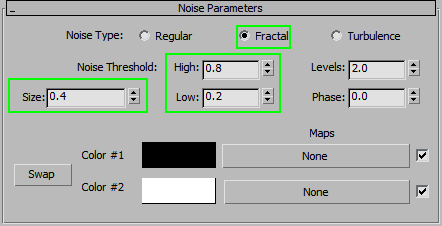
Add a couple more layers with noise (using a smaller size setting) and set the noise to Fractal. This will make the noise a bit more randorm an multi-layered. Adjust the low and high thresholds for the smallest noise layer, to make it more contrasted.


The result is close to ideal, the only thing we need to add is another layer in our composite map, one that adds wood grain to the Bump. Take a desaturated and inverted diffuse texture and add it as a multiply layer with 10% opacity. Use the same tiling options as for Diffuse and set the Blur to 0.01.


Optional Steps
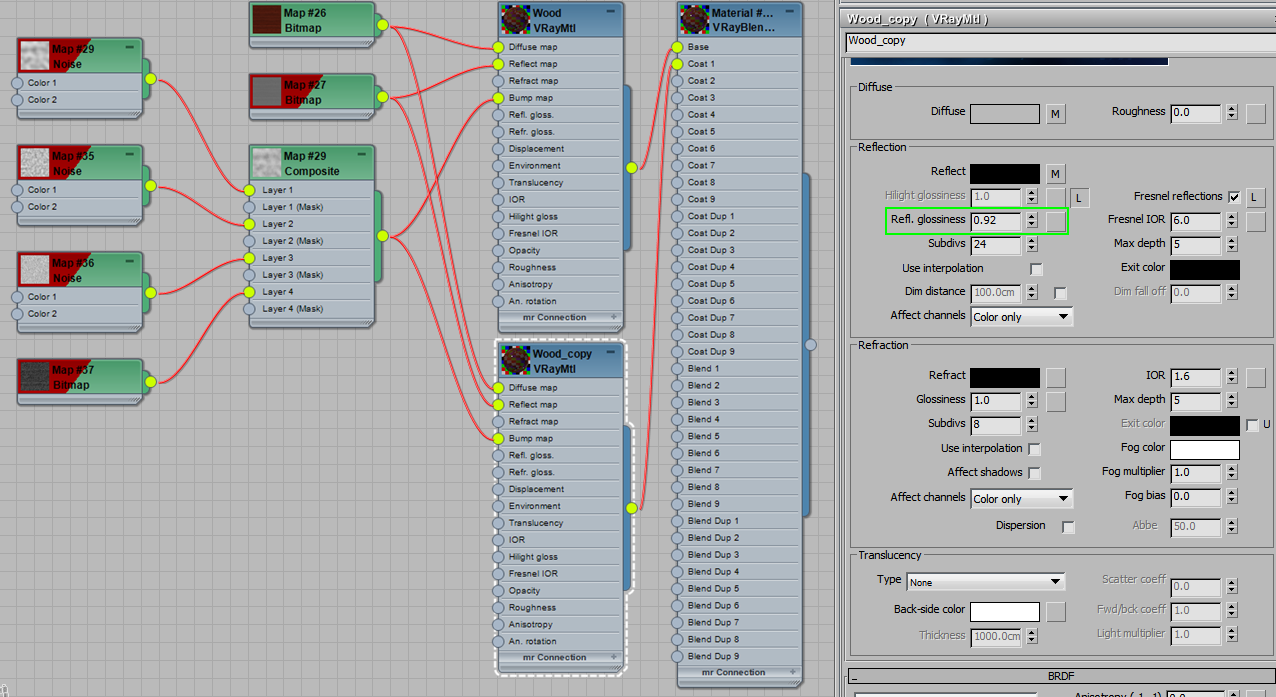
To finish this material, create a little bit of haze around the reflections. Create a new VrayBlendMtl and plug what you have so far in the Base material slot. Now copy the same material to the coat slot as well.
Bring down the glossiness to 0.92 for the second layer.
When rendered, you should see a nice haze around the reflections.