
Preparing Your StemCell Model
for Submission
How to Prepare Your Model for StemCell
You’ve finished your model and now you are ready to submit it for conversion. The automation process will do all the hard work of creating the output files and test renders, but the model will need to be properly prepared in order to work correctly. This page will guide you through the final preparation of the model before you submit it. For a more concise version of the StemCell Specifications, please check out our StemCell Checklist!
Comparing DCC and Game Engines
Before you submit your model the most important thing to check is that the renders from the DCC and Game Engine versions closely match when rendered in the StemCell calibration scenes. There will always be slight differences because of the particular way each application calculates the render, but if the textures are created correctly the renders will look very similar. If there is a noticeable difference between the DCC and RT renders, it’s a good chance that your texture values need to be adjusted. You can review the texture training to learn how to update the textures.
Checking Naming Scheme
The naming scheme for textures, objects, and materials is very important since the conversion servers require specific names to function correctly. Please review the naming conventions and check your model to see if it complies.
Preparing the Model File
Before saving the actual submission file from your 3D program, there are several settings to check. These may differ slightly in different software packages, but the concepts will still apply. For a more concise version of the StemCell Specifications, please check out our StemCell Checklist!
- Isolated Geometry – The model should only consist of the main geometry of the subject. No render stages, lights, helpers, or other objects should be included in the file.
- Layers– The geometry should be on a single layer that has the same exact name as the scene.
- Object orientation – The model should be oriented so that the main/most interesting part of the model is facing the ‘front’ view. The automated renders will be derived from this front view. The model also needs to be centered at the origin because this is where the camera target is located.
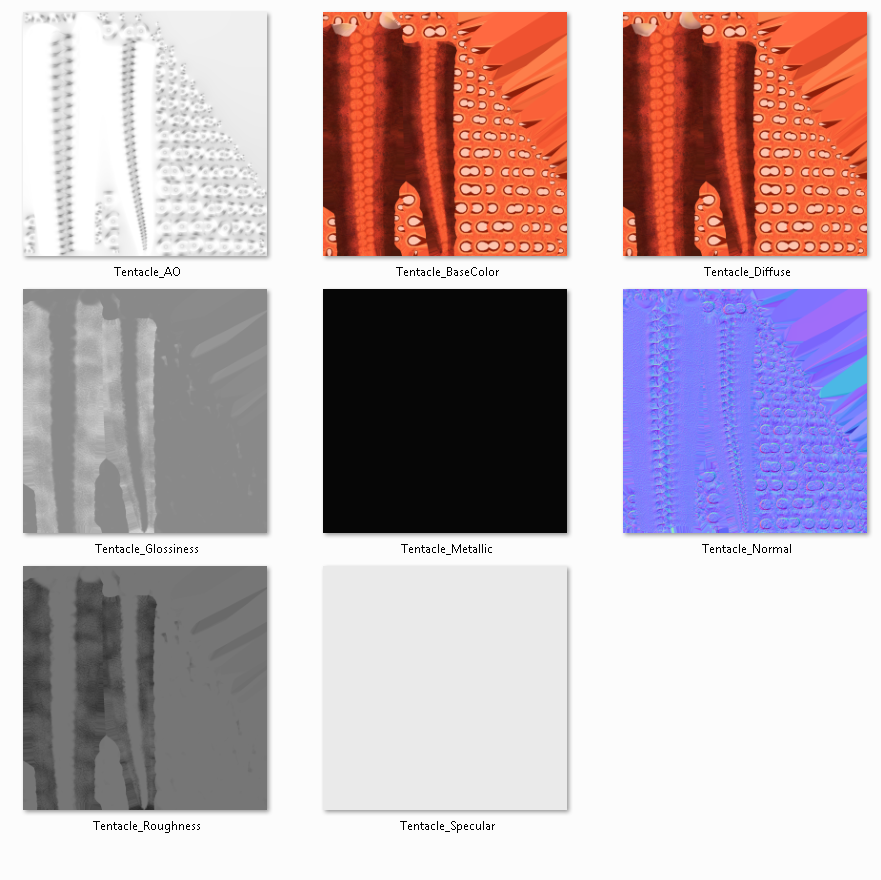
- Relative texture paths – The texture paths need to be relative for the conversion to work correctly
- Transforms – Before putting the model into groups, be sure to reset the pivots to be at the center of each object. You must also Reset the scale and transforms of the model. It is a good idea to clear extra data on the geometry by resetting the XForm in 3ds Max or clearing the history in Maya. Be sure all modifiers are collapsed, except for TurboSmooth in 3ds Max.
- Groups – The model’s geometry should all be under at least one group. If it is a more complex model that requires more specific grouping, like a car, you may have multiple groups, but they should all be nested under one ‘Master’ group.
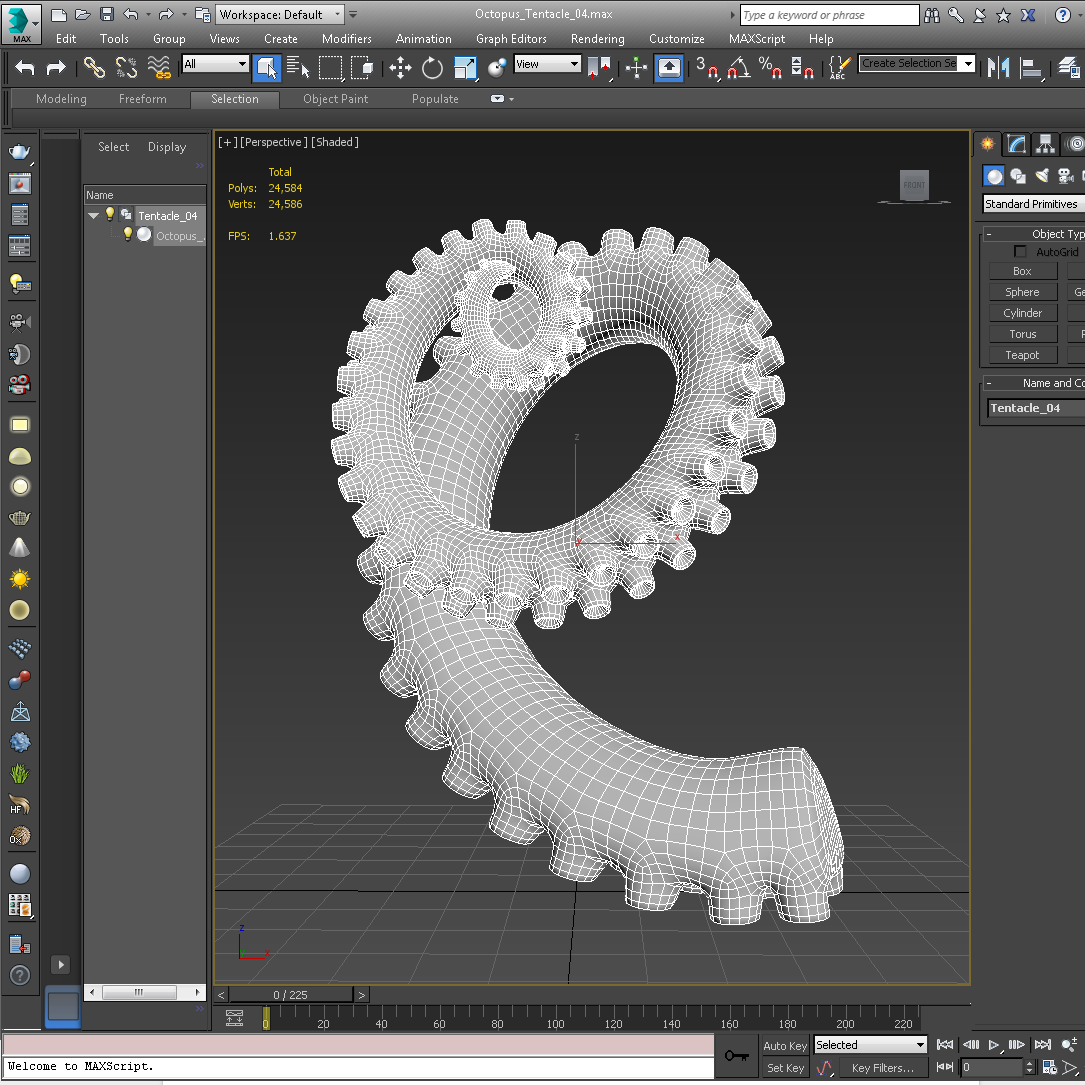
Isolated Geometry with no stage or lights
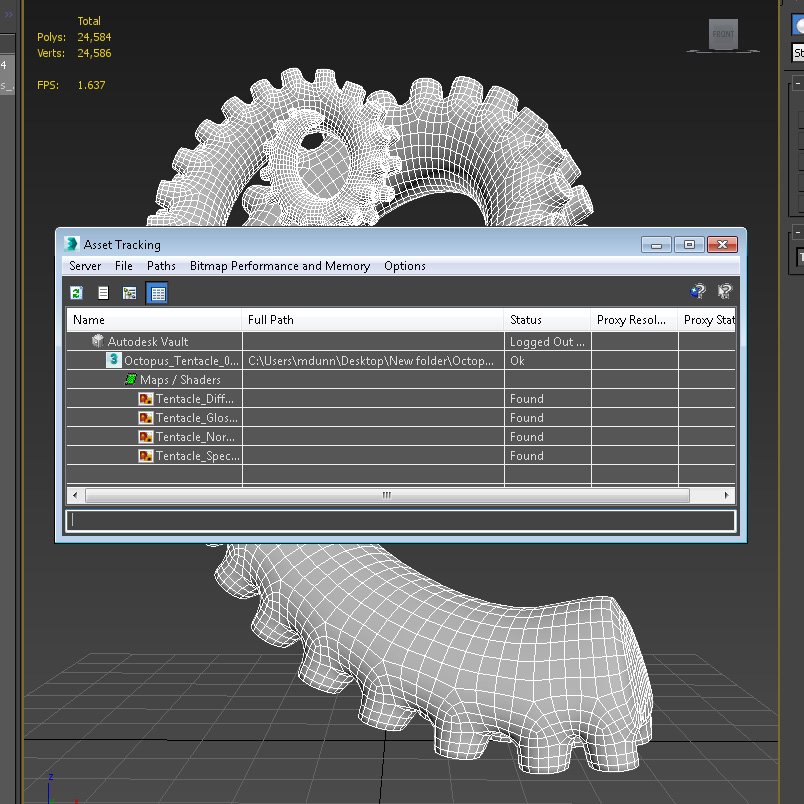
Relative Textures Paths
Saving and Archiving
Once you have checked the model it is time to create an archive to submit for conversion. If you are using a newer version of modelling software, you will need to back-save the file to the latest approved version (see list below). The textures need to be placed in a folder named “Textures” with no sub-folders. The archive (.zip or .rar) should consist of only the model file and the textures folder which should contain the textures.
The list of latest approved software versions for StemCell v2 can be found here.
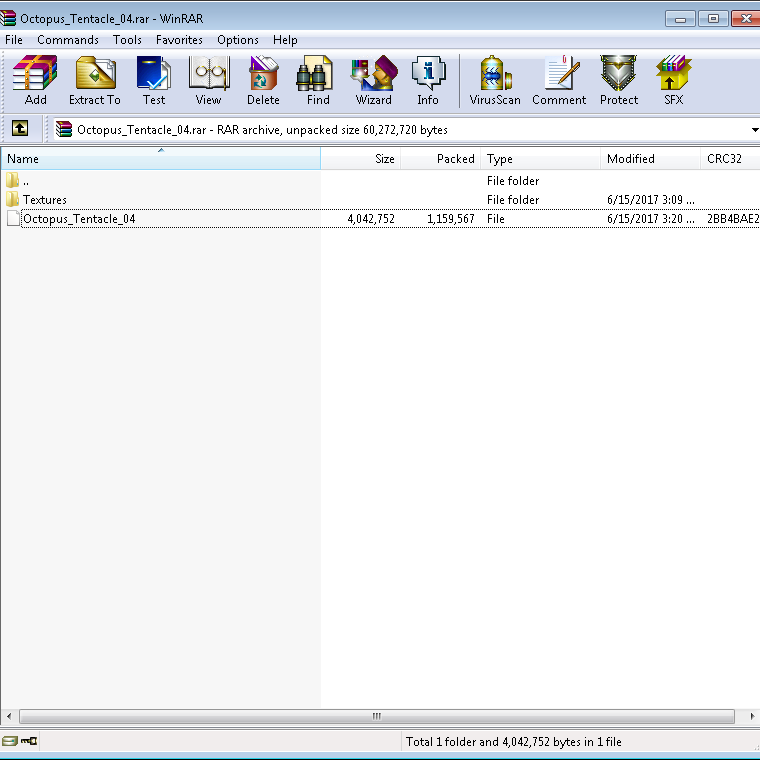
The archive with the textures folder and model file.


