
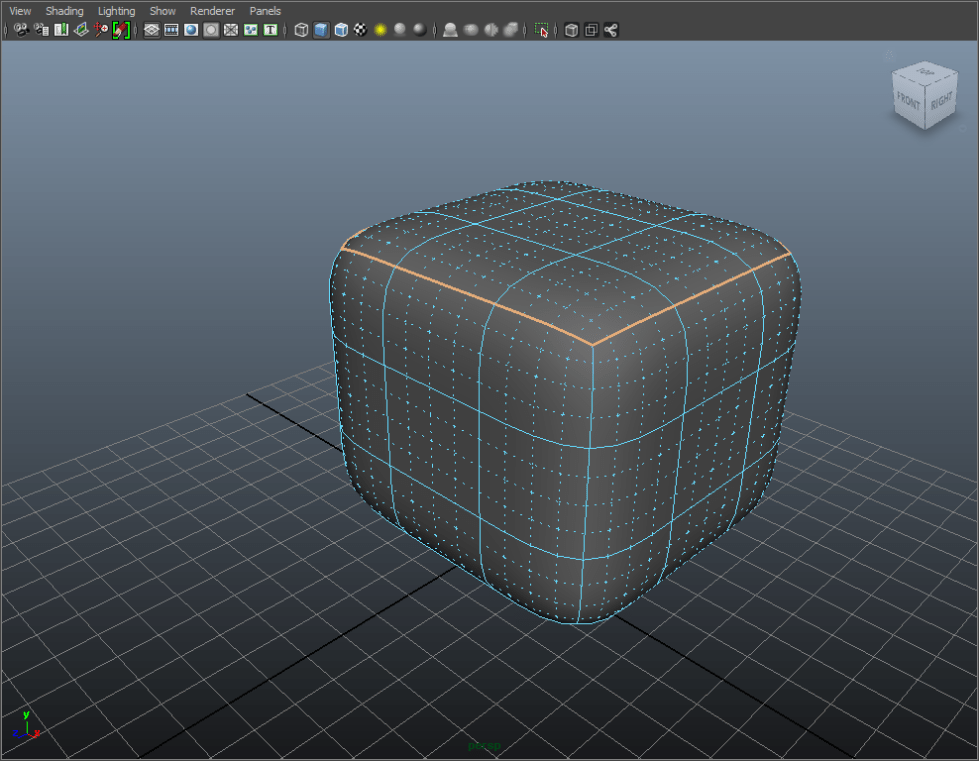
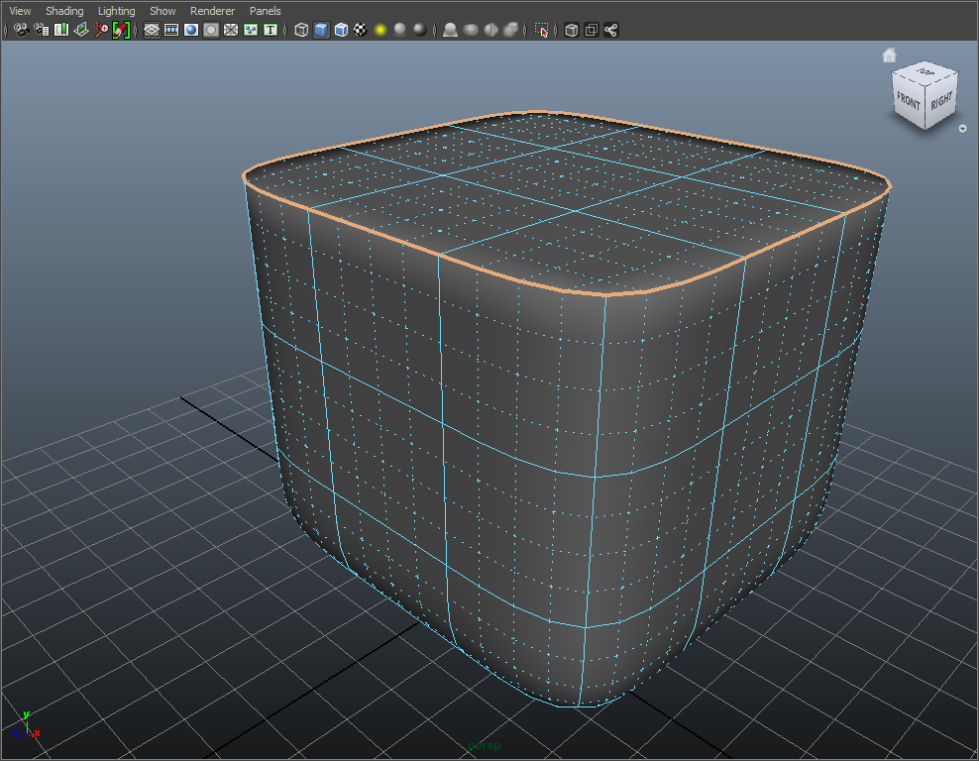
Artists often use the Crease Modifier or an Edge Weighting tool to select edges and vertices in order to create the effects of sharp creases and holding edges. While this is a convenient shortcut, using the Crease Modifier increases the risk of losing the effect after exporting the model to an open file format or converting to another 3d application. This causes the model to lose its shape.
It is best practice for you to leave the crease modifier set to 0 and create these edges manually to ensure that no data is lost. This creates a better experience for customers and can result in fewer refunds.
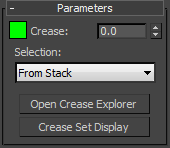
You can adjust the Crease Modifier setting by:
- Selecting the Modify panel
- Opening the modifier list
- Selecting “Crease,” under Object-Space Modifiers
- If the Crease is not set to 0, you can change it here
Additionally, you cannot assume that a customer will be working with the same version of the 3d application that you used to create the model. In many cases, customers are working in a different or older version of a product, and features like this won’t be available in those versions. This will cause a model to generate an error.
If you want to build your model with creases, be sure to bake the creases into a traditional polygonal mesh before you complete your work. This will eliminate the customer’s need for special modifiers or a specific version of a 3d application in order to successfully work with your model.


