
1 Introduction
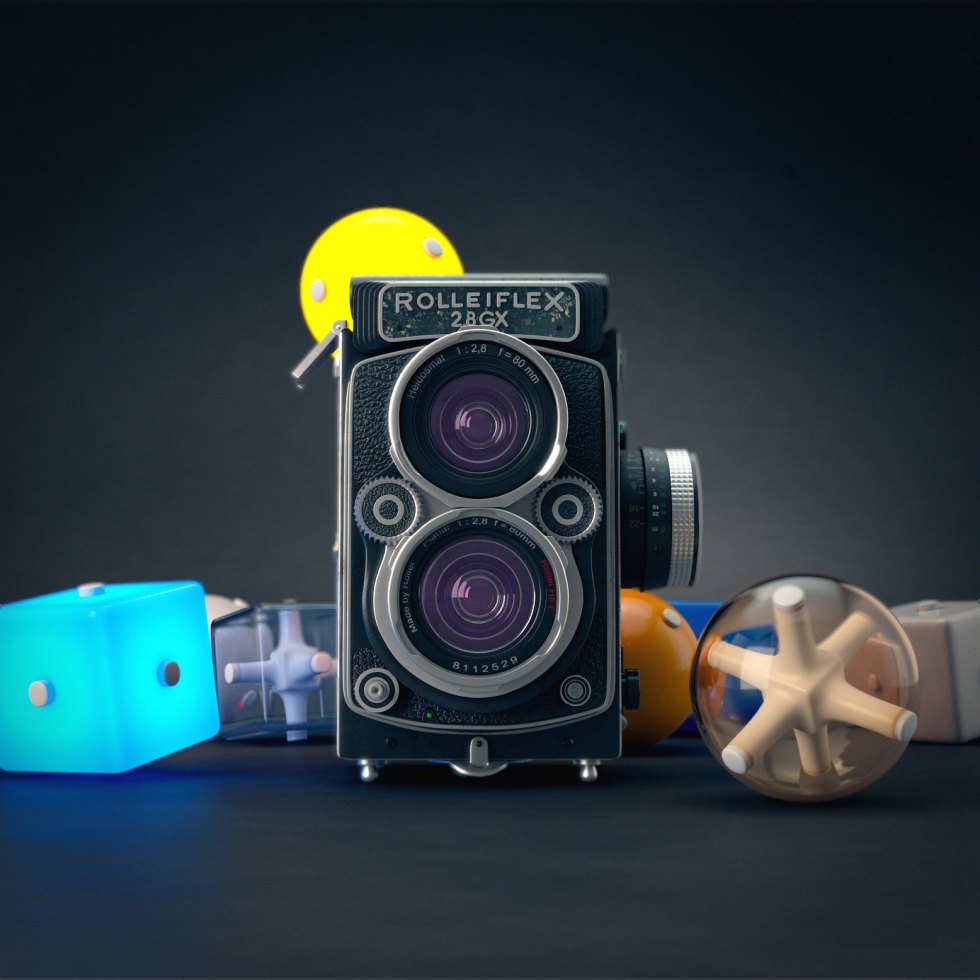
Many of the same rules learned and followed by professional photographers can be applied to the world of 3D photography. Lighting direction, adding reflectors, choosing a lens and blocking a composition are all things that a photographer does to create a great shot and these are all things that can be done in very much the same way in 3D.
We will cover the concepts that go into making a compelling shot, judging the balance of light and shadow for your shot, improving a shot with reflectors, choosing the right camera lens and setting up a shot using some basic composition tips.
1.1 Compelling Imagery
Often times it doesn’t take a gifted artist or photographer to recognize a compelling shot or interesting composition. A great great shot simply feels right to the average viewer even if they can’t tell you why. However, most often, a talented artist will have used specific techniques to get the best shot.
Along with that, a talented artist should have a deeper understanding of their subject. They should know what to do with their lighting, lensing and composition to change a shot from comical to menacing. After all, creating a great shot isn’t just about completing a checklist of rules. It’s also about building an emotional response in the viewer.


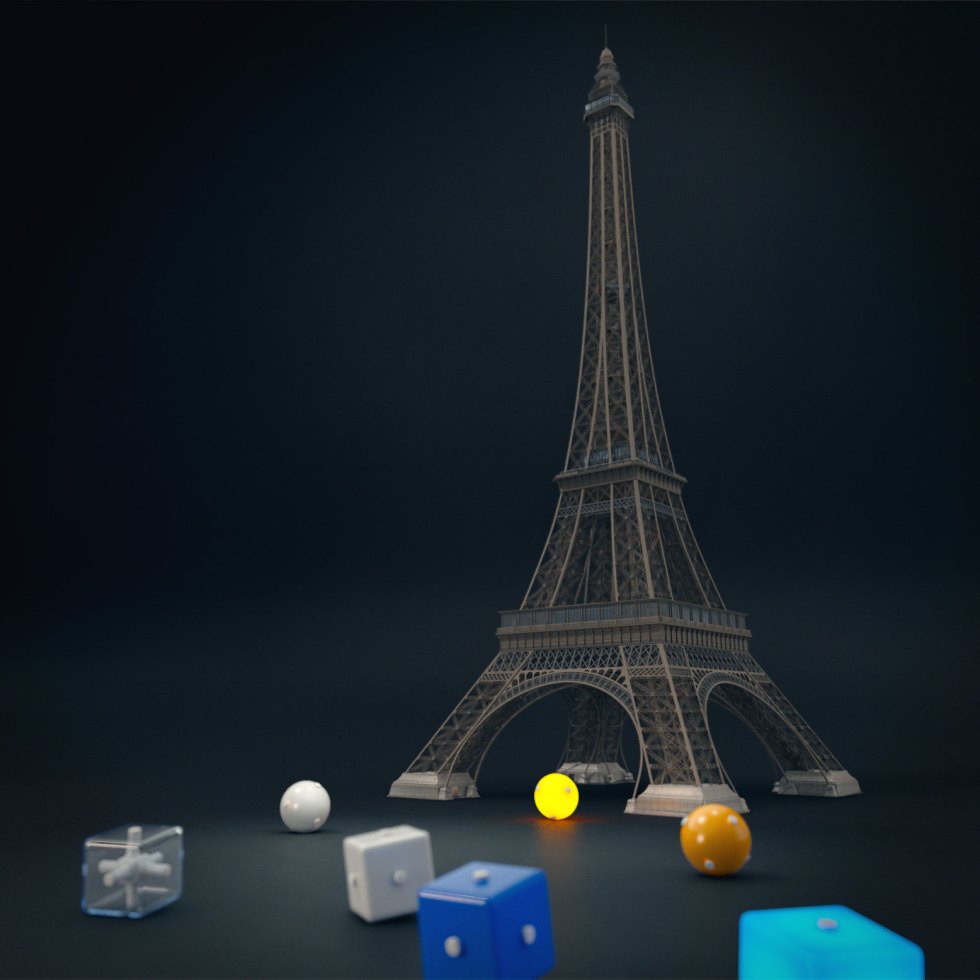
1.2 Signature Renders

Many times it can be quite a challenge to create a compelling shot of a mundane subject. If your model is a teacup, then you may find yourself trying to pose the cup, saucer, spoon and sugar cube in a variety of precarious positions.
However, nearly every object has a signature shot… and this should be the first shot you take when setting up your camera. For the teacup, this would be a simply arranged scene perhaps with the teacup sitting atop the saucer and the spoon and three sugar cubes placed beside the teacup.
Let’s use a tank as another example. There are many compelling shots that can be taken of a tank, but perhaps the most signature shot is looking straight up at the front of the tank facing directly at the camera. In a case such as this, this shot would be both signature and compelling since it instantly causes an emotional response.
2 Composition
2.1 Lensing
For the camera in your scene, it’s important to pick an adequate lens for the occasion. Depending on the features you have turned on or off, the lens would mainly affect the “Angle of View”. It’s recommended that you experiment with different lenses while moving the camera closer or farther from the model to get the perfect shot. Below, there are examples of the most commonly used lenses for 3D photography.


From left to right, the car and typewriter have been shot with different camera lenses:
- Ultra Wide-Angle (15mm – 20mm) – Rarely used
- Wide-Angle (24mm – 35mm) – Commonly used for landscapes, architecture, heroic characters
- Normal or Standard (50mm – 70mm) – Commonly used for characters, portraits, standard objects, cars
- Long (85mm – 105 mm) – Commonly used for large vehicles, macro shots
- Medium Telephoto (200mm – 300mm) – Commonly used for aerial shots, massive vessels
2.2 Controlling Your Camera
-
Point of View (PoV)
Think about how the position and angle of the camera affects a viewer’s perception of the scene.When framing images of familiar objects like vehicles, table-top items, and architecture, always try to include at least one shot from a human point of view, by positioning the camera eye at a natural human height:
- Standing: 160 cm
- Sitting: 79 cm
Think about familiar points of view, depending on the type of content
- Architectural objects are often shot from ground level and also from helicopter
- Vehicles and table-top items are often seen from standing and sitting positions


Familiar angles like those above should be included, but moving the camera into more compelling, less practical positions can provide for some great images, especially when matched with an interesting FoV. Have fun and also provide attractive shots from novel camera positions.
-
Coverage
There is no correct number of shots for a given subject.
- Don’t include too many similar shots of the same object. Each shot should offer a unique view of the object and new opportunities for use. This especially pertains to similar images that vary only by a slight angle change.
- Do include enough shots to cover likely use cases for an object. Using image searches is a good way to explore the possibilities.
-
Alignment
Be very careful with camera alignment making sure that your composition is not off by only a few pixels or degrees. An example would be if you’ve intended to have an object perfectly centered in frame, but instead it’s slightly off center or angled away from center by only 3 degrees.
Correctly Aligned
Incorrectly Aligned
-
Scale
Guide the viewer’s perception of an object’s scale when composing your image, by thoughtfully combining FoV and PoV.


-
Dutch Angle (Roll)
A Dutch Angle is a camera technique that is often used to cause tension to a shot by angling the camera on its roll axis. It’s a great way to add drama to a boring shot but be careful as it can be easily overused.

-
Breaking Frame
When setting up a shot, it is perfectly ok to break the frame. However, if you do break frame, make sure that it’s intentional and controlled.

-
Filling Frame
There are instances that you may want to fill the entire image with your subject, pushing the composition to the very edges of the frame. This is fine, however, it’s usually preferable to have the object rest comfortably within the frame and allow the empty white space frame the object. This can sometimes evoke a creative response from viewer, as their imagination fills the void.

-
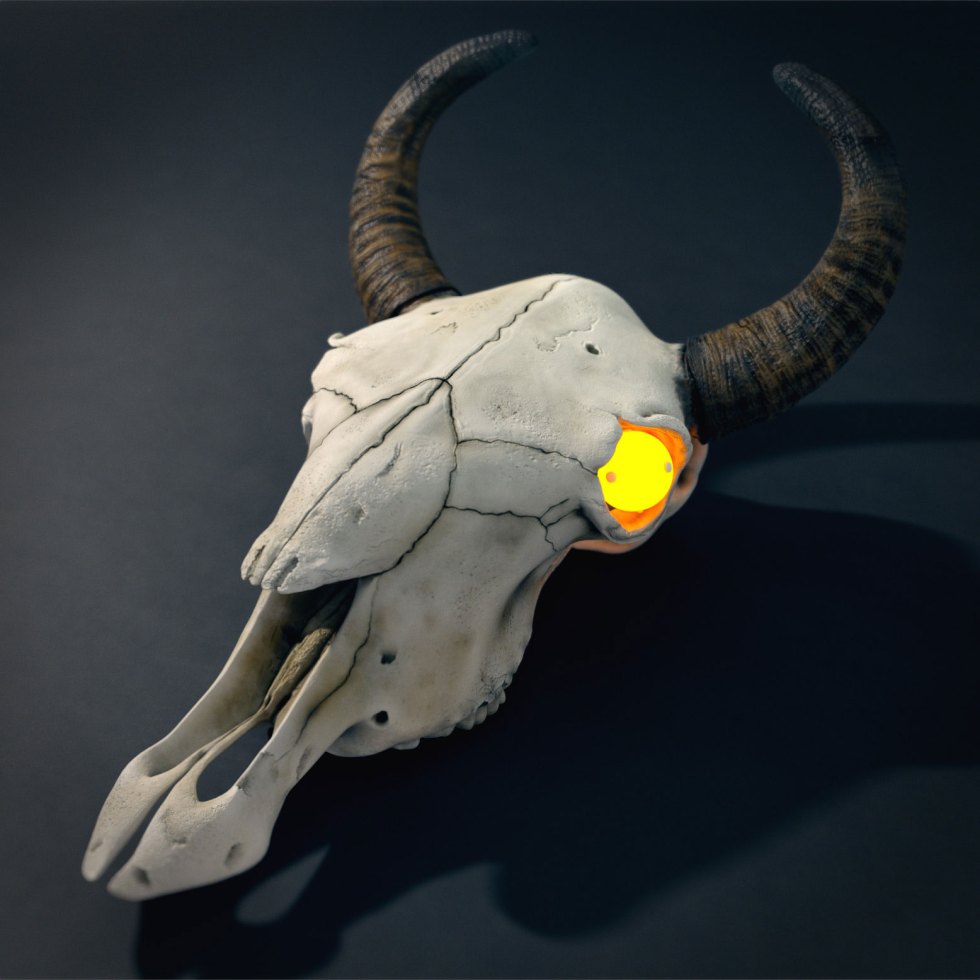
Consider the Shadow
Shadows can sometimes play just as important of a role as the subject you’re shooting. The problem is that in 3D, we usually don’t see the shadow until we render and it can often become an oversight. When setting up your shots, consider the shadows and how they fit within the composition.
2.3 Posing & Blocking
Creating a compelling shot of a static model can be a very big challenge. Especially if that model is simply sitting lifelessly on the ground plane. So oftentimes it’s important to experiment with more dynamic or interesting poses. Usually, this is done before setting up your shots, as the pose usually dictates the composition, but that certainly doesn’t mean you can’t re-pose the model for different shots. You should feel free to choose multiple poses for any number of interesting shots.
Now depending on the object, you may find that a dynamic pose helps to convey motion and can turn a dull object into a much more interesting complete scene. However, not every object will require a dynamic pose. Sometime it’s a simple matter of resting an object on it’s side or lifting it off the ground plane to give it a sense of motion. As mentioned before, this doesn’t mean that if you put an object on it’s side that it needs to stay that way for all of your shots. Feel free to go ahead and try other poses for added variety.

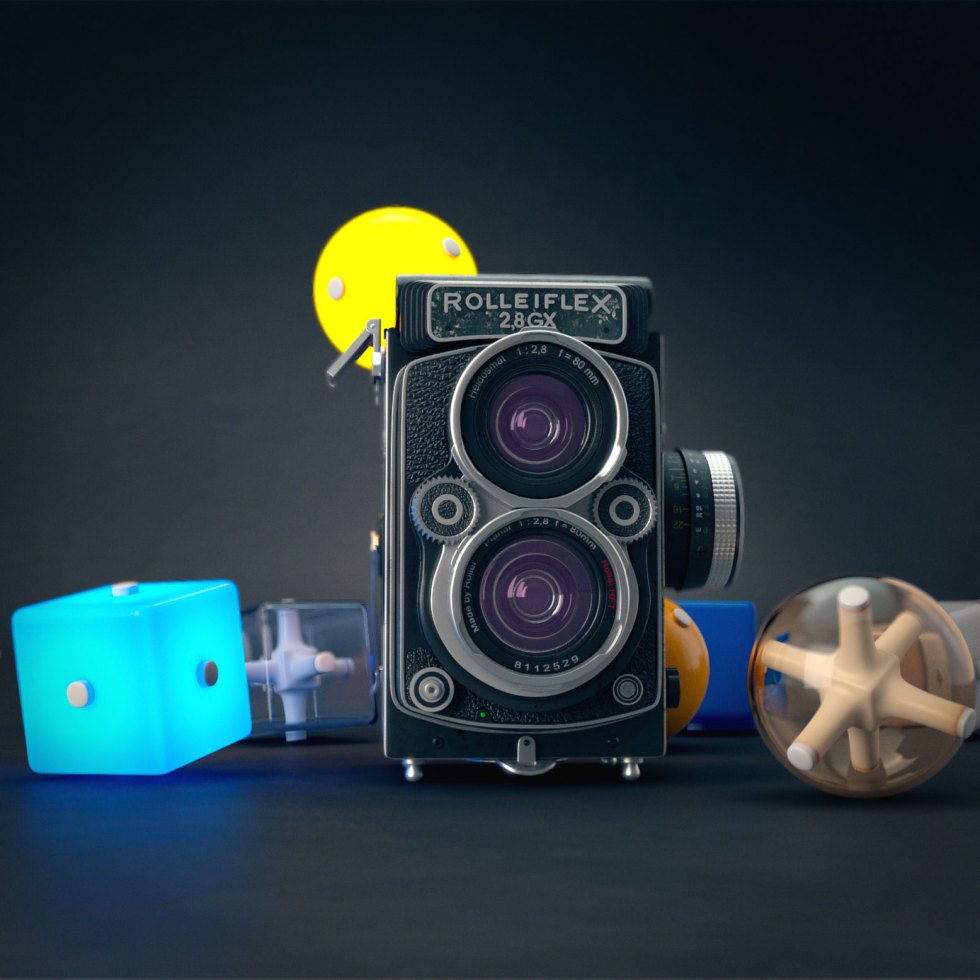
2.4 Common Composition Techniques
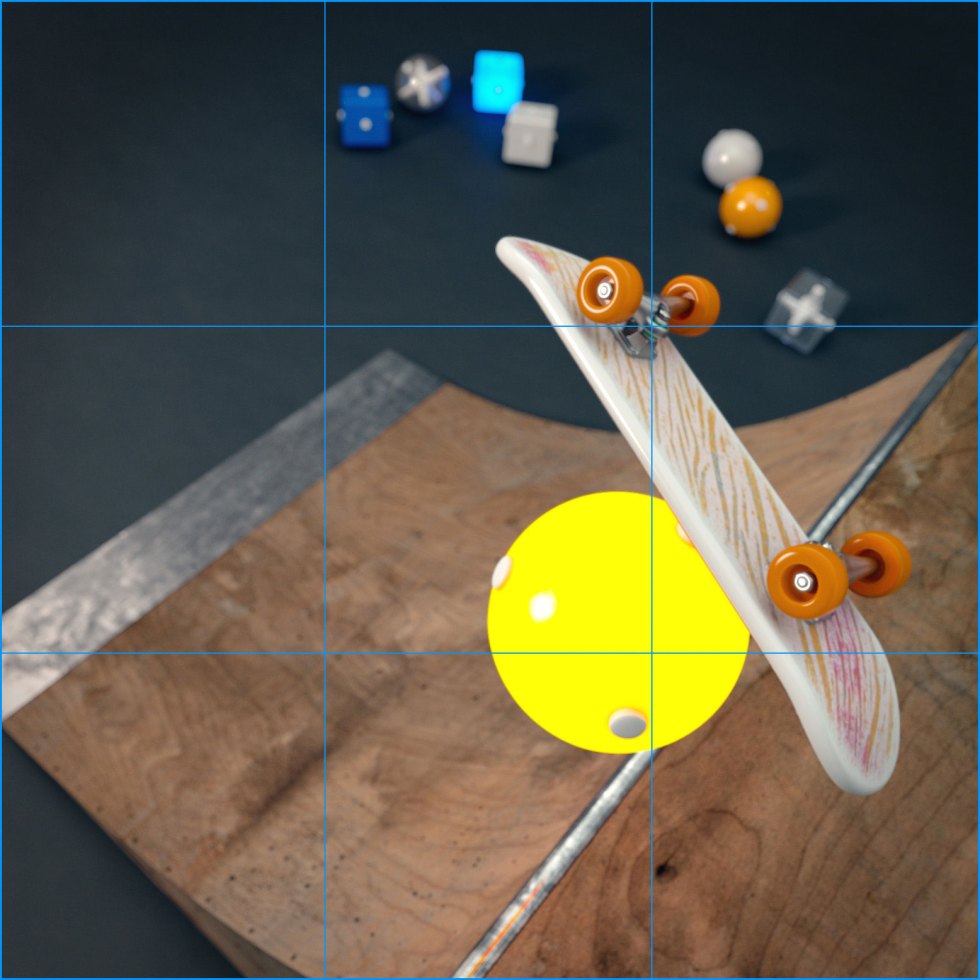
- Rule of Thirds
This is probably one of the single most important rules to understand when creating a composition. Imagine two vertical lines and two horizontal lines slicing the image into 9 equal segments. The rule of thirds states that you should position the main subject of your composition either along the lines or at the points they intersect.Doing this should create visual balance and added interest to your composition.
- Framing
Placing objects around the edge of your composition can help visually isolate the main subject from the empty world of 3D. The goal is to create a more focused image that draws the eye of the viewer to the main point of interest.
2.5 Advanced Composition Techniques

- Symmetry & Patterns
The preciseness of 3D allows for exceptional symmetry and patterns, and that’s not necessarily a bad thing. Both can make for very compelling compositions, especially when the viewer isn’t expecting it. However, that’s not to say that every symmetrical composition needs to be unexpected. Sometimes a strong symmetrical or pattern composition can have clean angles that add tension and weight to the image.

- Leading Lines
When viewing a photo, our eyes are naturally guided along strong lines. You can pull the viewer towards your subject or create a journey to the action of your scene by creating lines within your composition. The lines don’t have to be straight, they can be curved, radial, zigzagged or diagonal… whatever works for your subject.

- Shapes
Much like leading lines, shapes can also play a major role within your compositions. It’s important to consider the shape of each element in the frame and how they work together. Squares and triangles are the easiest shapes to frame up, while spherical or circular shapes can be more difficult. However, take time to look at how each shape interacts with the next and decide if they need to be re-posed to accentuate those shapes or help them interact better.
- Balancing
White space can be a very good thing within a composition and positioning your main subject off-center (Rule of Thirds) usually creates a more compelling image. However, not every photo should be left with an empty feeling void. Always consider the balance of the scene from a conceptual standpoint, can you picture something there in the emptiness, should you dolly the camera in to fill that space or add another object of lesser importance to fill the space?
- Depth
Creating a shot for a single object has a pre-determined depth. However, when adding multiple objects, depth becomes a much more relevant factor. That’s not to say that you can’t create images with depth from a single object, it just means that the object will be limited.
When shooting multiple objects, you can create depth by establishing a foreground, middleground and background. You can also overlap objects, another great way to build depth, to partially one object with another.
- Negative Space
In the natural world, negative space is much less abundant than in the 3D world. In the natural world there’s almost always some type of visual noise that enters frame, but in the 3D world that noise must be created. Because of this, there is a tendency to try and fit the entire point of interest in frame. Instead, consider that the composition may be far more dramatic if you employ more space around your subject.

- Cropping
Much like poor framing, an image can sometimes lack impact when the main subject is so small that it becomes insignificant within the frame. Try cropping tight around the subject instead to be sure that it gets the viewer’s full attention.


