
3D Modeling Workflow
Upgrade Your 3D Modeling Workflow
You’ll probably notice numerous similarities between your current 3D modeling workflow and the StemCell workflow. In fact, nearly all of the rules are based around industry-wide best practices. Our goal was to keep things as simple as possible while maintaining a consistent and flexible specification. Sure, there may be some new concepts here, but we were careful to create a non-proprietary workflow that would continue to work well into the future.
StemCell Specification
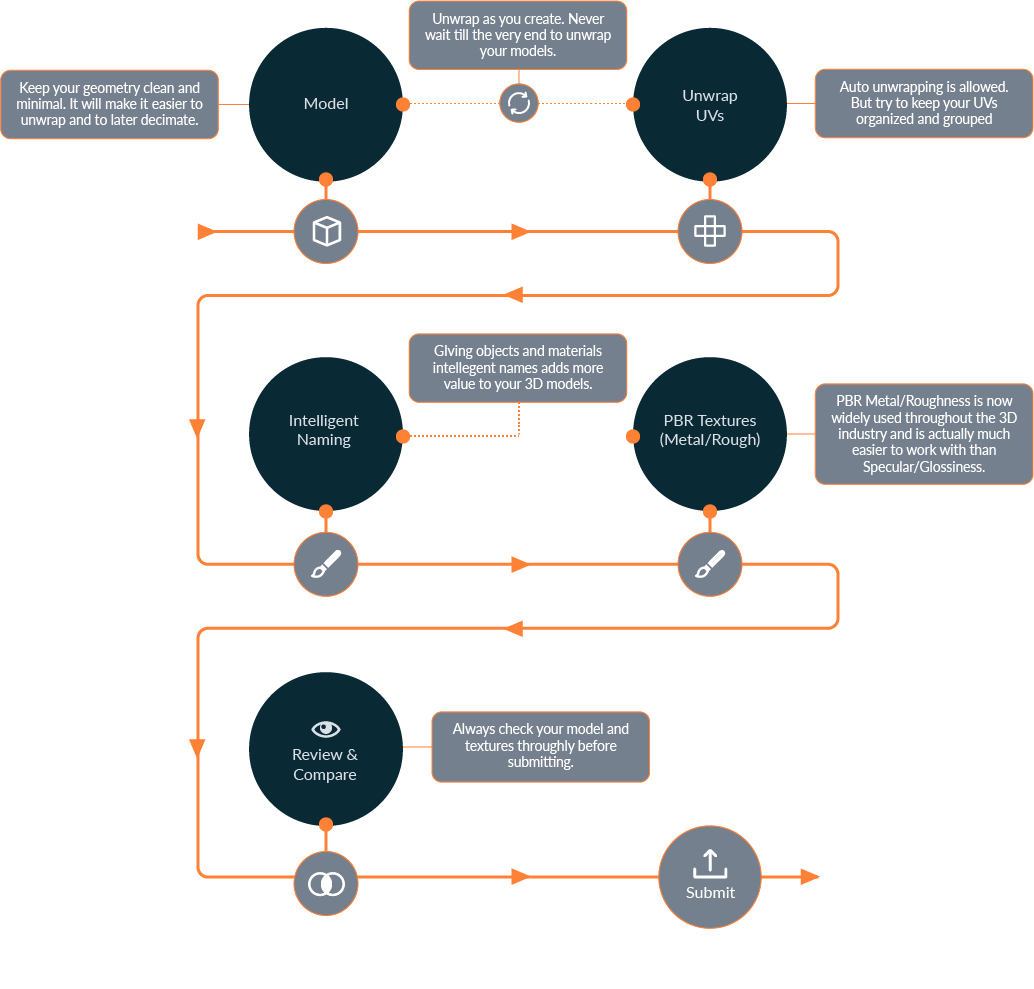
There are basically four main components to a StemCell, and it’s important to understand how each component has a specific role in achieving a full dataset. After all, the goal for StemCell content is to work for a wide range of applications and uses. If one component is missing or incorrect, then the true benefit becomes limited.
View Spec v1 View Spec v2
Before We Begin… Let’s Make a Plan
As you would with any well- organized production, it’s important to plan out your process ahead of time when creating StemCell content. Think about the steps you’re going to need to take as you move through the workflow. Consider all the different ways that can help speed up the process. Here are a few production proven tips to help you work more efficiently.
Don’t add detail too early in the process.
Get the object’s silhouette right before adding small details. Then, once you’re happy with the overall look, scale, and proportions of the object, start adding the finishing touches.
 Modeling the tufts and fold details to be consistent and repeating would be difficult without building out the silhouette of the sofa first.
Unwrap as you go.
Every artist has made this mistake…you start building a gorgeous model with multiple objects and tons of detail only to realize that once it’s done it’ll take you days to UV. Instead of waiting until the end, once you’re happy with an object, unwrap it before moving on to the next. It can help break up the tedious task of unwrapping and may even save you tons of time on objects that end up getting duplicated over and over again.
 Unwrapping objects as they are done being modeled is important for time savings. This is especially important before cloning an object multiple times then having to repeat UVing multiple times after.
Build a library.
Sooner or later there will be components that you’ll need again and again. This can be anything from simple objects to common materials, or even useful textures. Not only can building a library help you save time, but it can also keep your models consistent which can be attractive to your customers.
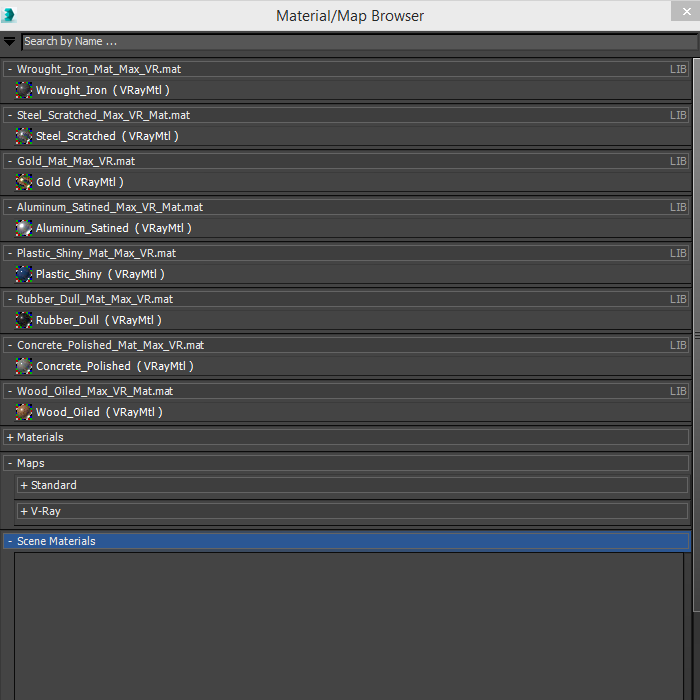 Materials can be stored in libraries to be reused in the future. This saves time and provides consistency between your models.
Stay organized.
Use grouping to organize your models into logical structures. While you’re at it, set the group’s pivot for easier posing and animation. This will not only make your life better but also the life of your customer.
 Groups are useful for controlling pivots and positions of multiple objects at once. This makes posing and animation much easier.
Often times you’re not ready to start creating materials until most of your model is complete. Selection sets are a great way to organize objects by material type. Once you’re ready to start adding materials, simply select the set and add the material.
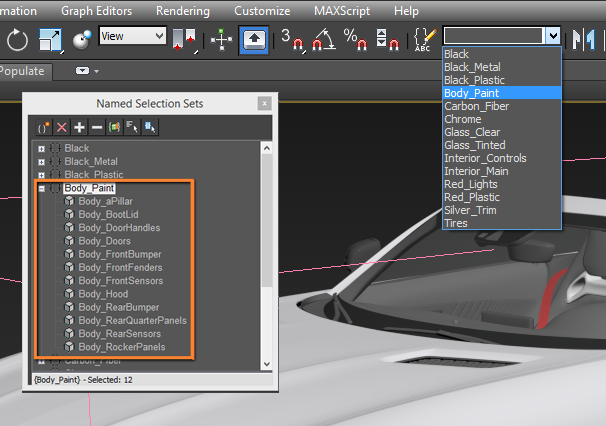 Selection Sets created to organize model selection by material without affecting descriptive object names.
Don’t waste time on unneeded details.
It’s very easy to get lost in the details, but those extra details can be a huge time sink and can make render times much longer. Before you begin modeling, determine what level of detail (LOD) you’re creating for. Are you making something for a super close-up, a simple medium shot, or just an object to be placed in the background of a scene?
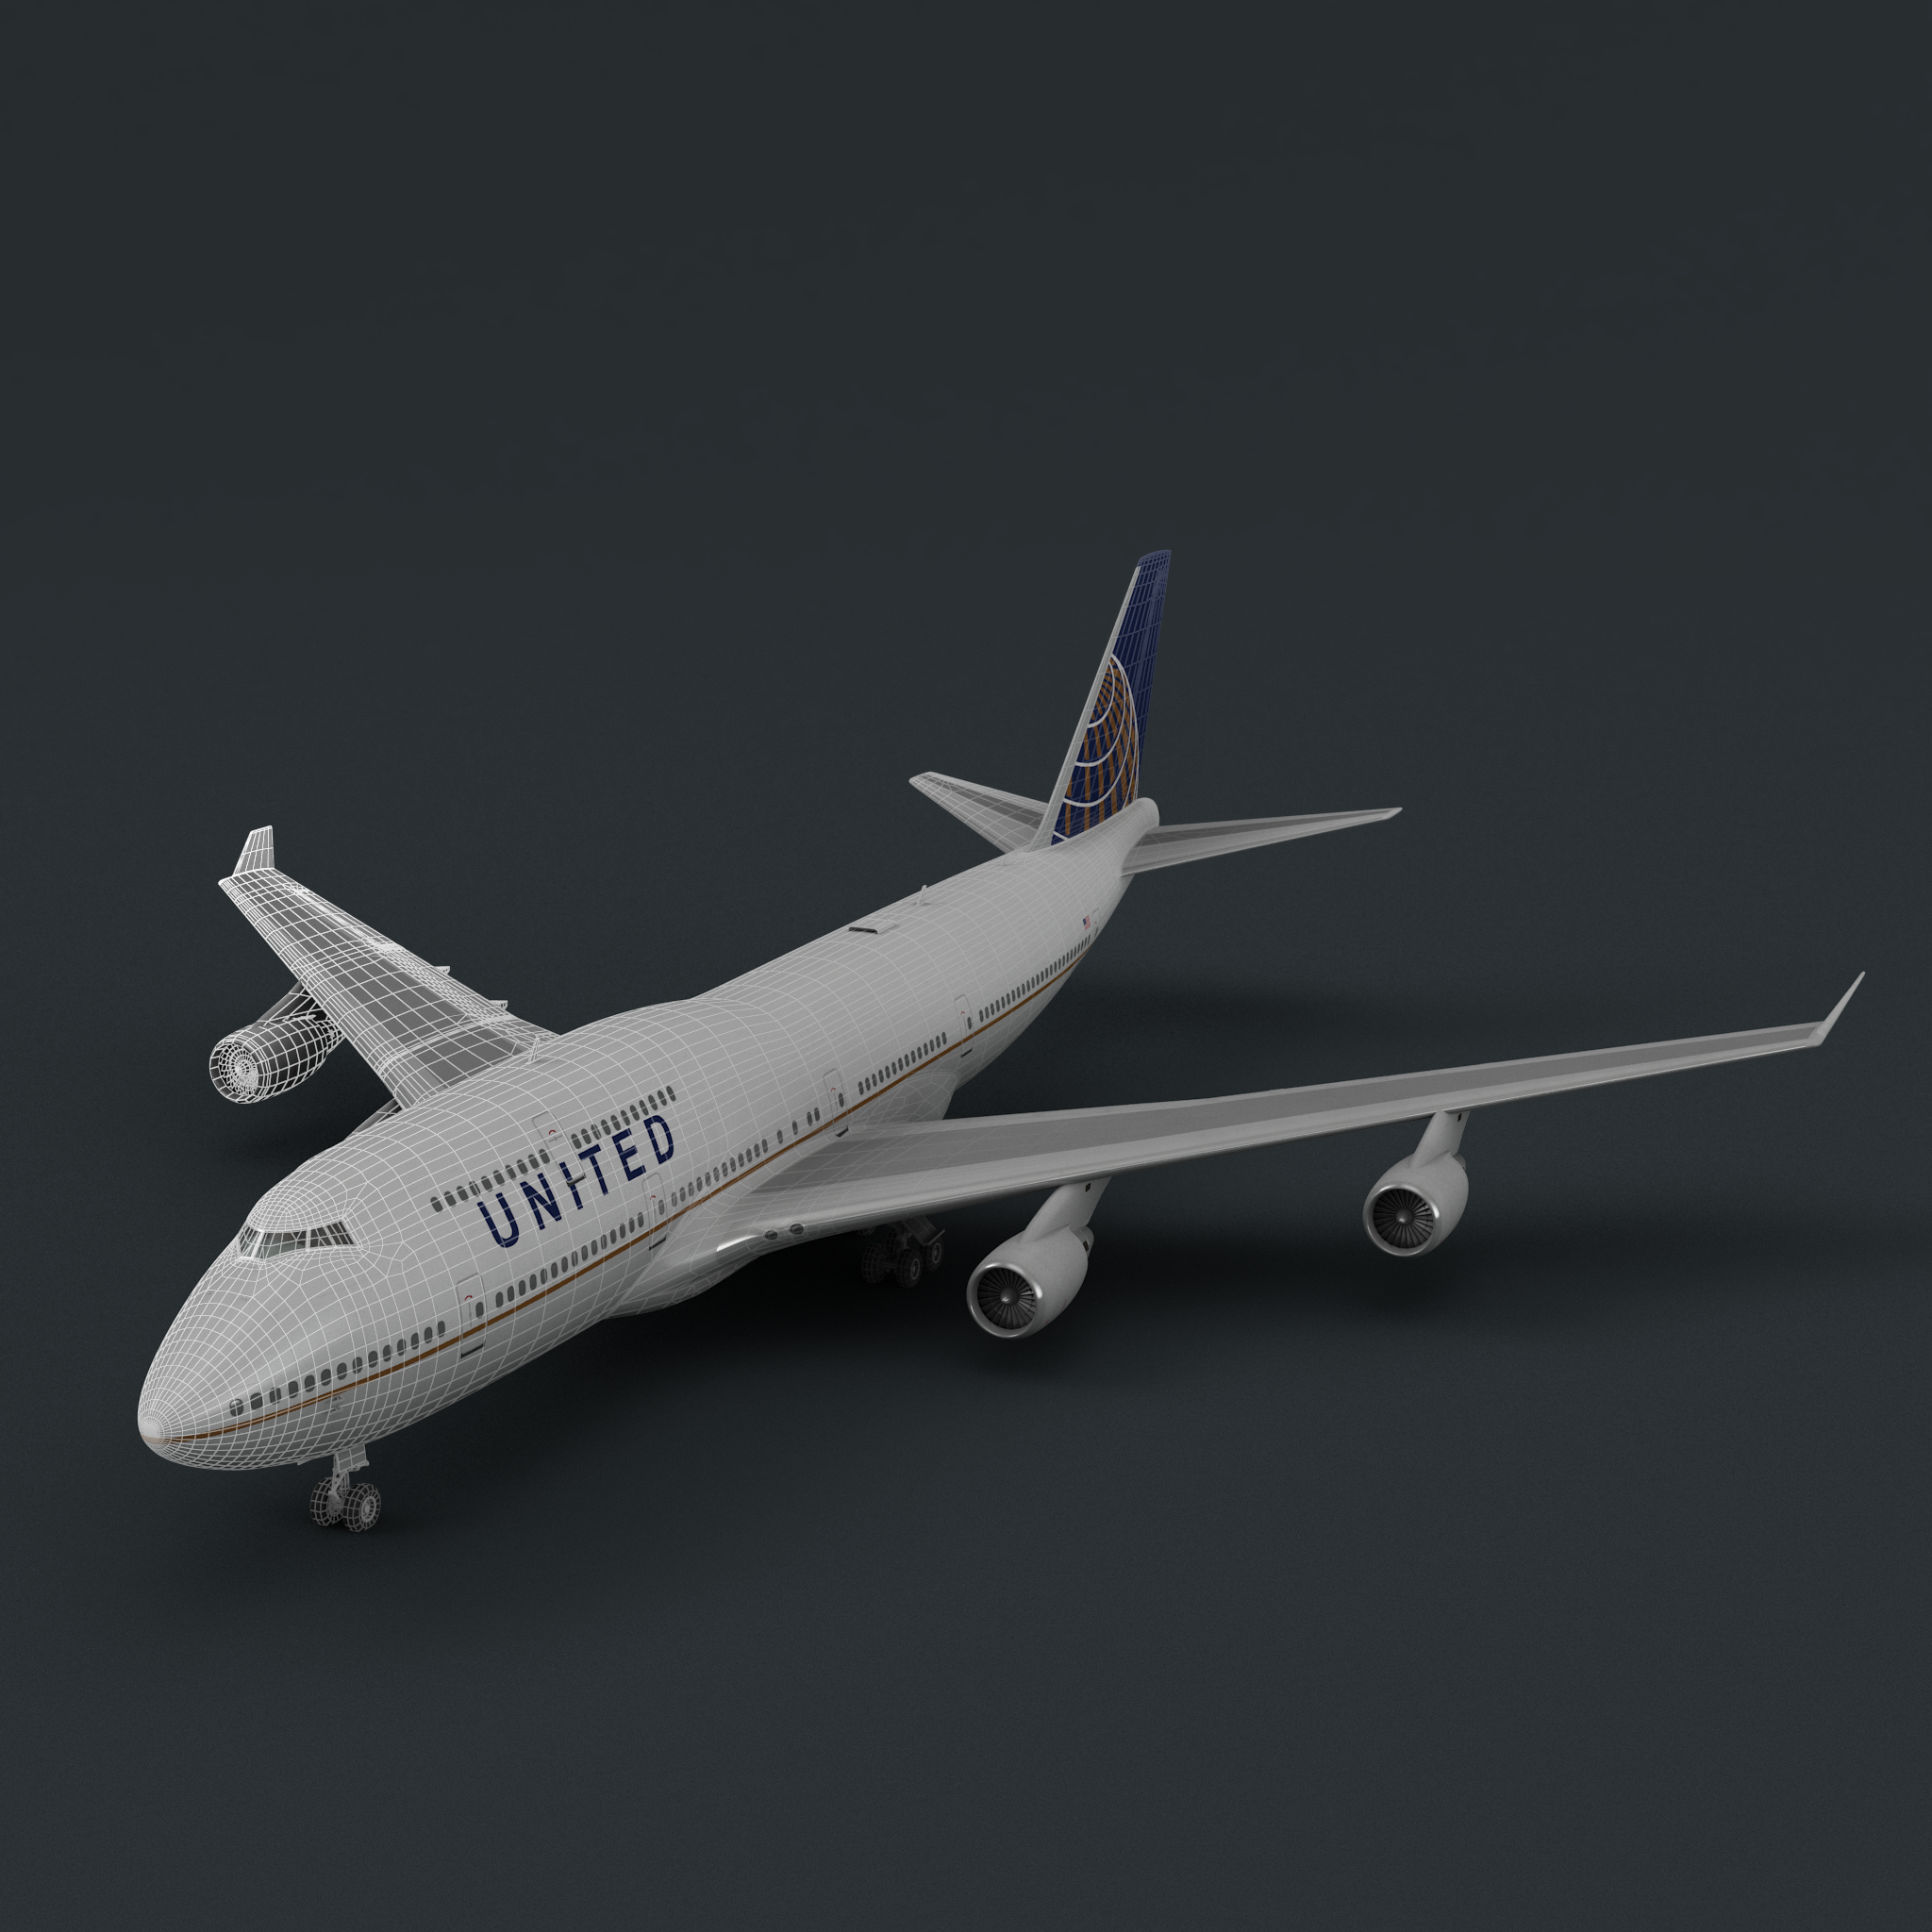 This 747 model was created to be viewed as a whole. Modeling the landing gear down to the bolt detail would be unnecessary as it would barely be noticeable at the intended viewing distance.
If it’s for a super close-up, you may be able to simply focus on one area of the object. If it’s for a medium shot, you may be able to use normal maps instead of adding geometry. And if it’s for use in the background of a scene, you may be able to simply rely on very simple geo with texture detail. Make it a habit to ask yourself these questions first, then build accordingly.
Clean up your mesh.
You’ve finally gotten your model looking the way that you want–the silhouette looks good and the scale and proportions are exactly what you had in mind. Now would be the perfect time to inspect the model’s mesh density. Are there any areas that could be reduced? Are any components from your library far more dense than the rest of the model? Remember, a uniform and detailed mesh may be pretty to look at, but that’s not why a customer is buying your model.
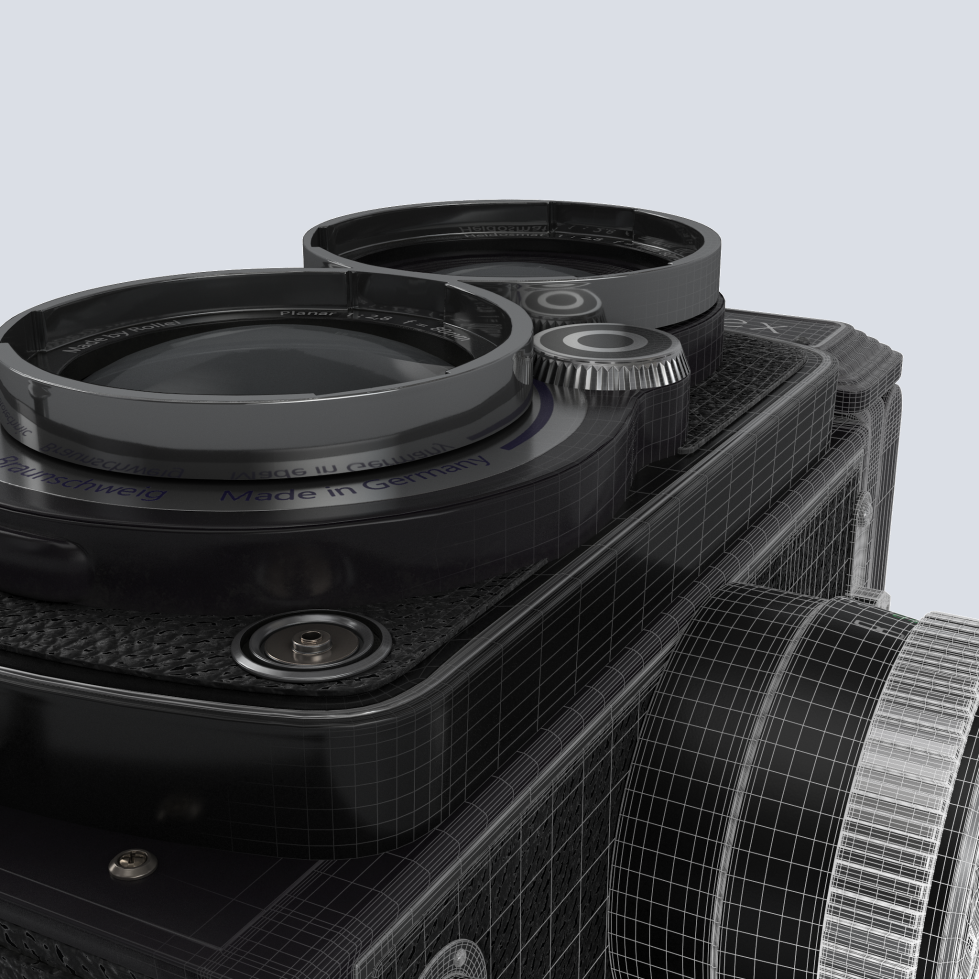
 Simplifying your mesh where possible saves on file size and render time. It also is easier to navigate and edit.
Let’s Get Started
We’ll walk you step-by-step through everything you need to know about creating StemCell content. Information in each section is broken up into concise bullet points. If there is more information available, you’ll be able to follow a link to that specific article. If you feel like you’ve got it, great, simply move on to the next bullet. Let’s go!
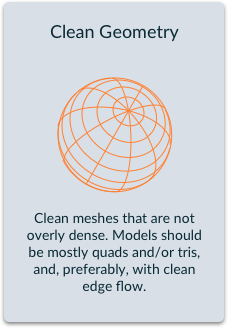
StemCell Modeling
There are plenty of good reasons for creating clean models, and the process doesn’t need to be difficult. You may find that you’re already doing everything right.
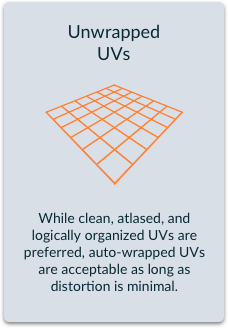
StemCell UV Mapping
UV mapping comes in many flavors, and it’s usually the thing 3D artists hate the most. Since UV mapping is so important for StemCell, we want to make sure you have the information you need to decide what type of mapping can work for your content.
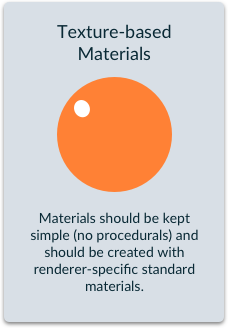
StemCell Textures & Materials
For many, the most unique part of StemCell’s workflow will be the way textures and materials are made. Understanding the differences and similarities between Spec/Gloss and Metallic PBR workflows is an important step in becoming texturing master.


