Regardless of industry, one of the biggest questions customers have when browsing through TurboSquid is whether the model that they see on the screen will properly translate to or even work in the engine or renderer they’re using. There are several ways to answer that question in the product description and images, but few things make it more clear that a model works in a specific package than showing the content in that package.
While most renderers (like V-Ray, Arnold, and Mental-Ray) essentially plug into the modeling package you already work in and act as a form of output, real-time game engines are stand-alone applications designed to perform a whole suite of functions from game logic to animation and physics. Instead of modeling, composing, and rendering a scene in the same package, models are brought in individually as art assets and scenes are composed with the engine’s editor. They even have their own renderers designed to produce full quality audio and video generating images between 30 and 140 times a second (the real-time part). Although the core functionality between a game engine and a modeling & rendering package are different, the interface and basic interactions work in a manner that will be familiar to any user of Max, Maya, or other non-real-time 3D app.
There are many engines that fill all kinds of roles, but the most prevalent and versatile of these are Unity and Unreal. Getting set up in either one of these (or both) is both simple and free. If you’ve exported your model properly, pulling it into the editor and testing it just takes a few minutes once you go through the setup process.
Unity
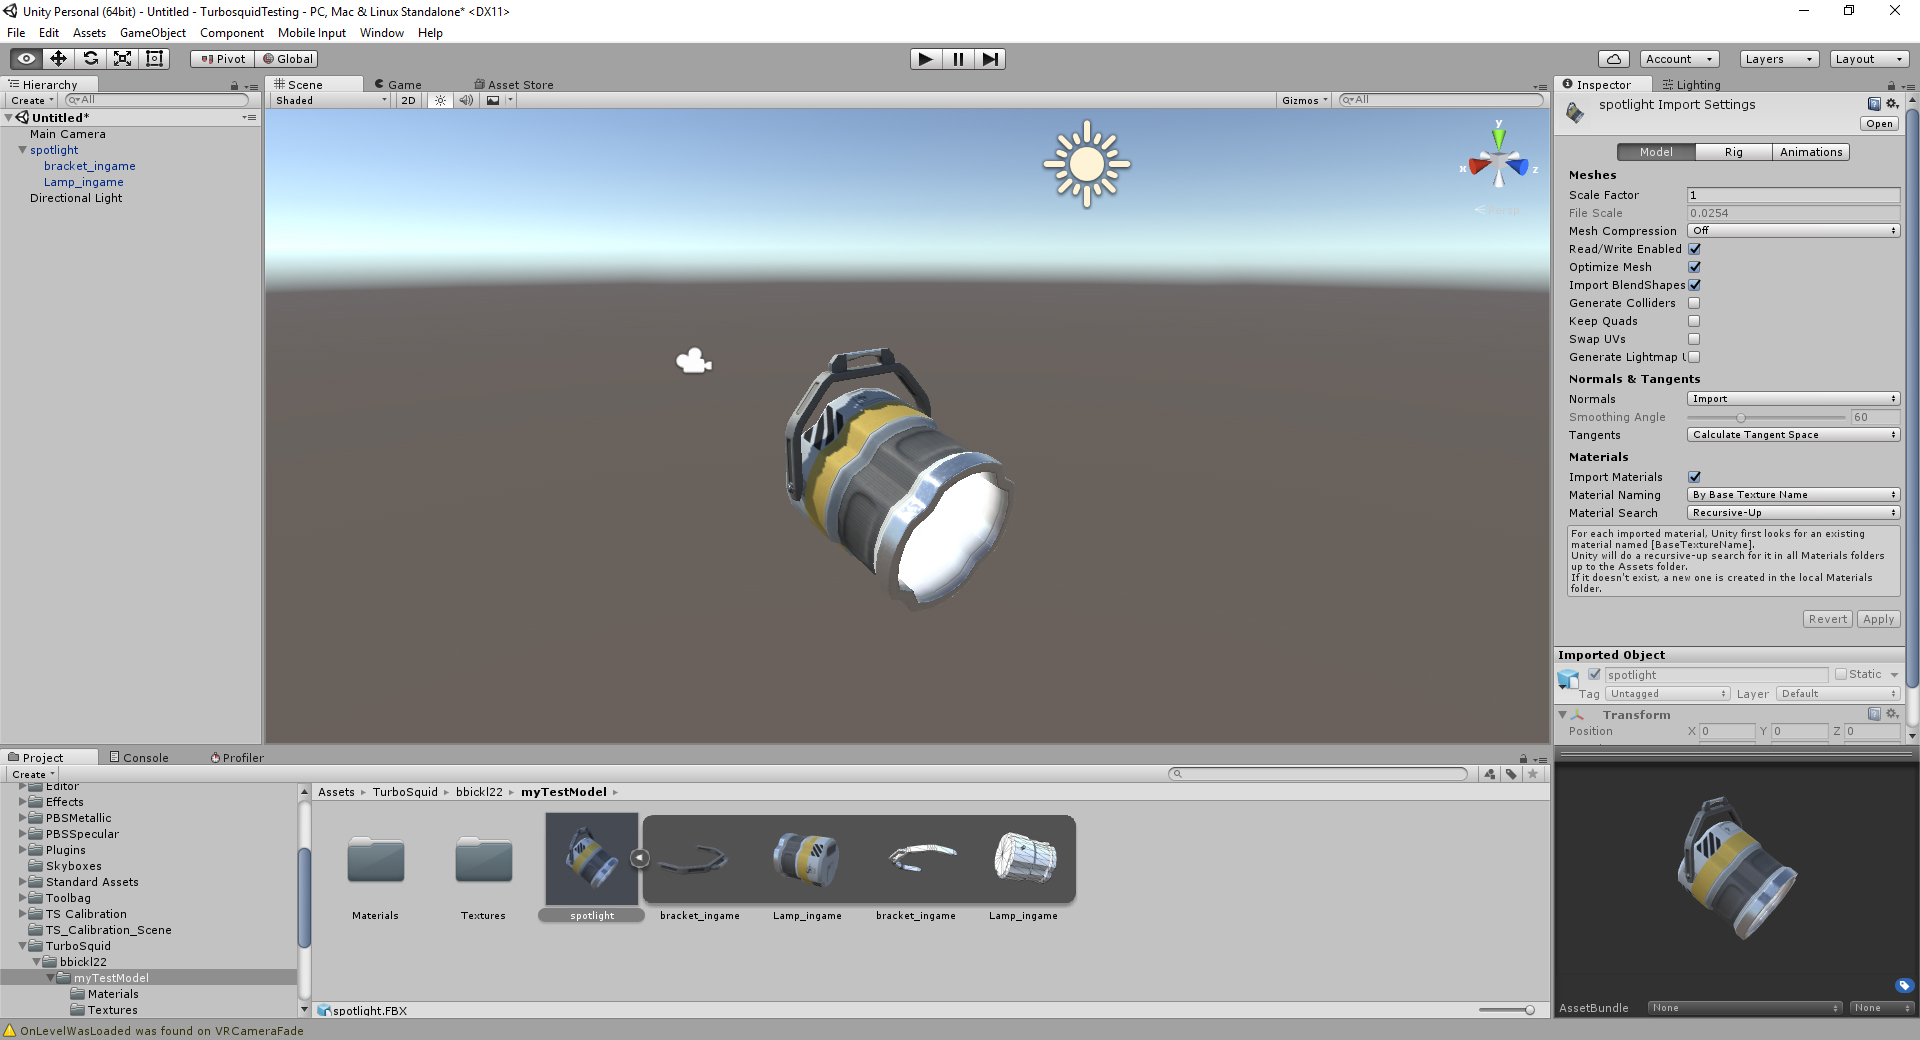
Unity has documentation for getting started with using the editor. If you’re just testing your models, you only need a basic understanding of how to open a scene and navigate in the editor.
If you have a basic understanding of Unity already, here are Unity’s recommended practices on model I/O:
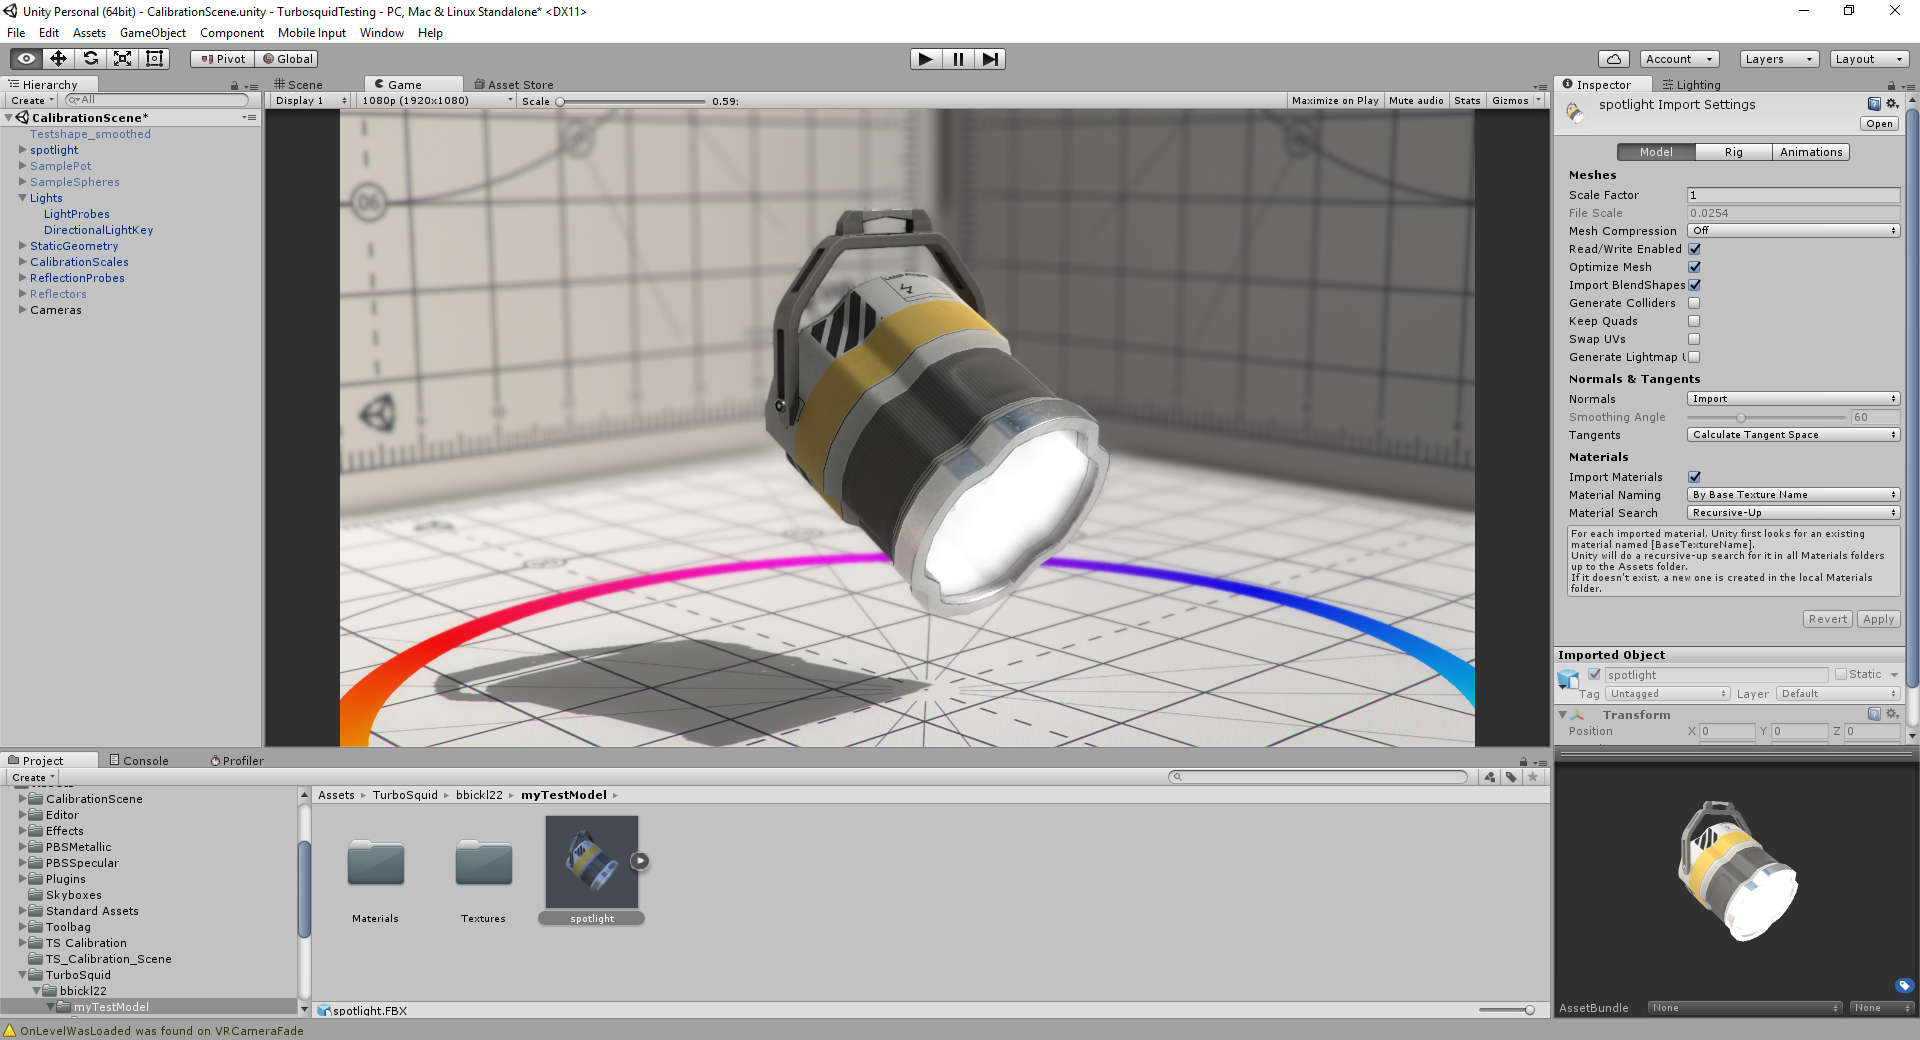
On top of the basic project, we recommend picking up Unity’s shader calibration scene. It comes prepackaged with a great test scene and the basic package for simple asset analytics, as well as engine-specific shader calibration charts and material samples. If you want to optimize for Unity down the line, you’ll end up with this in your toolbox either way. Another good tool to have is Unity’s Post Effect Stack, which gives you access to high-end camera effects.
Unreal
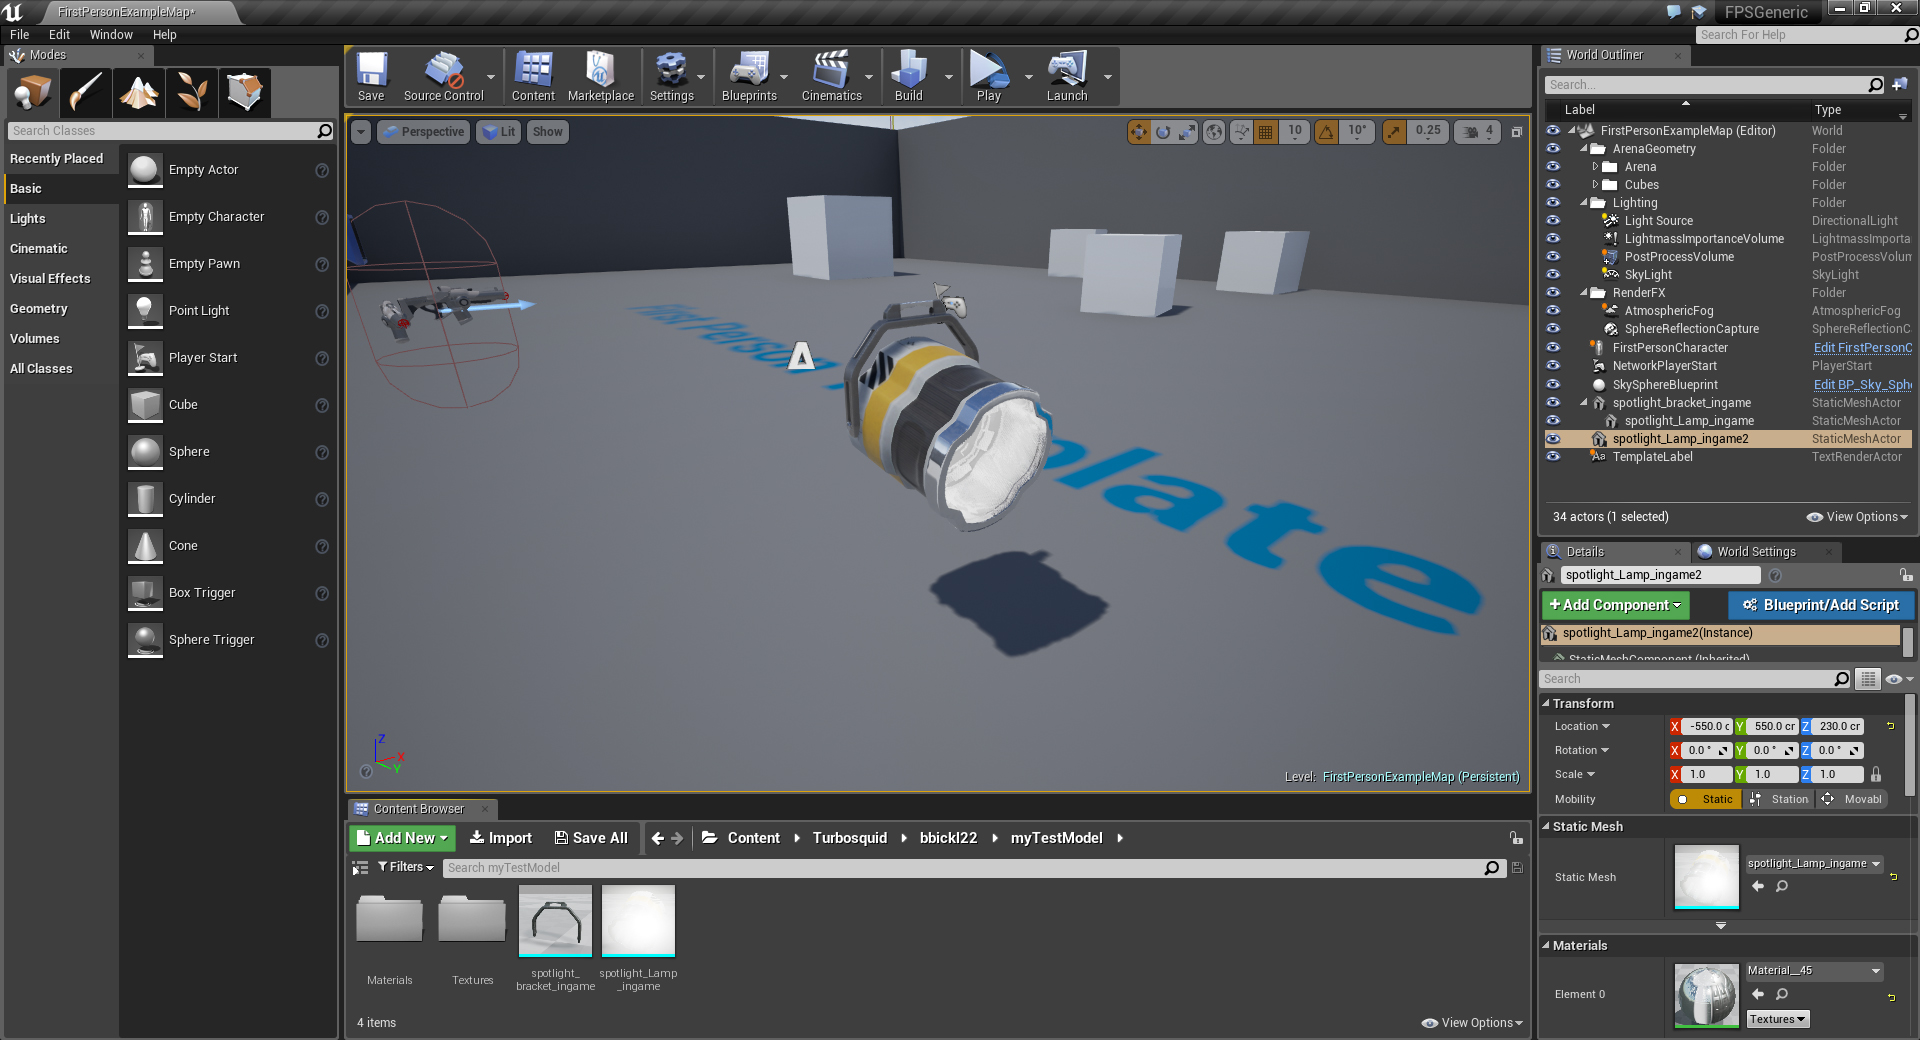
Unreal has a great knowledge base and tutorials designed specifically for artists looking to get their models in the engine to test; it includes a step-by-step guide for first time users.
They also have best practices for FBX export and more generalized content standards for supporting assets like textures:
Remember, regardless of which engine you choose (or both), it’s important to convey the fact that you did test it in said engine. You can chose do so something as simple as taking shots of your model in a default scene in the editor, but there’s nothing stopping you from going the extra mile with lighting and post effects, so long as you make it clear that the image was taken in-engine. We have more in depth training on making these images available here.
Taking the time to learn the basics of the platforms that your potential customers use can really help set your models apart. Realtime is a rapidly growing segment of the 3D market, and with a little extra work, you can give potential buyers confidence that your model is going to work for them.