
StemCell Transparency & Opacity
Using Substance Painter for StemCell
Substance Painter is a great tool when it comes to creating PBR textures on the fly! We speak from personal experience. Substance Painter is used by most if not all of our Technical Art staff for its intuitive controls. Not familiar with Substance Painter? No worries! Substance Painter has an extensive library of downloadable materials which you can use or help to understand the inner workings of this awesome application.
Please continue reading for basic guidelines to follow when you find yourself working in Substance Painter.
Developing proper workflow habits is important for consistency. Following the same processes in the same order helps ensure you are alway using consistent values when creating your materials.
One of the most important steps in creating an accurate PBR Metallic texture set is the creation of the Metallic map itself.
In the world of Metal/Rough, there are two types of materials. Dielectrics and Metals. If we are to strictly follow this rule, the ultimate result will end in a Metallic map with pure white (metals) and pure black (dielectrics) values. For example:
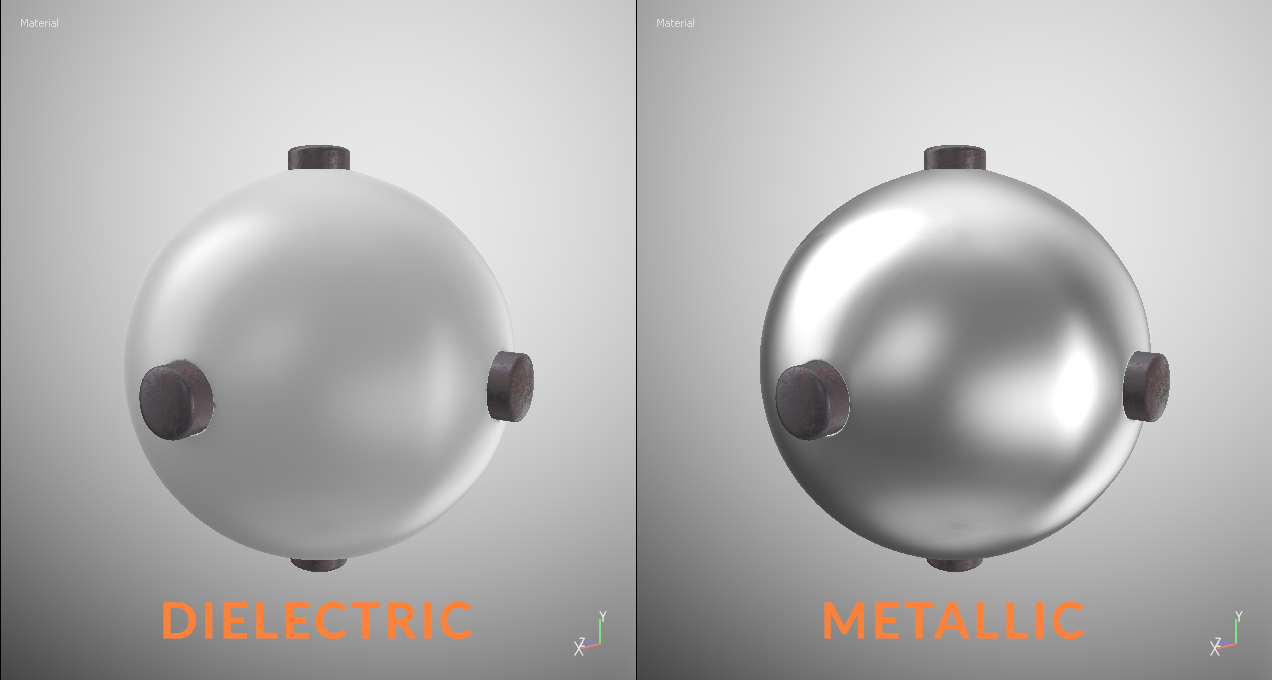 Metallic value examples for dielectric and metallic materials.
Once your Metallic value is set, the next step is Base Color. This establishes the diffuse color, and specular highlight color, if you are making a metallic material. This can be done via flat RGB colors, texture maps imported or provided within Substance Painter, and even by painting directly on the model.
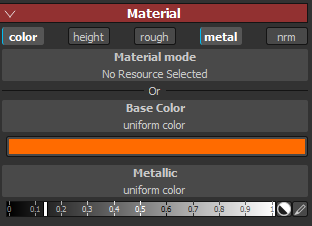 Set BaseColor value after Metallic value.
After you have set your Metallic and BaseColor, the Roughness needs to be adjusted to get your highlights looking correct. Once this value is adjusted your dielectric or metallic material should be looking complete. Your roughness value should not need to exceed a value of 0.6. If the material is still to reflective at that point then you’re Metallic value may be too high.
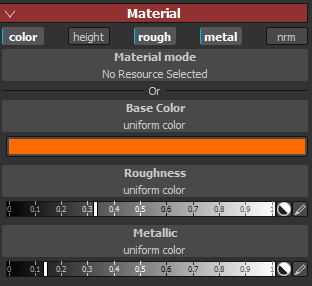 Set Roughness value to adjust appearance of how glossy a surface is.
After establishing your base dielectric or metallic material you can add any additional maps and detailing you may need. The remaining maps can affect the appearance of lighting and reflectivity so it’s best to create them after you have the base material done. These maps include Normal Map, Opacity, Emissive, and AO (Ambient Occlusion).
Adding detail layers, such as grunge layers, can also affect the appearance your base material. Be aware of the changes as you are layering additional materials on top of the base.
Output Configuration
Texture maps exported from Substance painter must be from a custom configuration to get correct useable outputs for StemCell. The export configuration can be installed or duplicated.Download the TS StemCell configuration file here. Extract the downloaded file into your local Substance Painter directory at C:\Users\*username*\Documents\Substance Painter\shelf\export-presets.
To duplicate, create a configuration matching image below with correct names. Be sure correct map output is being created for each. Pay attention to Output Map channels and color coding output call.
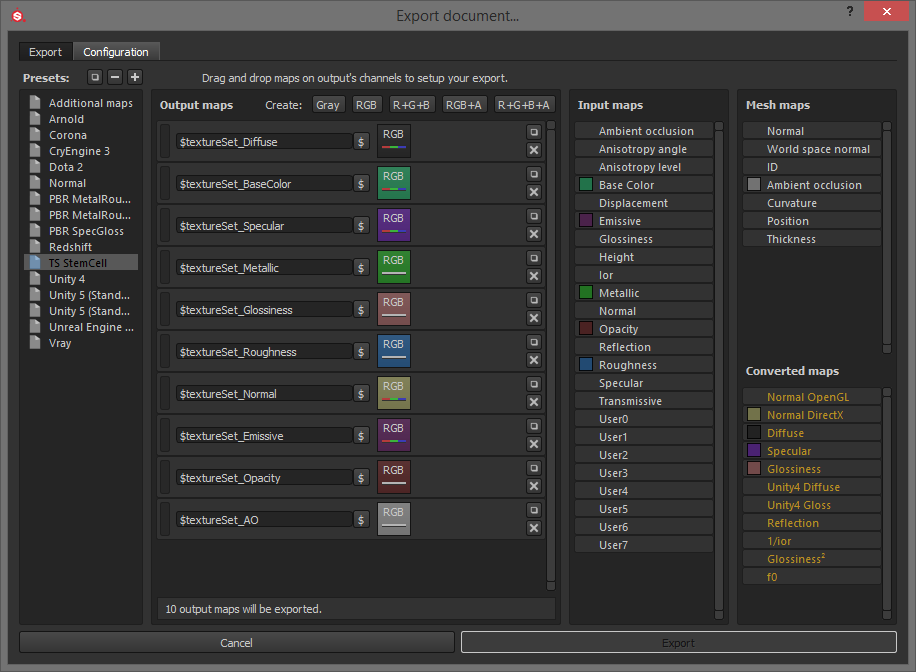 The TS StemCell configuration for export can be replicated from this image.
Specular map outputs from Substance Painter needs to be edited before they are put into production renderers. See PBR Specular Map Adaptation for details.


