
Publishing Your Model
Publishing Your Model to TurboSquid
Transferring StemCell Files
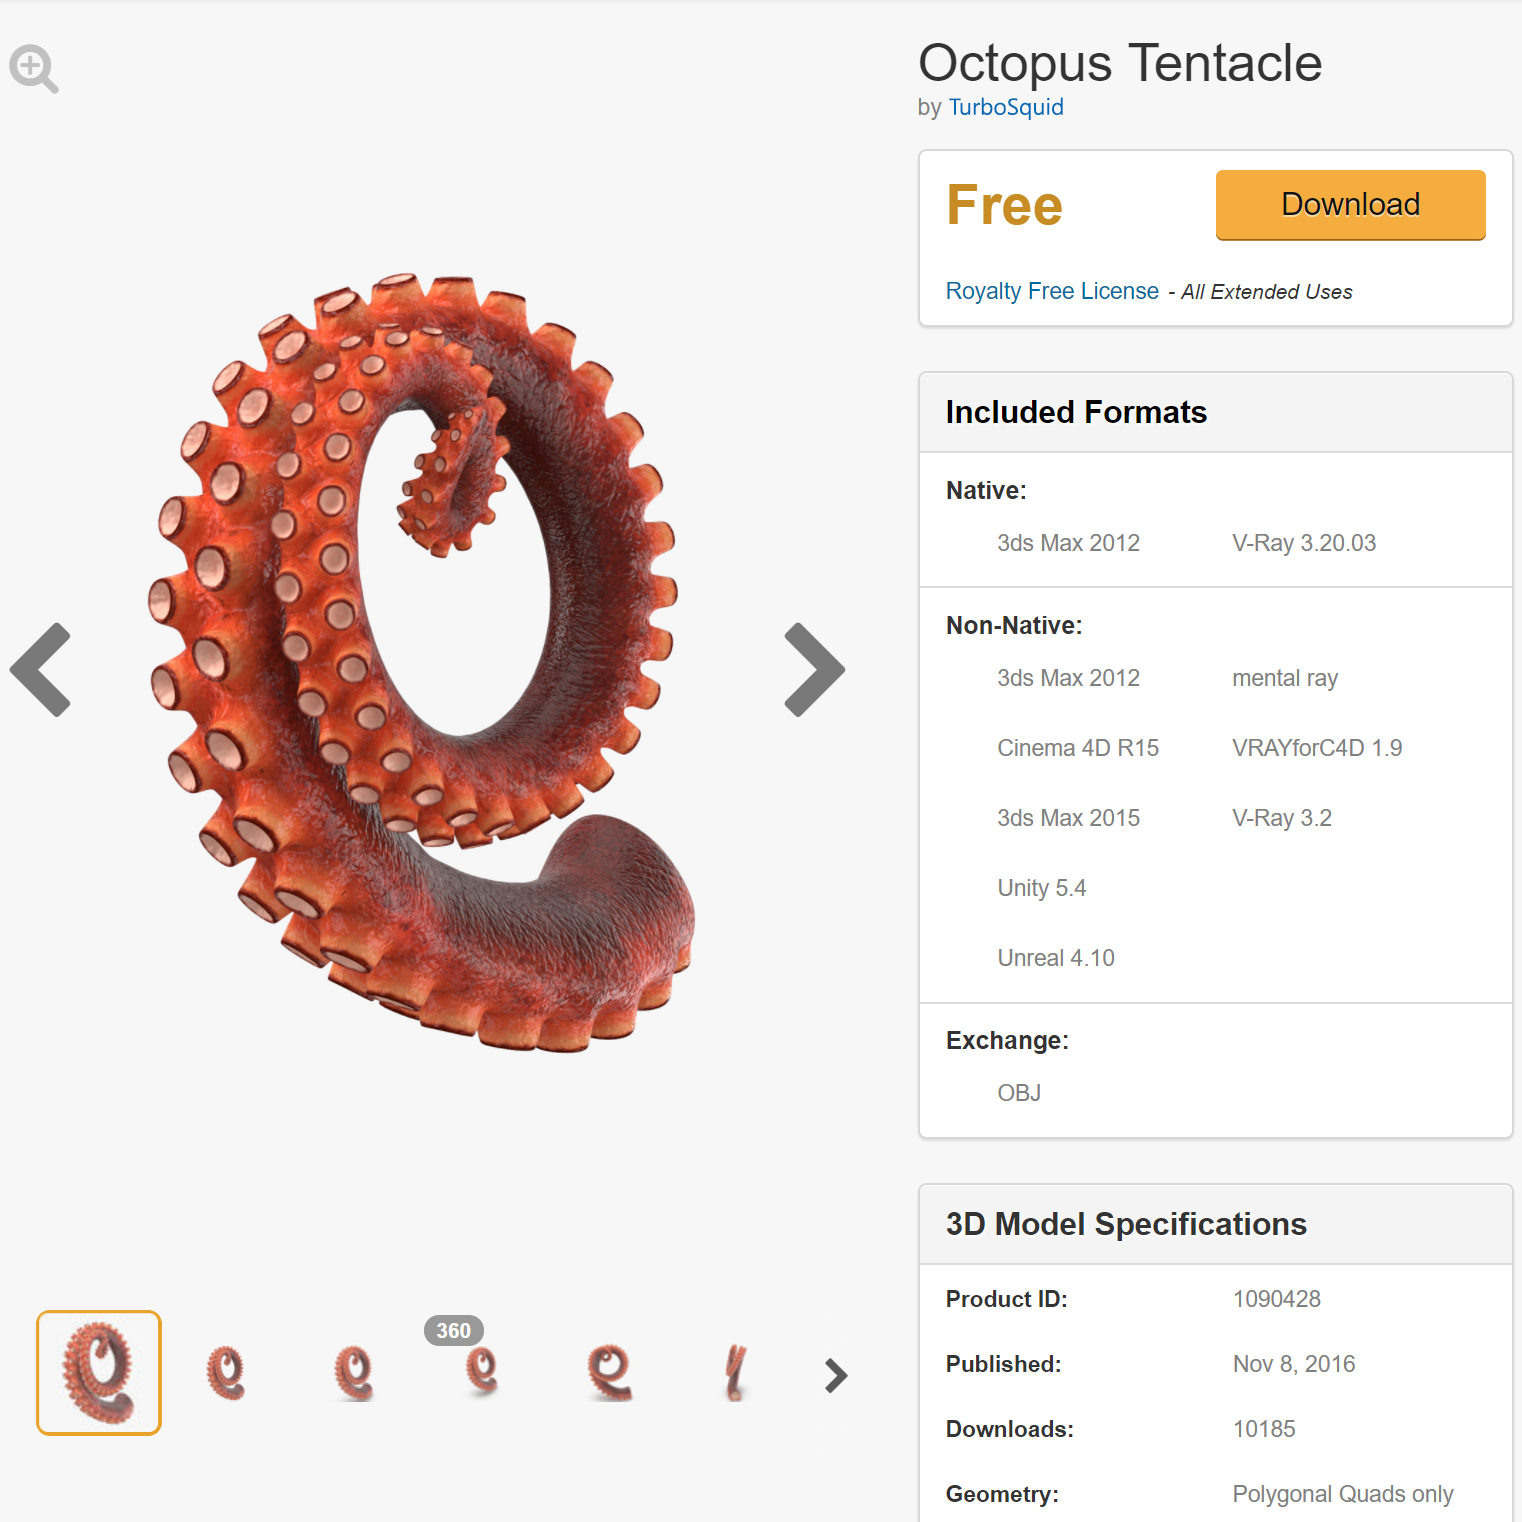
Once you have reviewed and approved the StemCell conversions for you model, the Squid.io job will prompt you to enter a TurboSquid Product ID to attach the files to. The product does not have to be in the ‘online’ status, but it already be published. You can find the Product ID in the ‘3D Model Specifications’ section of the product preview, or the numbers at the end of the product’s URL. Once you enter the Product ID, the transfer will take several minutes to process.

Click the blue Publish to TurboSquid button, enter the product ID, and select the green checkmark button
Product Preview
The StemCell job will produce the converted files with a single render for each output format, but you will still need to create the rest of the renders for your product. You will have the control for how to display and describe your model, but you will need to include the renders generated from the StemCell job.
We recommend placing the StemCell renders at the end of image gallery because when more StemCell outputs are later added to the product, these images will be automatically added to the end of the gallery.
We have published a sample asset showing one way to present your model.
We have some general training on how to best display your models on TurboSquid.
The published asset with additional beauty renders and optional model formats.
Additional Formats
We are going to be continually adding new output formats for StemCell products. As these new outputs are developed, we will create the new files and automatically add them to the product. The model files will be added with all the appropriate metadata and the renders will be added to the end of the image gallery for the product. You will receive a notification that your product has been updated.

StemCell Approved Model


