Refraction Tips in V-Ray
The point of this page is to help our contributors in the creation of transparent textures and materials. This is not to say our way is superior, but in fact a way to achieve the most consistent conversion results to date. The following notes are based on real time friendly modern day practices, so most content should flow seamlessly into current DCC and RT applications.
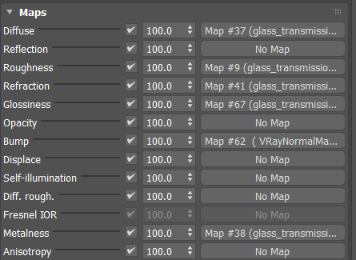
Note that this workflow within 3ds Max uses the VRayMtl shader, and is based upon having all supported map contributions set to 100%
In the world of 3D, there is opacity, and there is transparency.
When we say opacity, we typically mean an opacity cutout. Which means an object or part of an object is either visible or not visible.
The opacity map should contain only pure black or pure white values to determine which areas of the object will be visible and not. This should be the only method in which opacity maps are used.
Besides this use case, Opacity is not used in any other way for the purposes of StemCell models.
When the term transparency is used, we refer to objects that are translucent, such as glass or water.
With V-Ray as the renderer, the map used for transparency is called the refraction map.
The refraction map can be set as any RGB value you would like.
Refraction
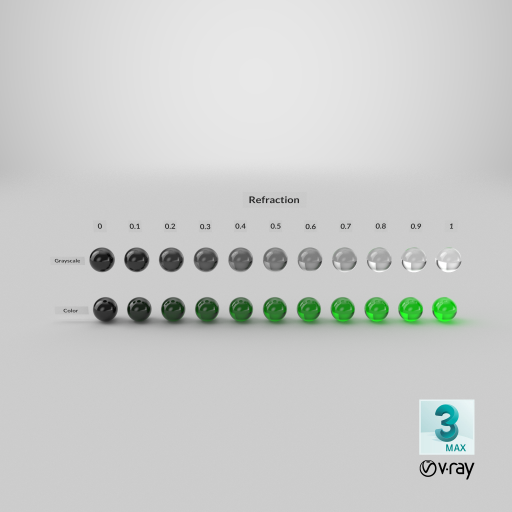
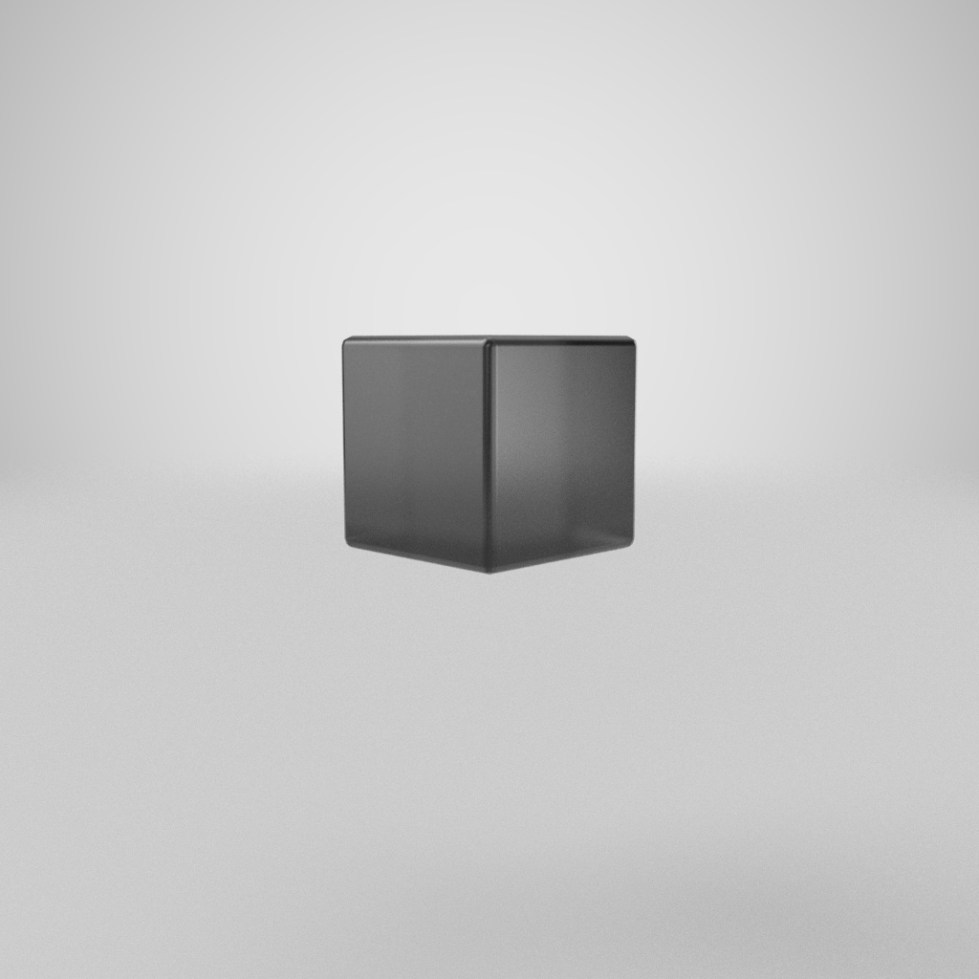
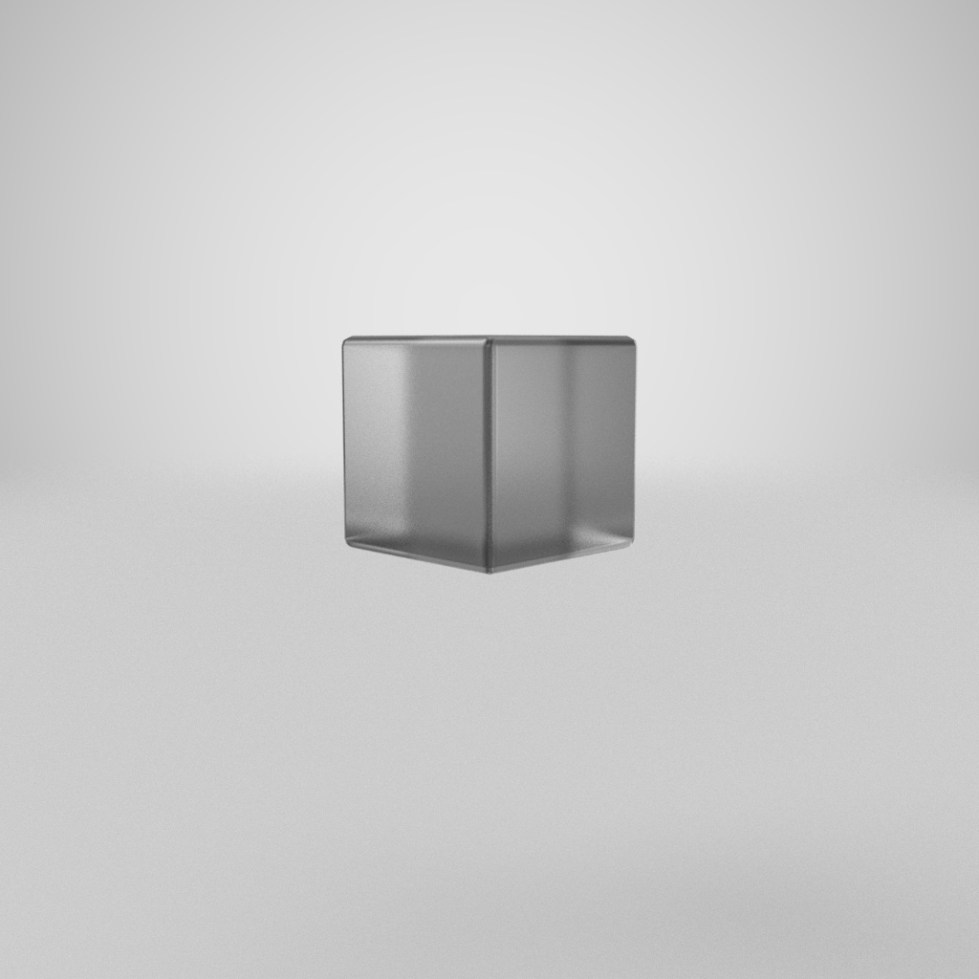
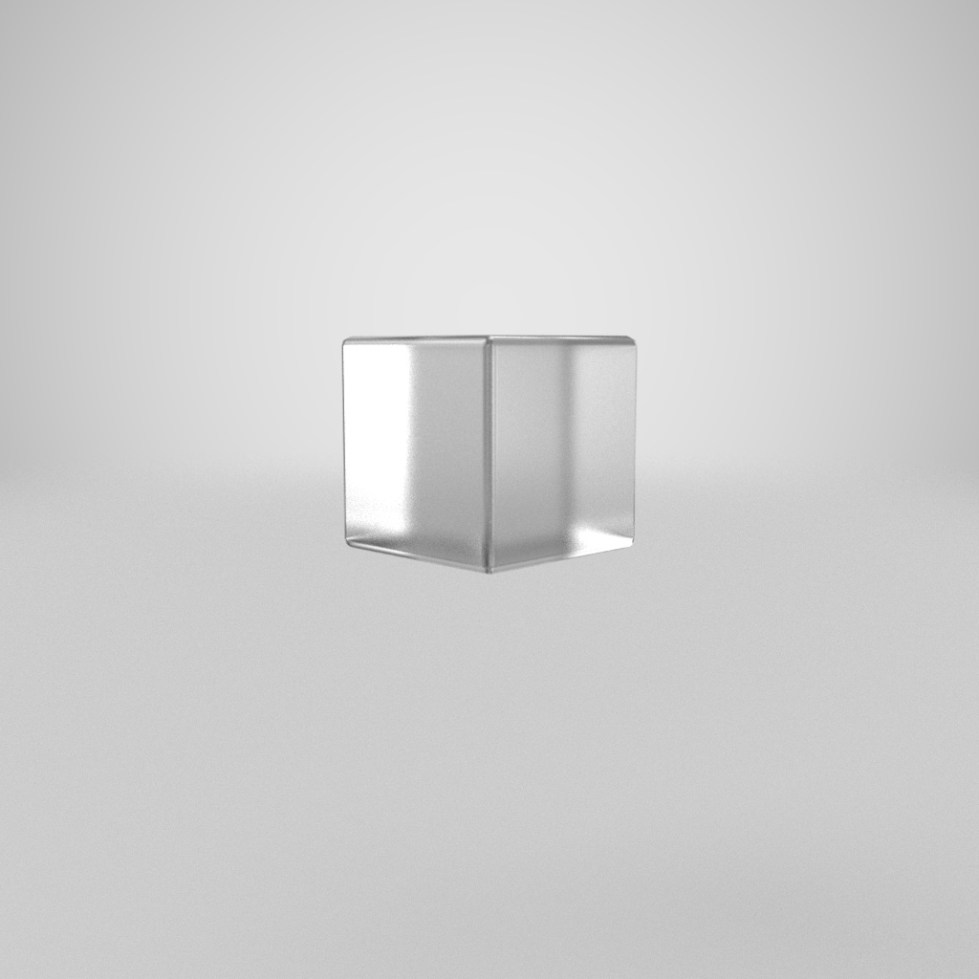
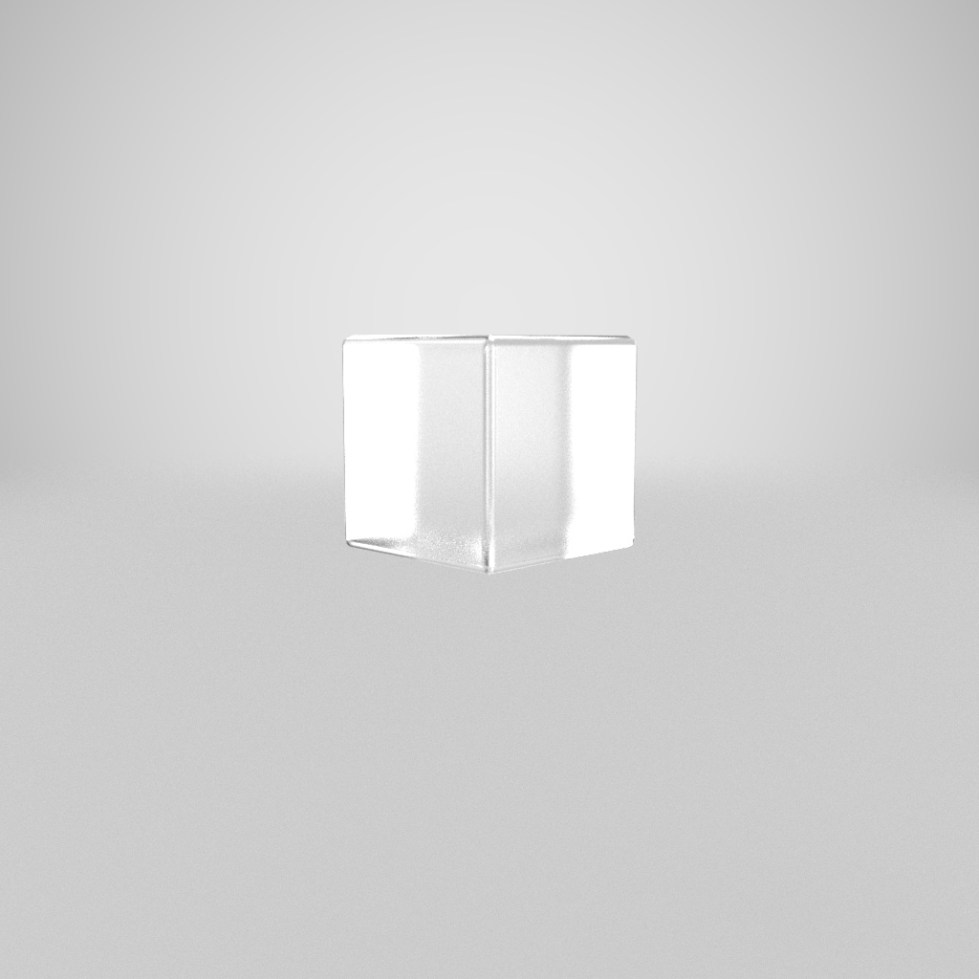
The Brighter the Refraction Color value, the more transparent the object becomes.
Refraction Value Shift from RGB(0,0,0) – RGB(255,255,255)
| Result | 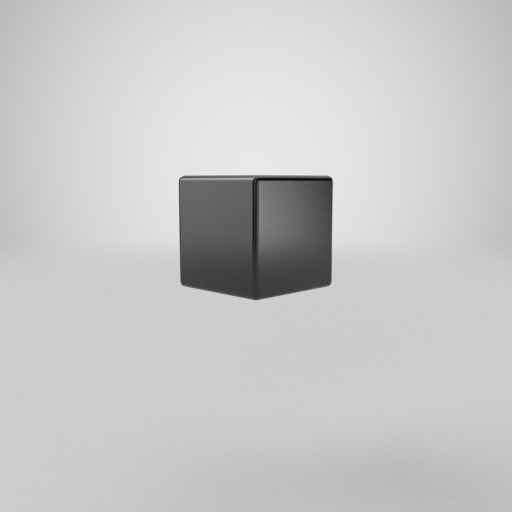 |
 |
 |
 |
 |
| Base Color |  |
 |
 |
 |
 |
| Refraction (Transmission) |  |
 |
 |
 |
 |
Adding color
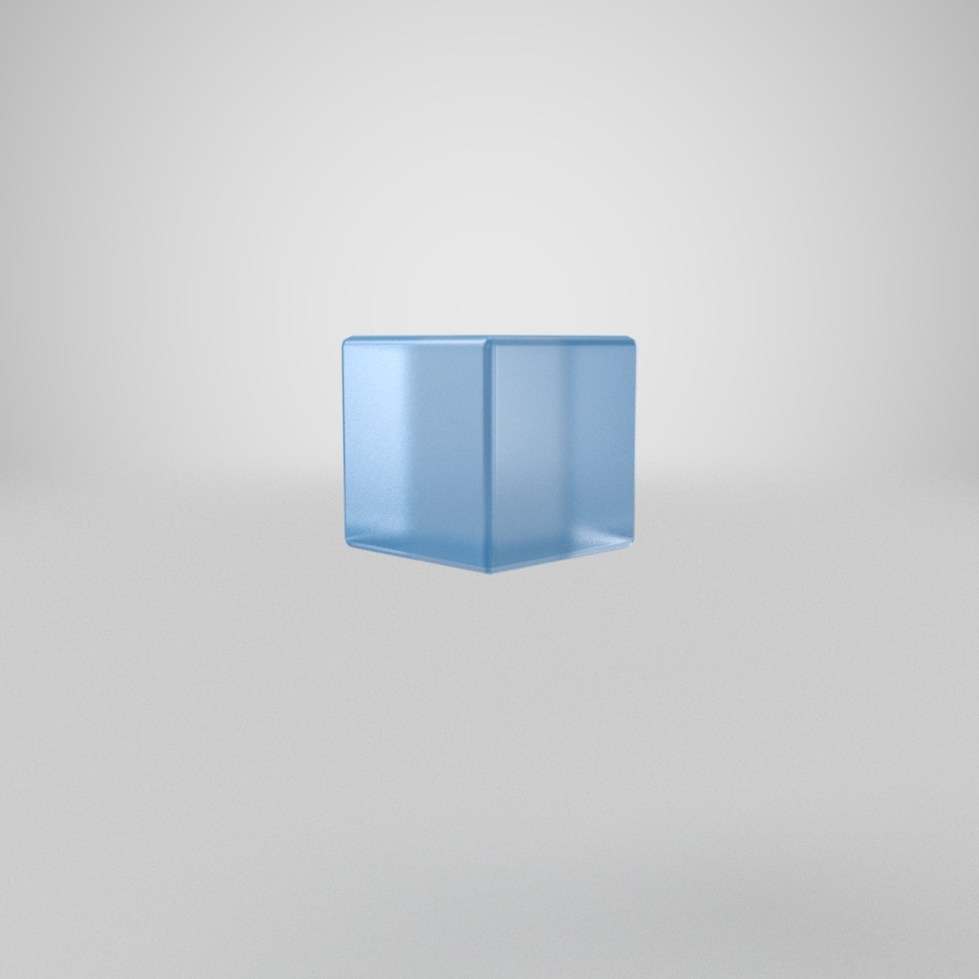
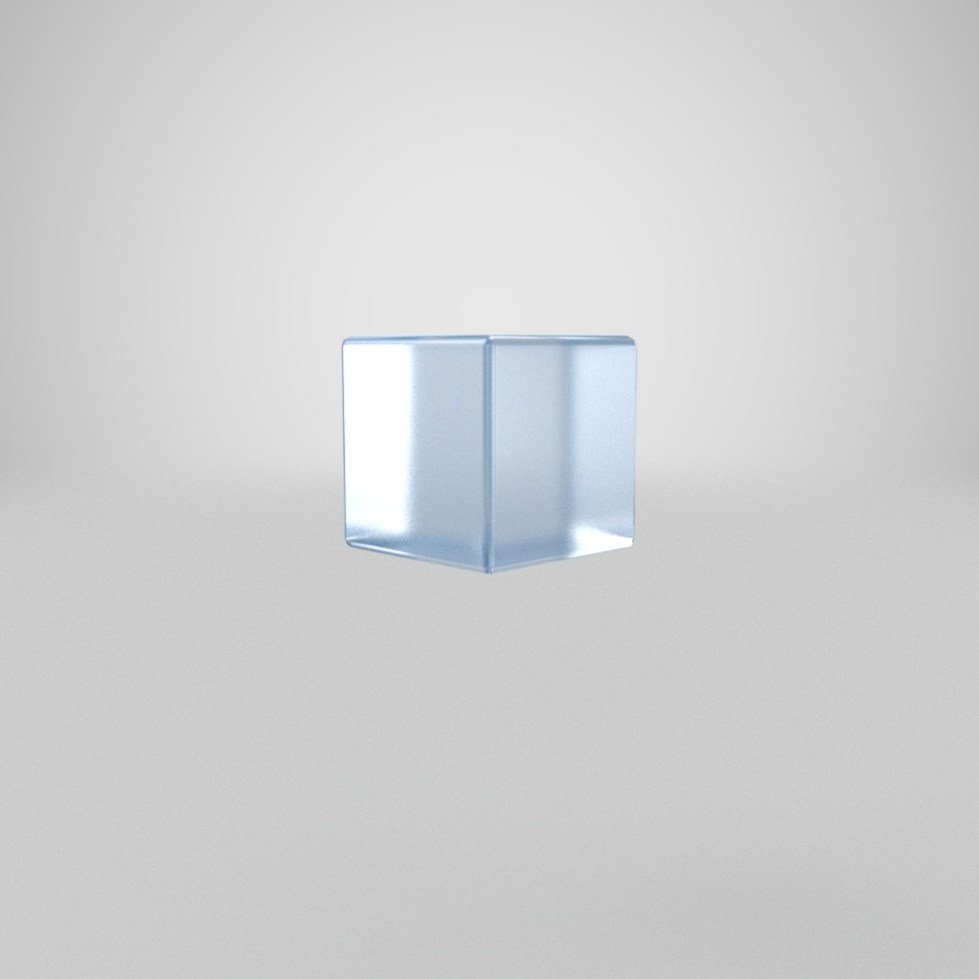
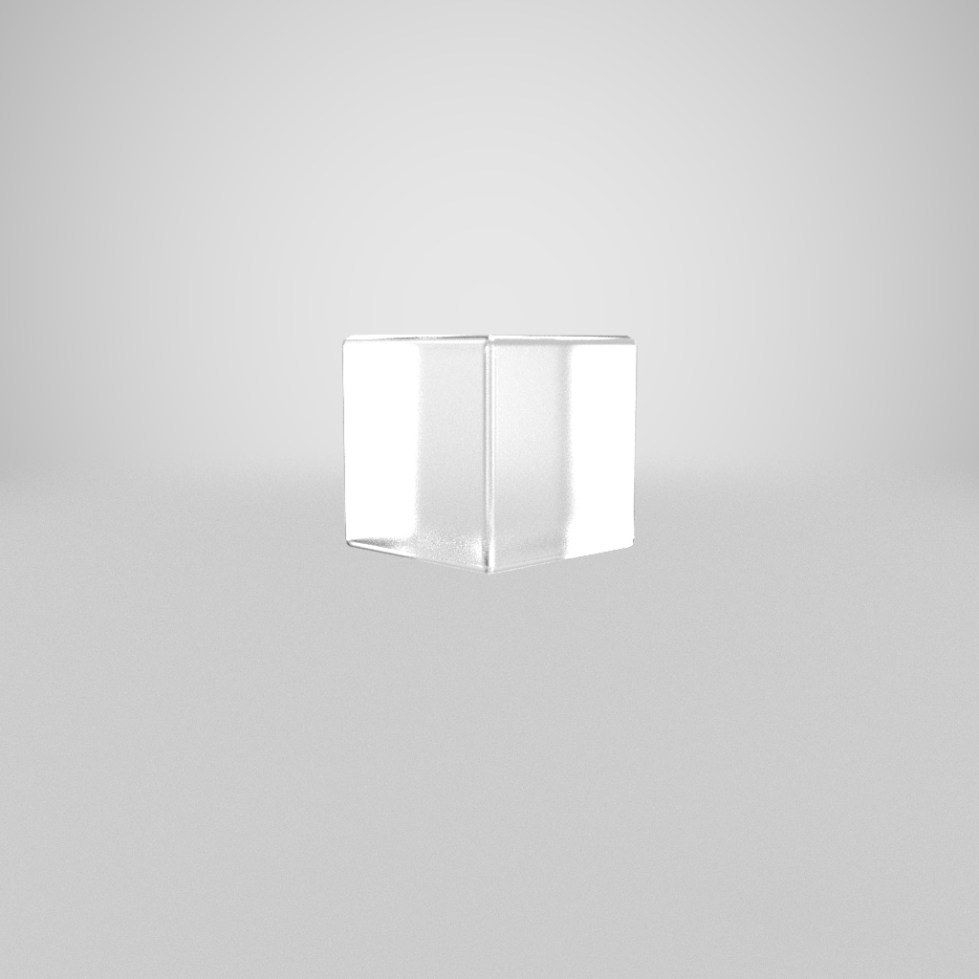
If the Refraction map is darker than pure white, i.e. RGB(255,255,255), the Base Color’s influence becomes introduced into the render. Note that with a pure white Transmission Color value, the Base Color map no longer contributes to the render.
Refraction Value Shift from RGB(63,63,63) – RGB(255,255,255)
| Result | 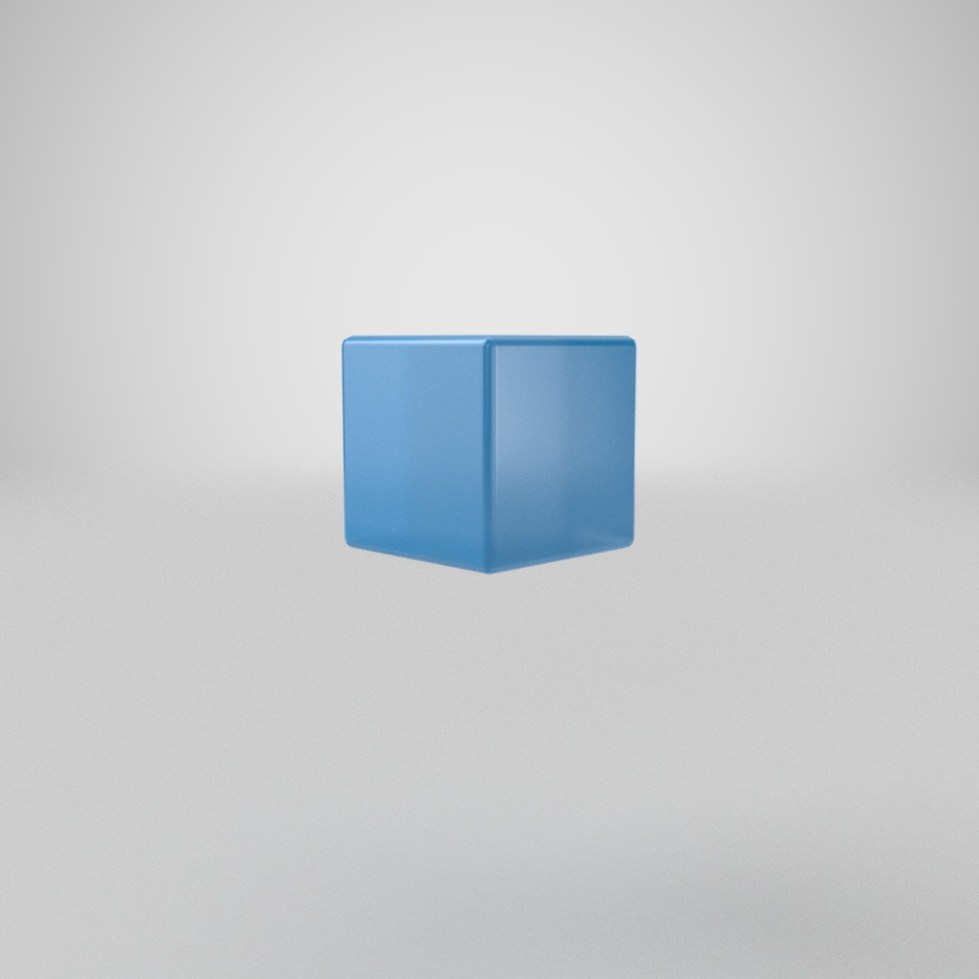 |
 |
 |
 |
| Base Color |  |
 |
 |
 |
| Refraction (Transmission) |  |
 |
 |
 |
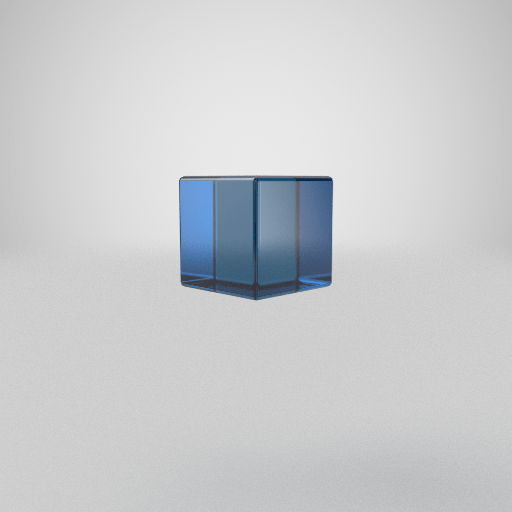
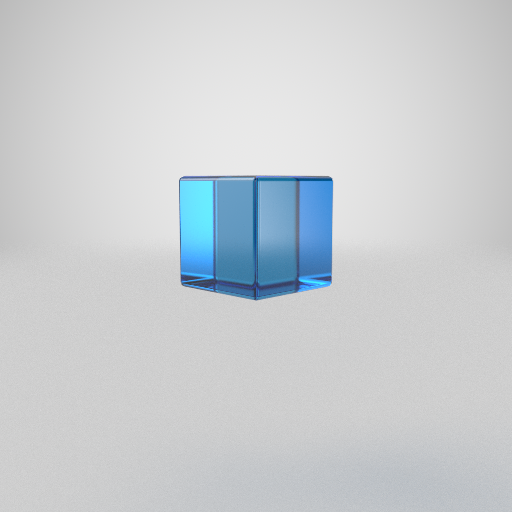
If color is desired, a broader range of color can be achieved by placing the color information within the Refraction map.
Brightness Value Shift 25% – 100%
| Result | 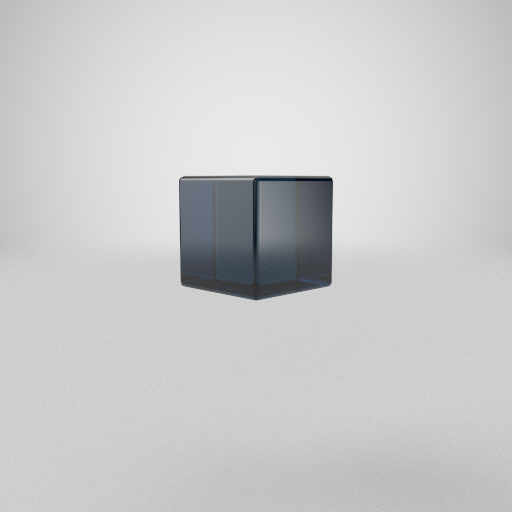 |
 |
 |
 |
| Base Color |  |
 |
 |
 |
| Refraction (Transmission) |  |
 |
 |
 |
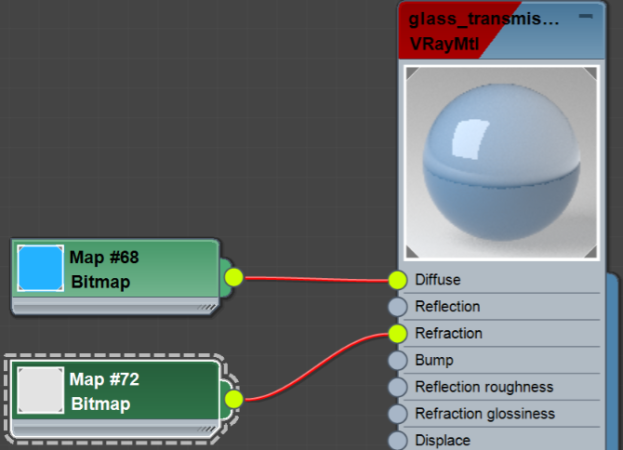
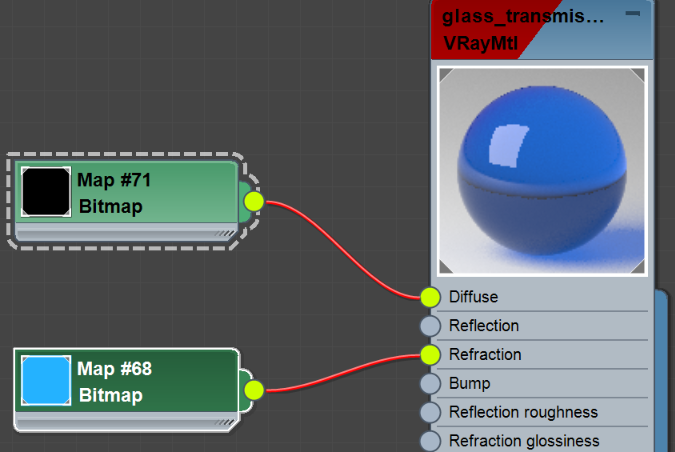
Ultimately the artist has the choice as to whether they would like to place the color value in the Base Color or the Refraction map, but never both.
| ✅ | ✅ | ❌ |
 |
 |
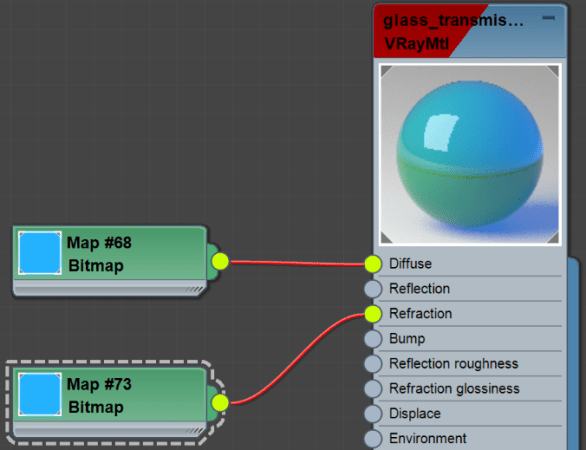 |
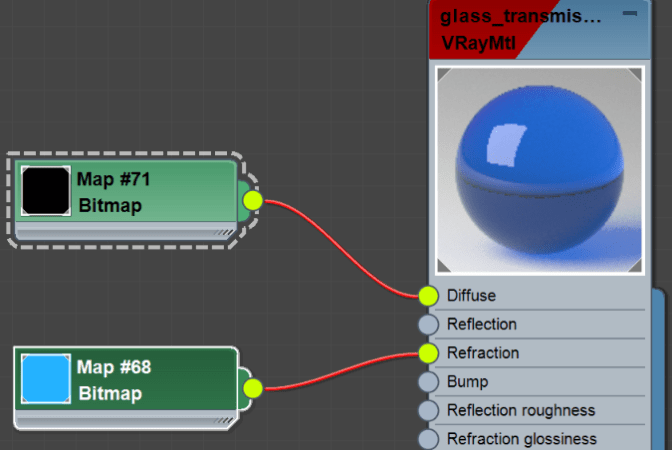
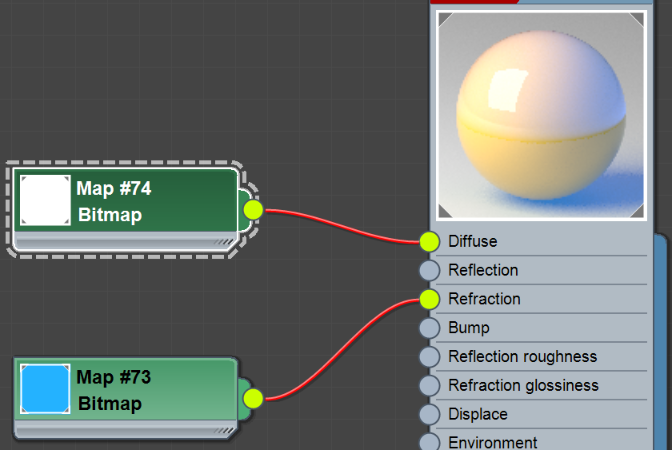
Note that when the color value is stored within the Refraction channel and the Base Color is black, V-Ray materials behave like glass. However, when brighter values are used as the Base Color, the material no longer appears transmissive.
| ✅ | ❌ |
 |
 |
Roughness
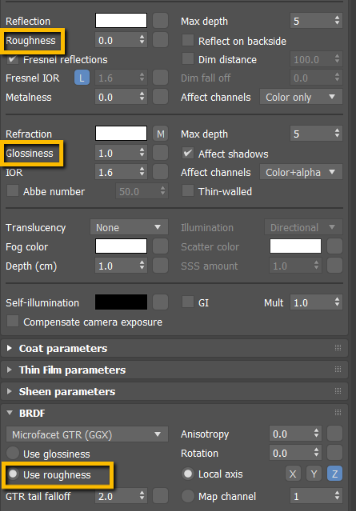
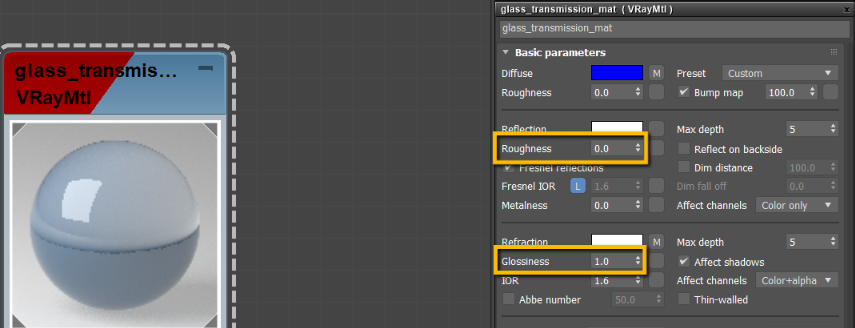
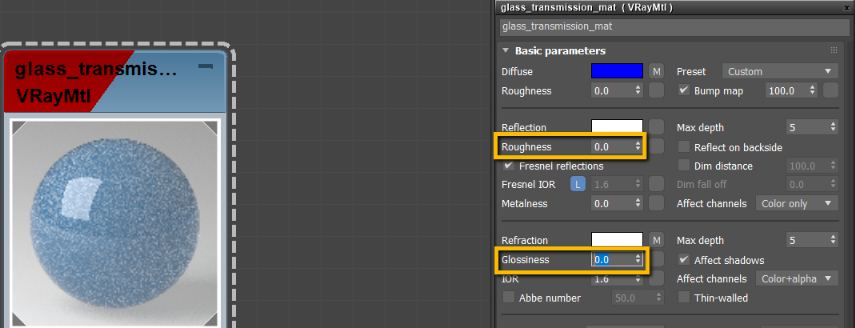
Another unique aspect to VRay is how it handles roughness in refractive materials. When enabling the “Use roughness” attribute the Refraction Glossiness will unfortunately break, but don’t worry we have a solution!
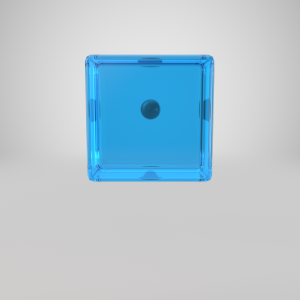
Even though both highlighted channels have the same value of (0.0), they are conflicting; causing the shader to look noisy or grainy. On the left you can see, when the channels have opposite values, the V-Ray material preview looks correct.
 |
 |
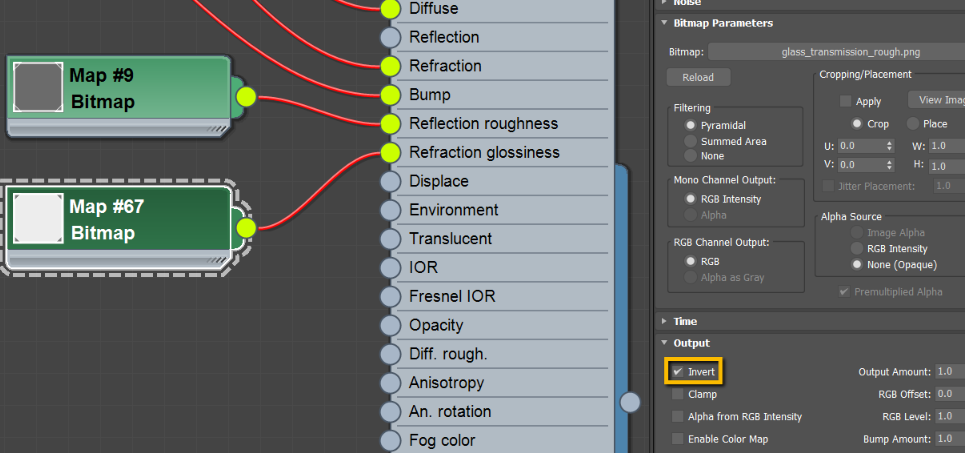
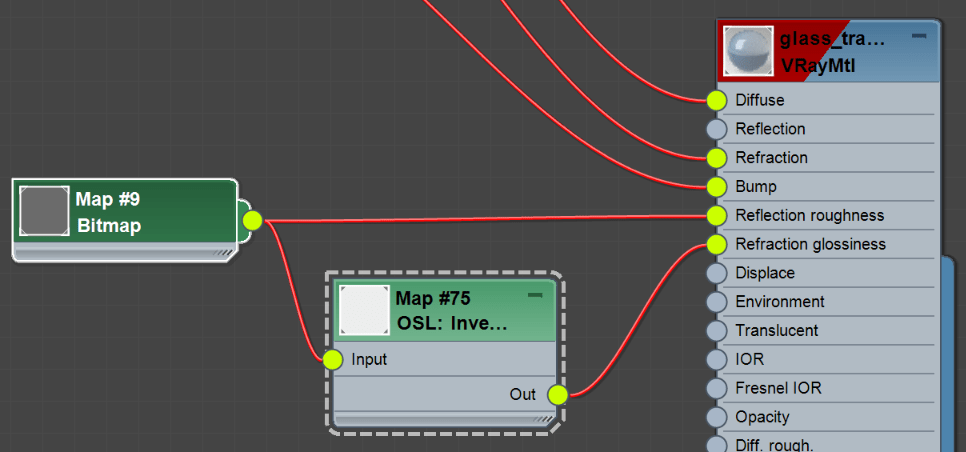
To ensure refractive materials behave correctly, an inverted roughness map is required. This effectively keeps the conflicting roughness and glossiness channels opposite of each other.
There are two methods in which one can do this:
- By duplicating the Roughness map, inverting the output, and plugging into the Refraction Glossiness channel
- Connecting an OSL:Invert node into the Refraction Glossiness channel, and then connecting the original Roughness map into the OSL:Invert node.
| Method 1 | Method 2 |
 |
 |
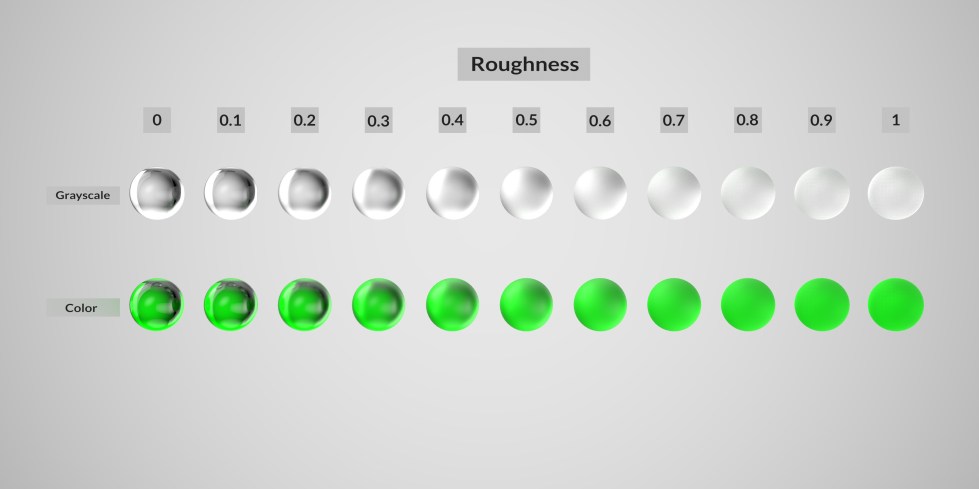
The Roughness map is a great way to reduce the amount of transparency. By brightening the roughness, the objects becomes less transparent. Potential applications of this method would be for areas that are worn down, scratched, dirty, or frosted glass.
We currently do not support the use of Specular Level maps, but we do understand that this value is important to the way a model renders. This is why we strongly recommend setting the Reflection Color to pure white, and then making any adjustments needed to the Base Color, Roughness and Refraction maps for your desired result.
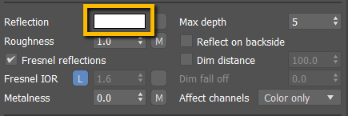
Reflection Color – Make sure that the Reflection Color value is set to pure white.
Base Color – Decide on whether the transparent object will be grayscale or have color.
If color is used within the Base Color map, note that this color will not come through if the Refraction map is pure white.
Refraction – Select desired value for the Refraction Color. The brighter the value, the more transparent the object becomes. Test render and adjust if color or visibility through the transparent object is not to your liking.
When color is stored within the Refraction map for transparent objects, make sure to keep a dark Base Color so that the glass shader renders properly.
Roughness – Adjust the grayscale value until desired look is achieved. Brighter the map is, the more diffuse highlights become, and less transparent the object becomes as well. Make sure to invert the roughness map and plug into the Refraction Glossiness parameter based off of the two examples given above.

