
Providing beautiful Product Shots should be a priority when you publish your models on TurboSquid. You want your customers to look at your preview images and envision how your models will fit into their projects. By providing a large number of high-quality, well-lit Product Shots, you’re increasing your potential sales more than any other factor.
We know that creating beautiful Product Shots can be a challenge regardless of your skill level or experience, so we have provided you with nine studio scenes that you can use to render out beautiful imagery of your TurboSquid products. Please note that you may only use these studio scenes to create imagery for TurboSquid. You may NOT use them to create imagery for items you may be selling on other marketplaces.


Downloads for prepared scenes and HDRI files provided as follows:
- 3ds Max 2019 / V-Ray
- 3ds Max 2015 / V-Ray
- 3ds Max 2012 / V-Ray
- 3ds Max 2019 / Arnold
- Maya 2019 / V-Ray
- Maya 2019 / Arnold
- Cinema 4D R21 / Physical
- Cinema 4D R21/ Arnold
- Blender 2.81 / Cycles
Please note that each software and renderer uses different coordinates to load the HDRI environments. For example, some prefer them flipped horizontally, rotated 90 or 180 degrees, etc. So in each download we have included a screenshot and a text file explaining the setup needed to match our examples above.
You should be able to just import your geometry into the scene and start rendering your images, but you are free to make as many adjustments as you need.
Each of our studio scenes is named to indicate its suggested use (character, furniture, automotive), but feel free to experiment with different environments on your models to see which you prefer! Studio scenes are set up with:
- Units set to centimeters
- A light with an HDRI environment
- Each scene uses the light type that’s optimized for the renderer, e.g., Arnold Sky, Vray Dome
- We set the light intensity to 1
- We used a linear workflow, so you must load any HDRI environment with a gamma of 1.0 or linear or raw
- A camera
- In order to provide you with scenes that work in multiple 3D programs, we used standard cameras and turned off or set to 0 any features that would affect the rendered light, such as exposure. As always, feel free to experiment with exposure by turning it on and tweaking it.
A backdrop or back wall object.
- In order to provide you with scenes that work in multiple 3D programs, we used standard cameras and turned off or set to 0 any features that would affect the rendered light, such as exposure. As always, feel free to experiment with exposure by turning it on and tweaking it.
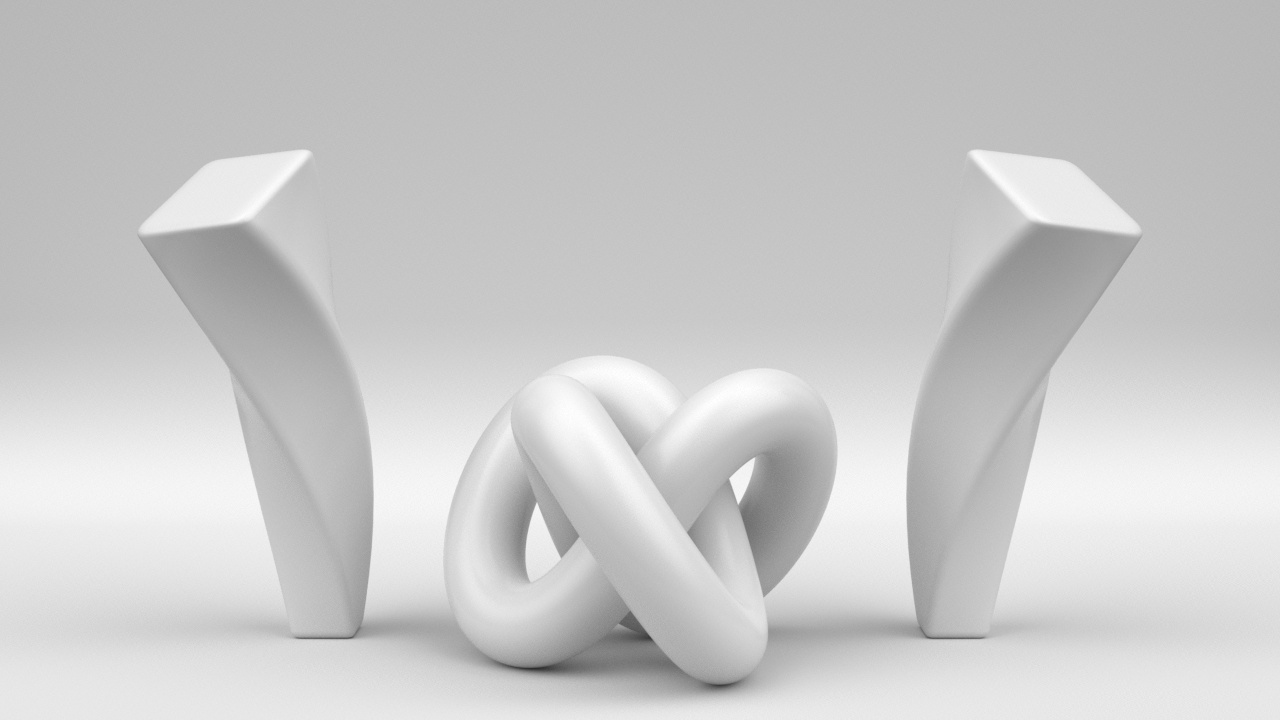
There are a few things to keep in mind when using the provided backdrops.
By default the backdrops come with a light gray material, but you can experiment with different shades to find the right contrast between the background and your model.
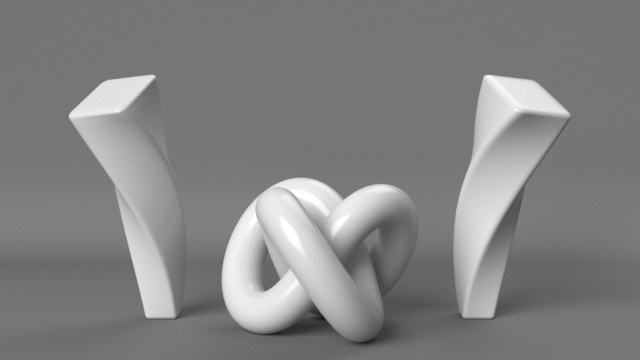
Ideally, you should experiment with the scale and placement of the backdrop for better transition between light, shadows and background.
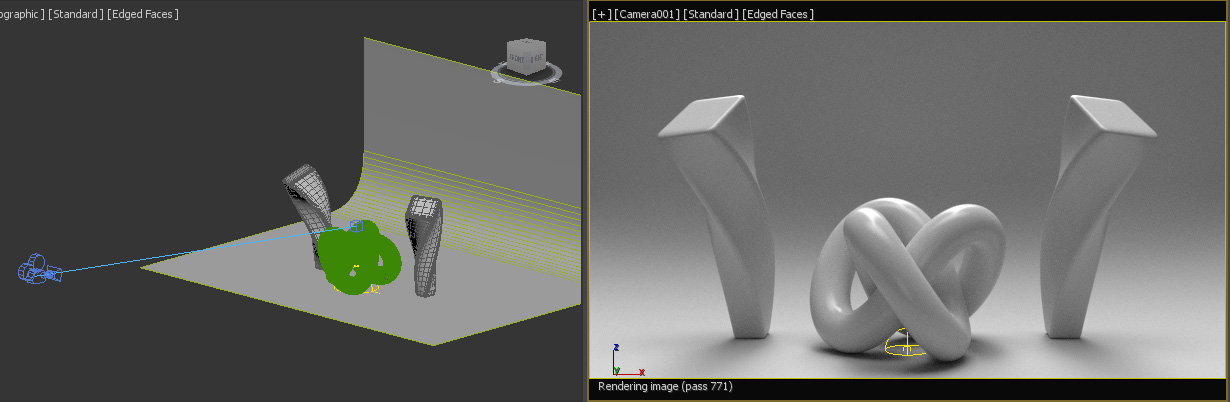
As you can see above, if your backdrop extends too far from the camera frame, you may block lighting and reflections from the HDRI environment.
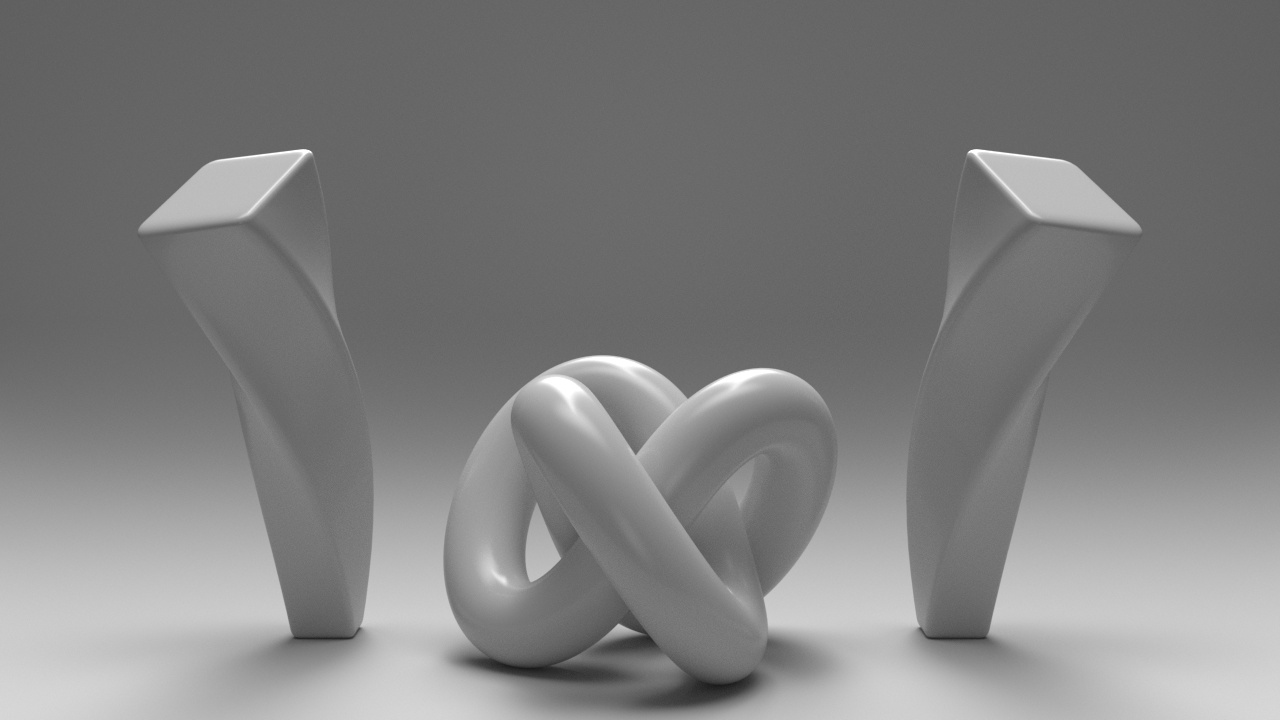
In this example (above), we scaled the backdrop larger and moved it closer to the subject for smoother shadows. However, by doing this, the models darkened and lost reflection.

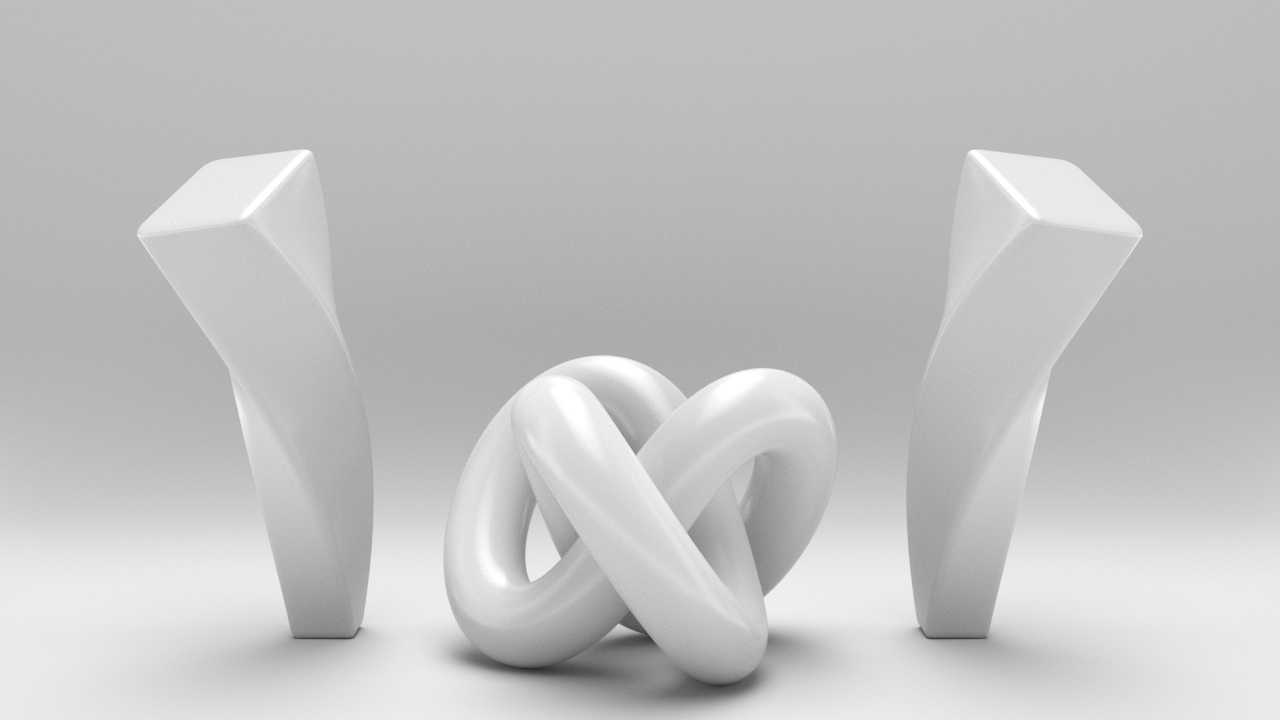
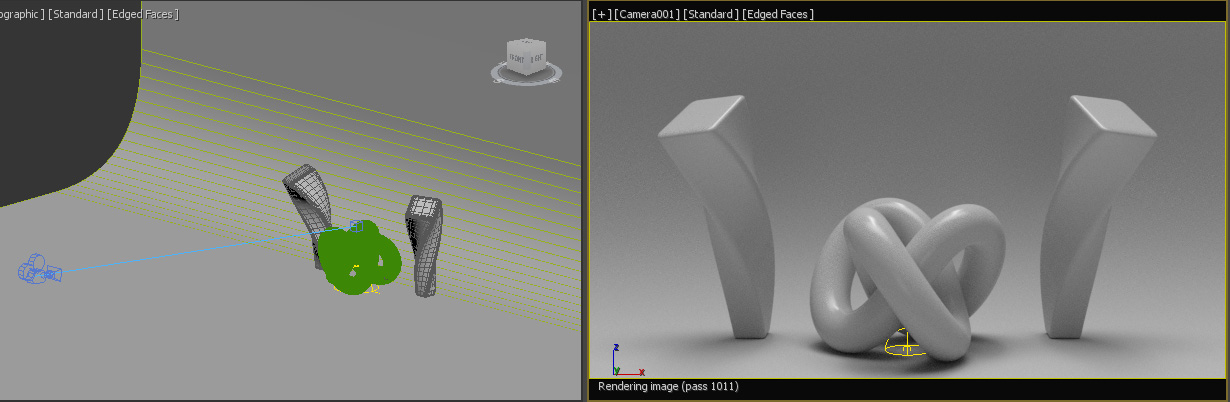
In this example (above), we trimmed the backdrop geometry to bring the light and reflection back.
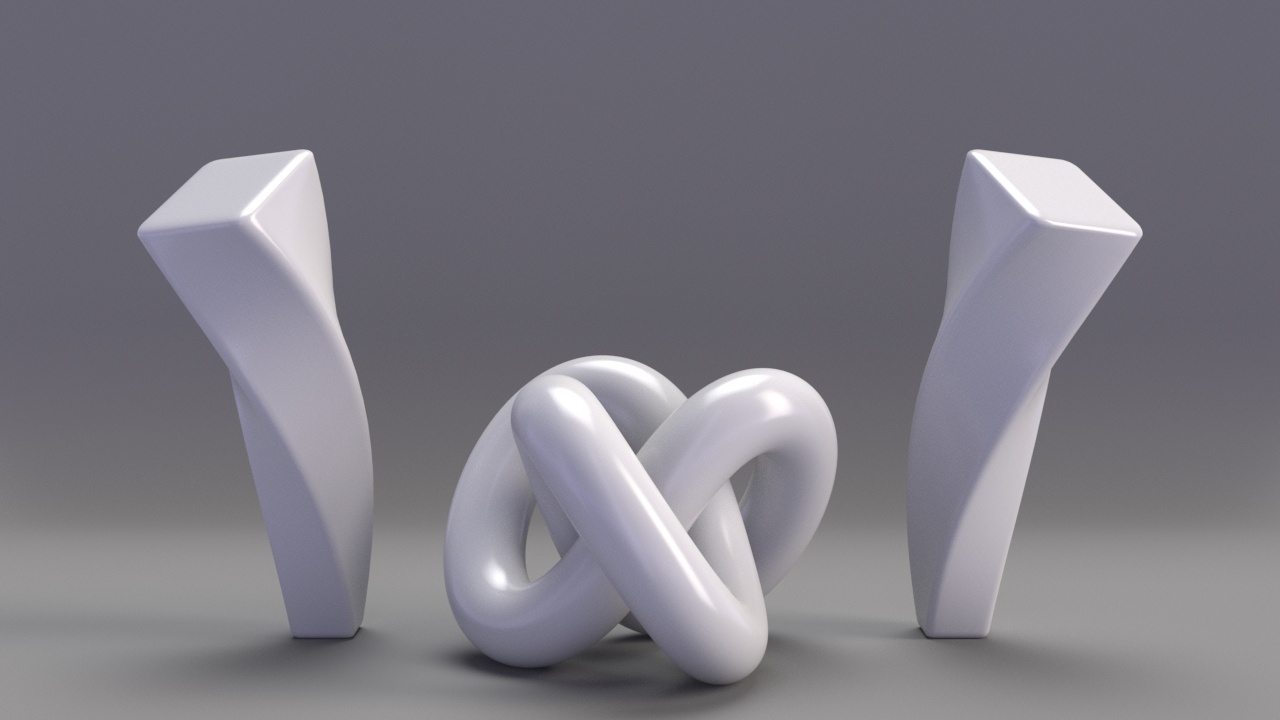
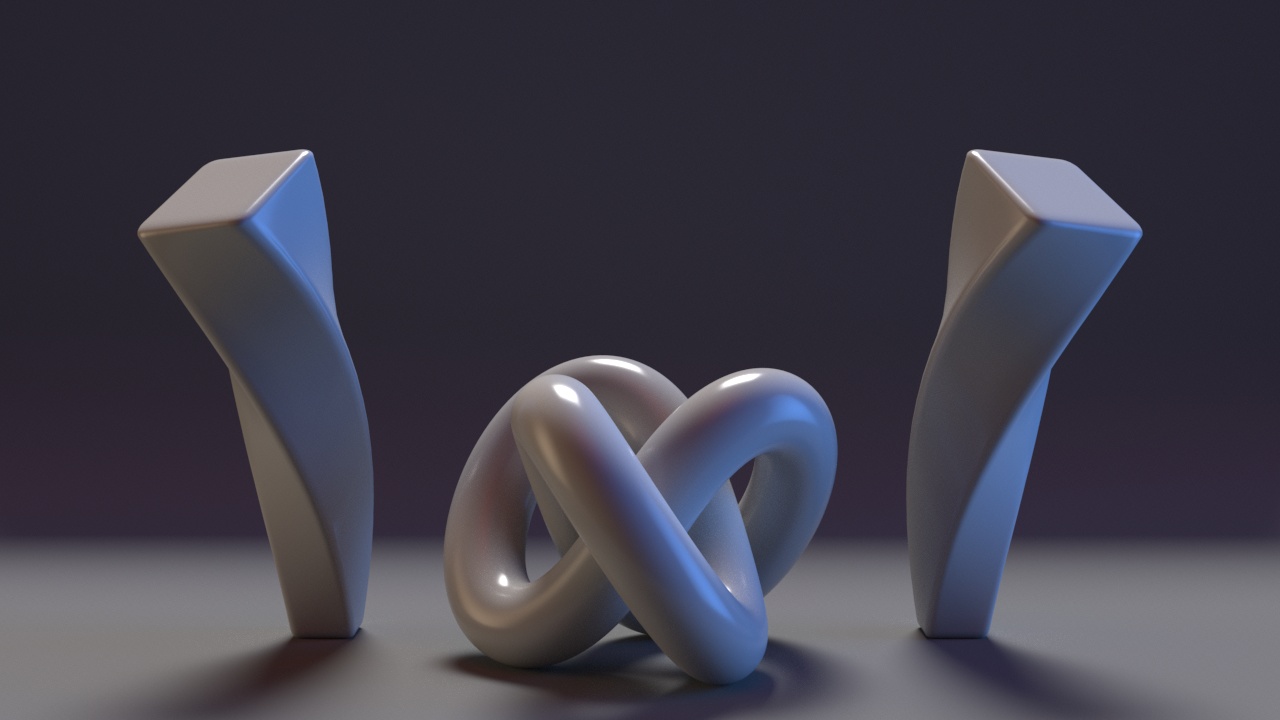
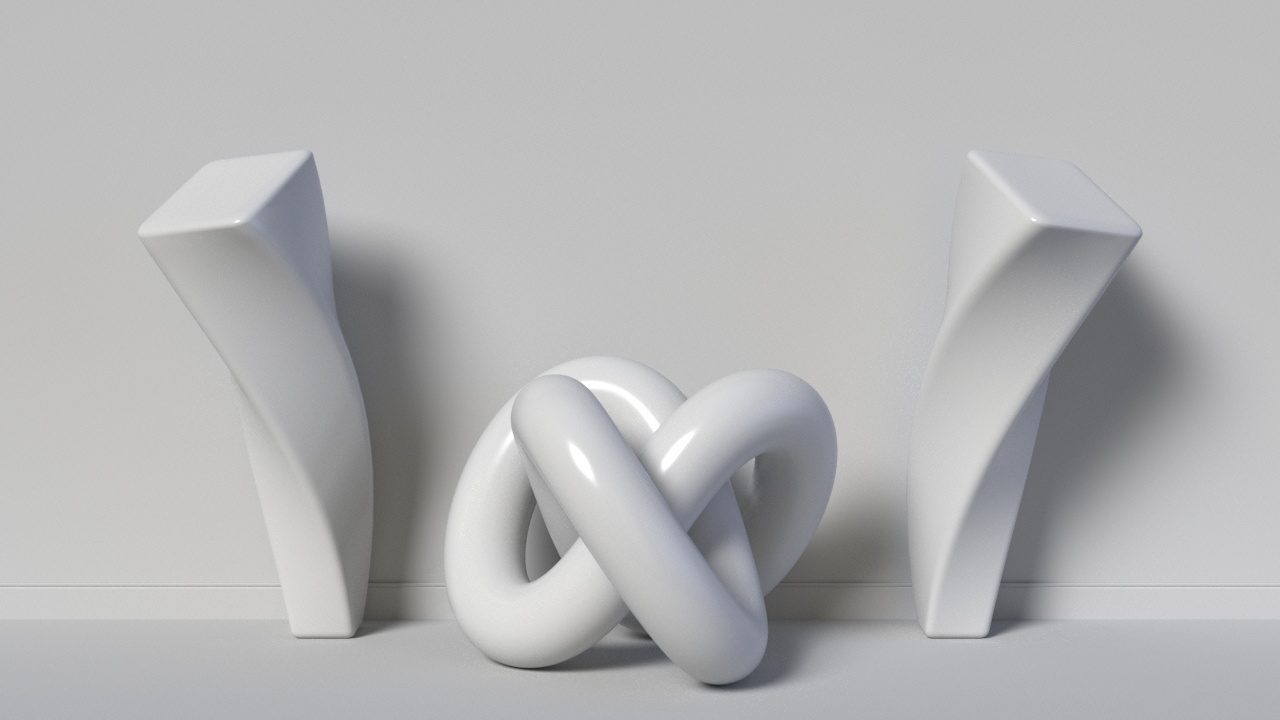
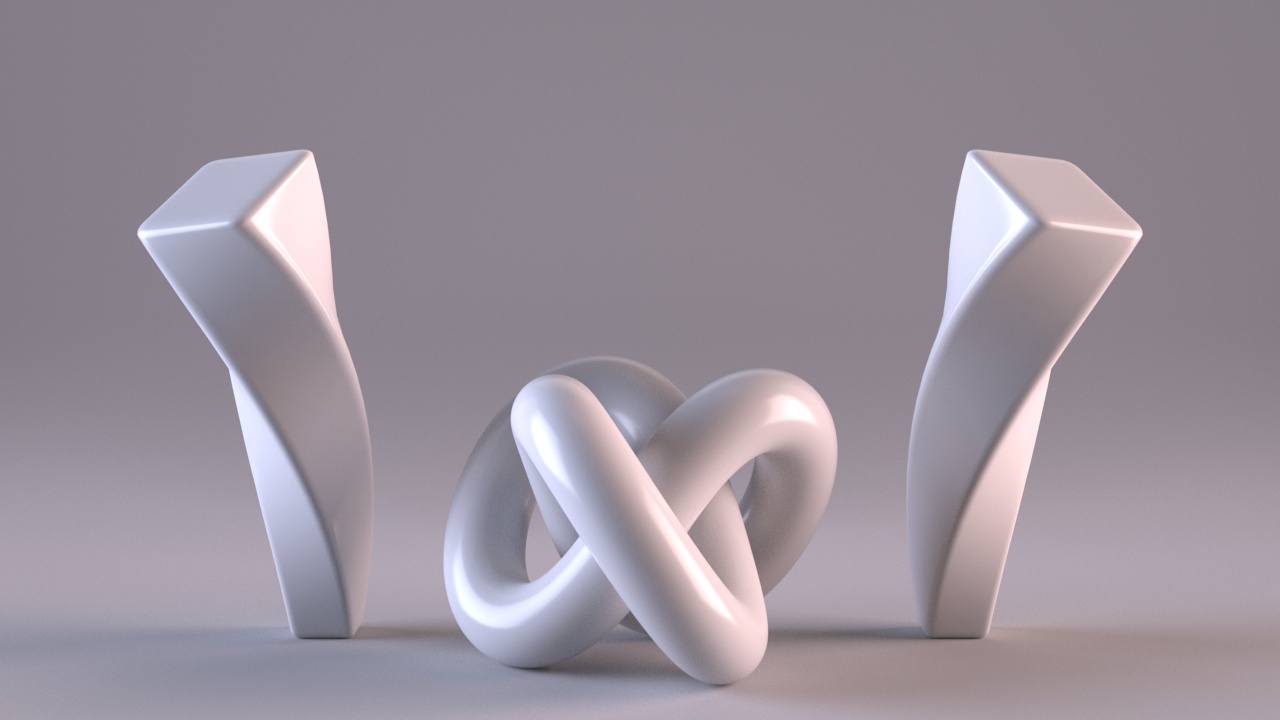
Rendered Examples
Classic 3 Point


Character


Fantasy Character


Furniture


Sci-Fi


Studio


Tabletop


Automotive 1


Automotive 2


