What kind of models are ideal for generating interactive .mview files?
Marmoset Toolbag has been a game development industry standard for years. It allows artists to showcase their work in a real-time environment so that others can review their geometry and animation and help with look-dev and lighting. It is incredibly simple to use, and it also gives artists a solid understanding of where possible issues lie within their modeling and texturing workflows.
It’s important to understand that Marmoset Toolbag is based on Physically Based Material methods for constructing materials. While you can choose to use a traditional specular/glossiness workflow for the creation of your materials, PBR materials for modern real-time workflows are now based on the concept of a metallic/roughness material paradigm. While not required for the creation of an .mview file, it is recommended that you familiarize yourself with the new PBR concepts simply to understand both ways of working. Ultimately, you can choose whichever material method is most comfortable for you as both can produce valid .mview output.
It is worth noting that modern game engines like Unity and Unreal take full advantage of the newer metallic/roughness PBR materials, so any assets you create for these engines will be nicely suited for conversion into Marmoset .mview files. The takeaway here is that regardless of which method you choose to create your materials, they must be built using only bitmap textures and should not contain procedural shaders or materials that are often available within a 3D application. All color and texture information should be derived from the maps themselves.
If you are unfamiliar with PBR materials, there are a pair of great primers that you can review.
- The Marmoset team has assembled a PBR Material Creation Guide on their website.
- Allegorithmic has created a two-PDF downloadable guide to PBR Theory and Practice that we recommend you grab.
The most important thing to remember here is that not all content will display accurately in a real-time environment. We recommend that you not try to force things. What you don’t want to do is create a real-time preview of your model that doesn’t accurately showcase the materials that are applied.
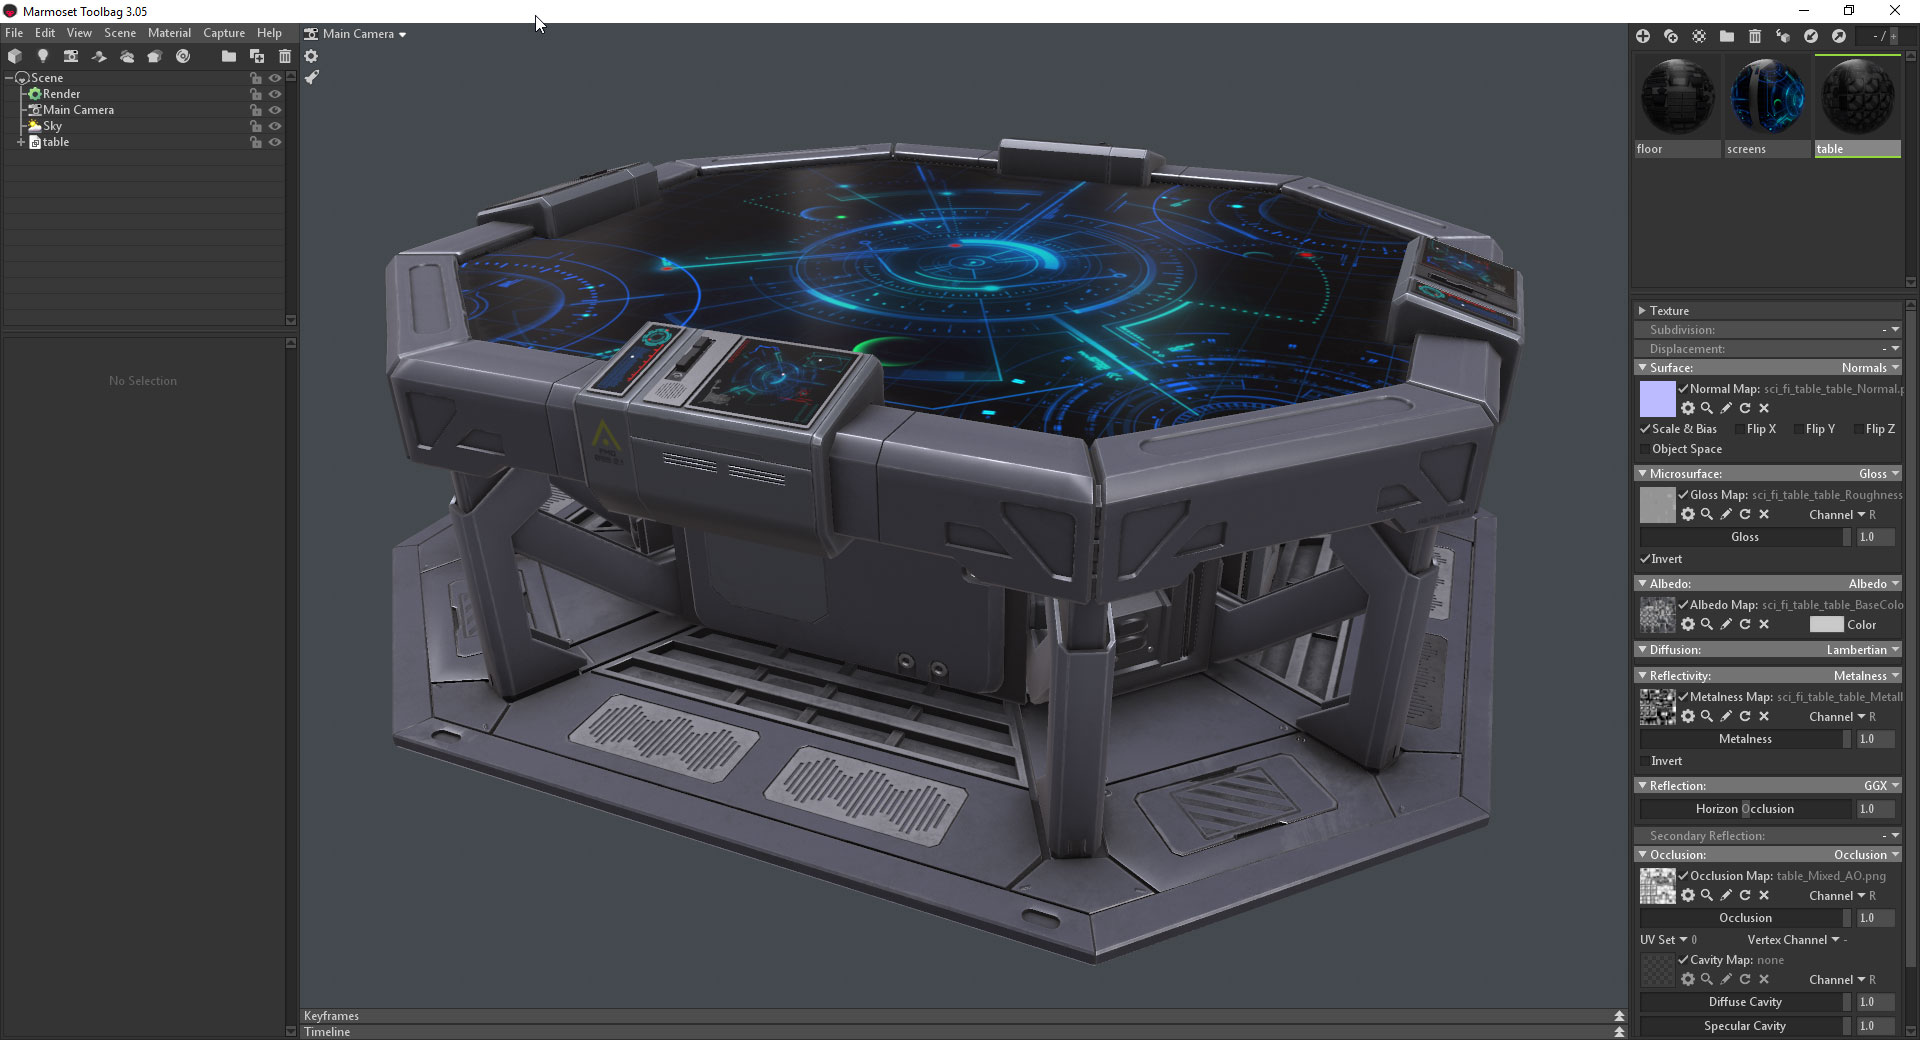
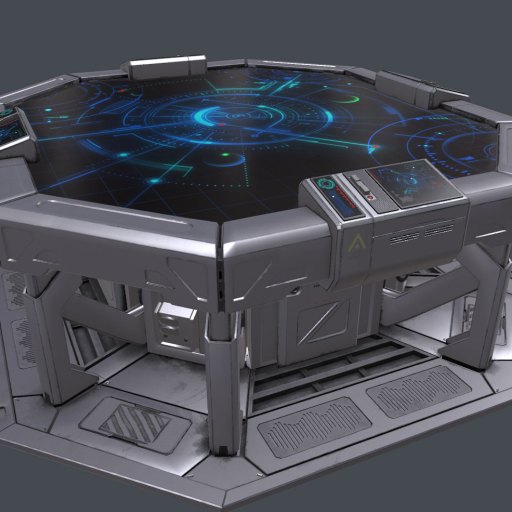
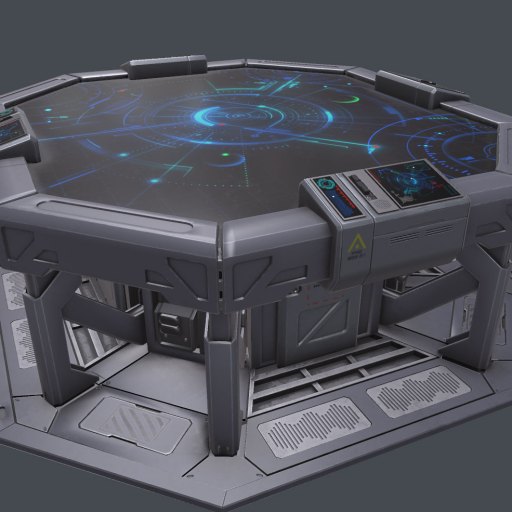
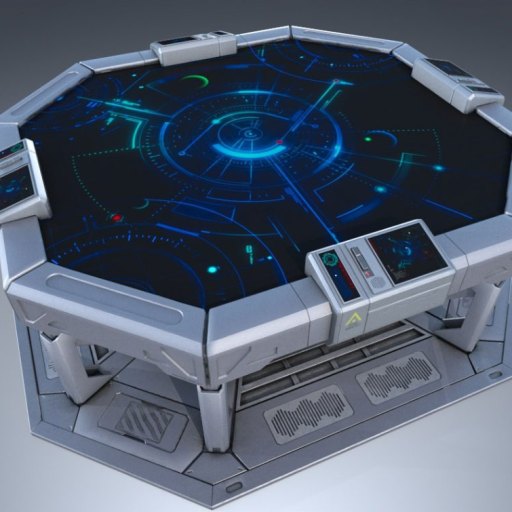
As you can see above, if your model doesn’t show the materials properly, customers will be confused by the discrepancy between your full renders and your .mview preview, and that could cause them to look at other options or buy another artist’s work. Choose the models you add as .mview files carefully and make sure they accurately showcase the materials you’ve applied before you publish it with your product.
Ideal Content
This should seem obvious, but if you are producing models that you intend to go into a real-time engine like Unity or Unreal, your content will likely be a good candidate for generating an .mview file.
Likewise, if you’re building your models to the StemCell specifications, your content should flow seamlessly into Marmoset Toolbag for export into an .mview file.
This does not mean that artists who are doing traditional modeling and texturing can’t take advantage of the Marmoset .mview file format. It simply means that you’re going to have to take extra steps to bake down your materials and shaders into simple bitmaps, then ensure your model looks the same within Marmoset (or reasonably close) as it does when you render in your native 3D application.
We suggest that if you’re unfamiliar with texture baking, you consult your 3D application’s documentation to learn more.
One more note worth mentioning: if your model is exceptionally heavy in terms of polygon density, it may not perform optimally inside of an .mview file. That’s okay, and you shouldn’t try to force content like this into a real-time viewer. It simply was not designed for it.
The only thing worse than that is if you try to decimate or reduce the number of polygons in your model just to get it to work in the Marmoset viewer. We recommend that you avoid decimation since it will be a complete mismatch in terms of topology to what your customer is purchasing, and that will also lead to confusion, returns and frustration.
Artist Guide: Creating an .mview File
Creating an .mivew file using Marmoset Toolbag is quite straightforward once you have a model set up properly inside of Toolbag. This document will not cover how to make your model look good inside of Toolbag. Rather it will focus solely on how to prep it for export to an .mview file.
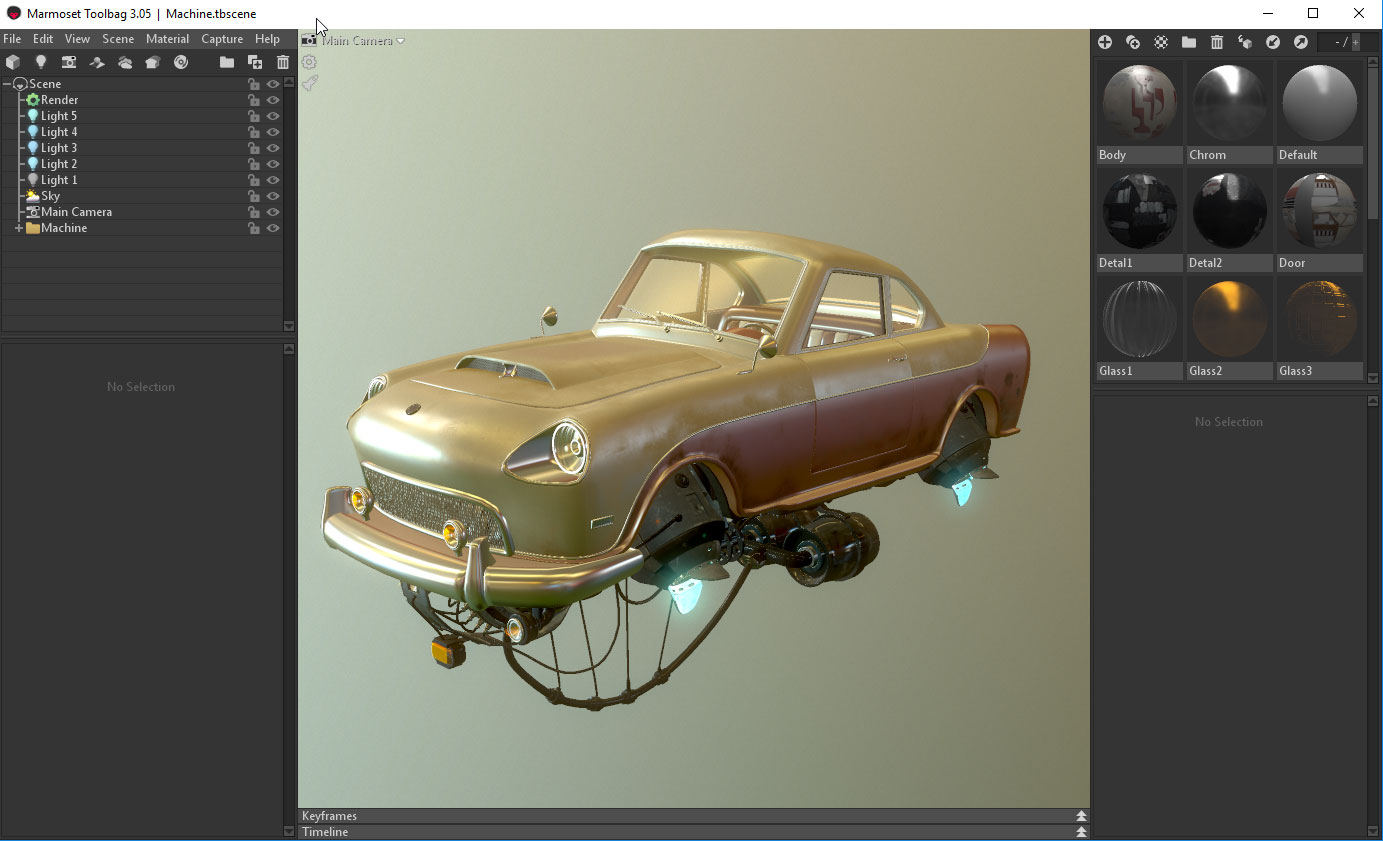
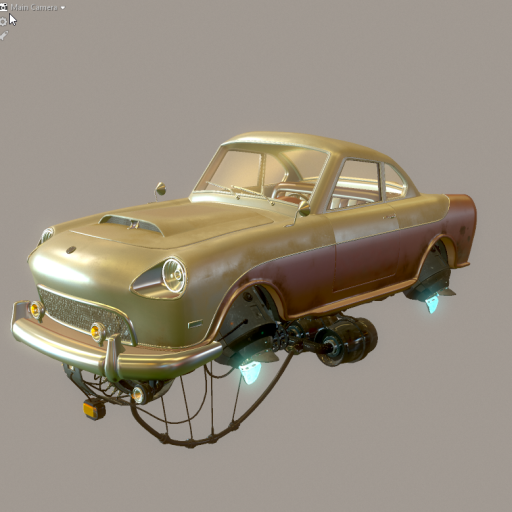
Let’s take this example file from TurboSquid artist DRONNNNN95. First, we load up the existing Marmoset .tbscene file.
In order to export to an .mview file, there are several considerations to make regarding your lighting and background. Essentially, the .mview file will respect whatever your current settings are when you export your model. As such, if you have an HDR background image visible in your viewport (as is the case above), or a heavily tinted HDR selected (which will color your model) when you export, that image and light tinting will be visible to users.
Since you want to have the customer focus on your model, you’ll want to first make sure that your background is set to display a solid color, so that they aren’t distracted by the changing background.
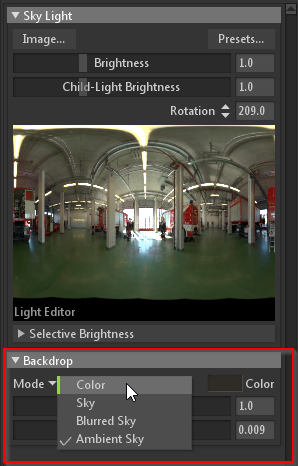
- From the Backdrop rollout, click on the Mode dropdown arrow and choose Color instead of Ambient Sky.
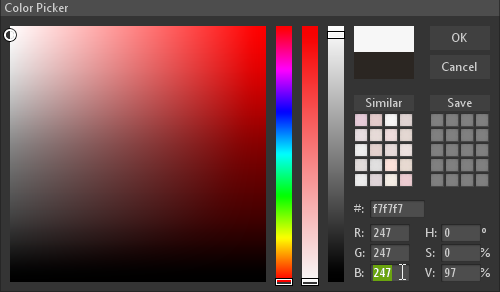
We would encourage you to set your RGB values to 247, 247, 247 in the Color Picker window so that your .mview model will appear to “float” when published to our website. Some models with glowing, emissive parts might do better on a darker background like a 128, 128, 128 gray so that those elements show clearly. What is most important to remember is that the background should be neutral so that customers focus only on your model.
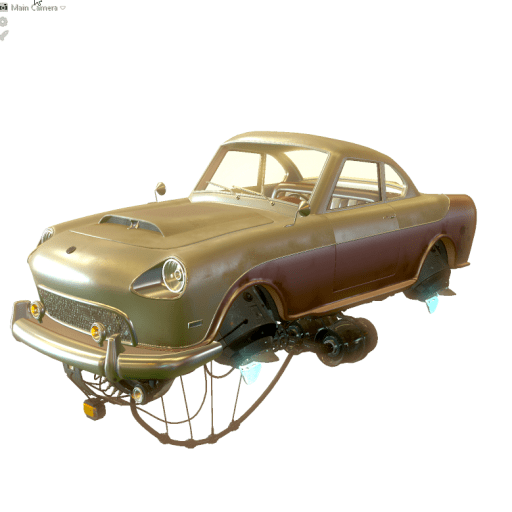
For the example, we chose a 128 gray specifically as the model does indeed have glowing elements that would be lost otherwise.
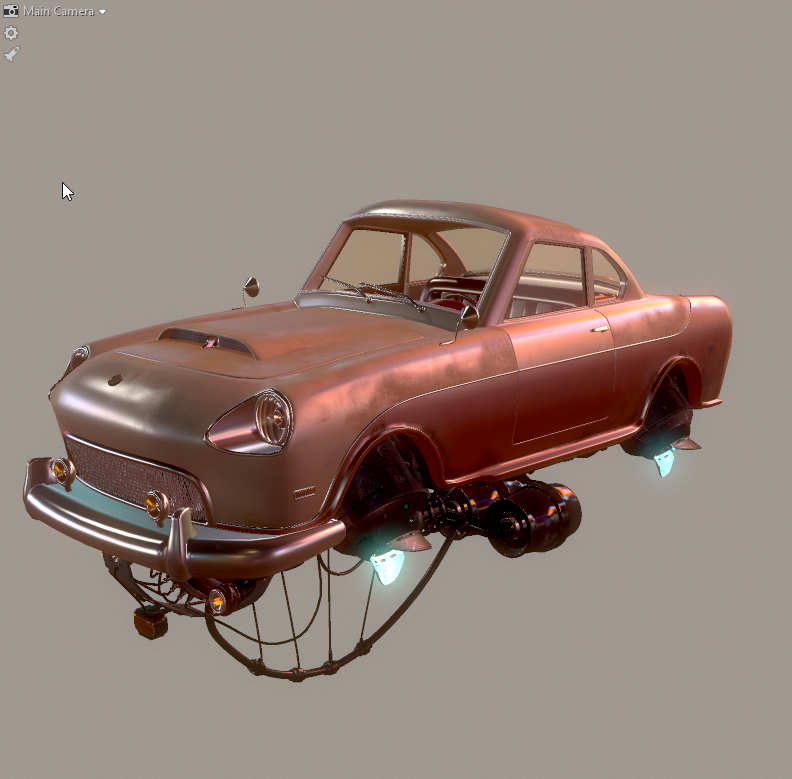
Speaking of lighting, your exported .mview file will include the lighting you’ve set up in your Marmoset file. As such, it’s very important to consider which environment to use to showcase your work. There are a number of dramatic, moody Sky presets that come with Marmoset Toolbag that look really cool, but it is recommended that you choose a neutral environment to help customers understand how your models looks in relatively default lighting. Why? Your customers should get a good sense of your materials without having to try and deduce what it will look like in typical lighting. Remember, you are selling a product here – so the artistic merit of the presentation should be tempered by the ability to give your audience an accurate look at your work.
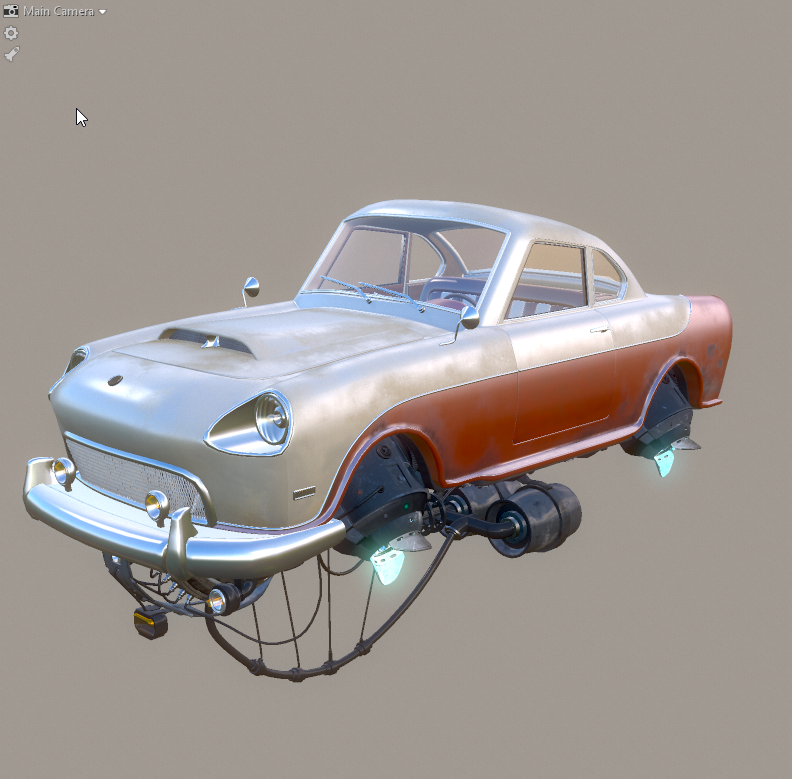
While this looks okay and shows off the glowing elements, it does little to convey many of the materials applied to the model. What color is the hood of the vehicle? It could be pink, or coppery – it’s really hard to tell. And THAT’S a big problem. You want customers to see the materials clearly. By contrast, using a different preset will produce more visually understandable and unbiased result.
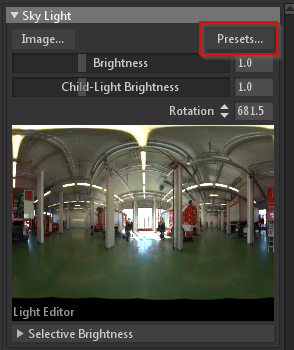
In order to change the background environment in Toolbag, do the following:
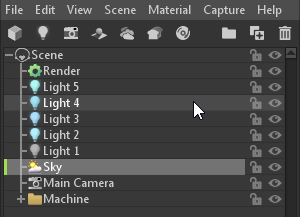
- Select the Sky item in the Scene hierarchy.
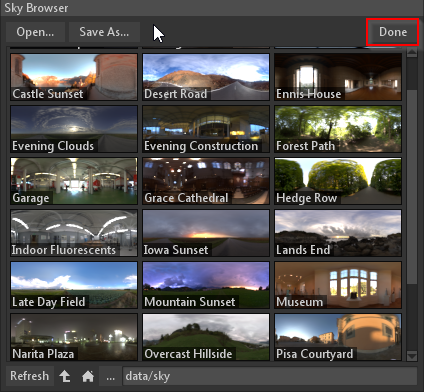
- Within the Sky Browser dialog that pops up, you can choose any of the existing presets by clicking on them to see how they impact your model’s display. When you find one that works, click Done to dismiss the dialog.
Now that you’ve got your model’s lighting and background set up properly, it’s time to export your .mview file.
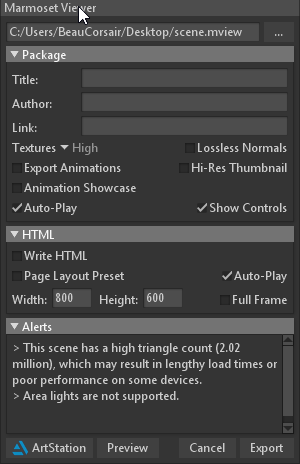
- Go to the File → Export → Marmoset Viewer… option to bring up the .mview creation dialog.
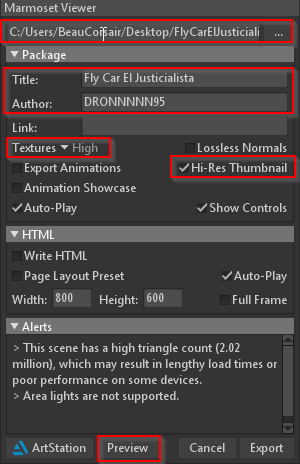
- The first thing to do is name your .mview file. We recommend matching it to the model’s name so that there is no confusion when you publish it to your product on TurboSquid.
- Within the Package rollout, under the Title – add the name of the product as it you want it to appear within the .mview file. This title will appear in the upper-right corner of the .mview file when displayed.
- Next, under the Author, add your TurboSquid username to the file.
- Finally, make sure the the Textures are set to High, and that you enable the Hi-Res Thumbnail checkbox.
- When this is done, hit the Preview button to see how your model will appear.
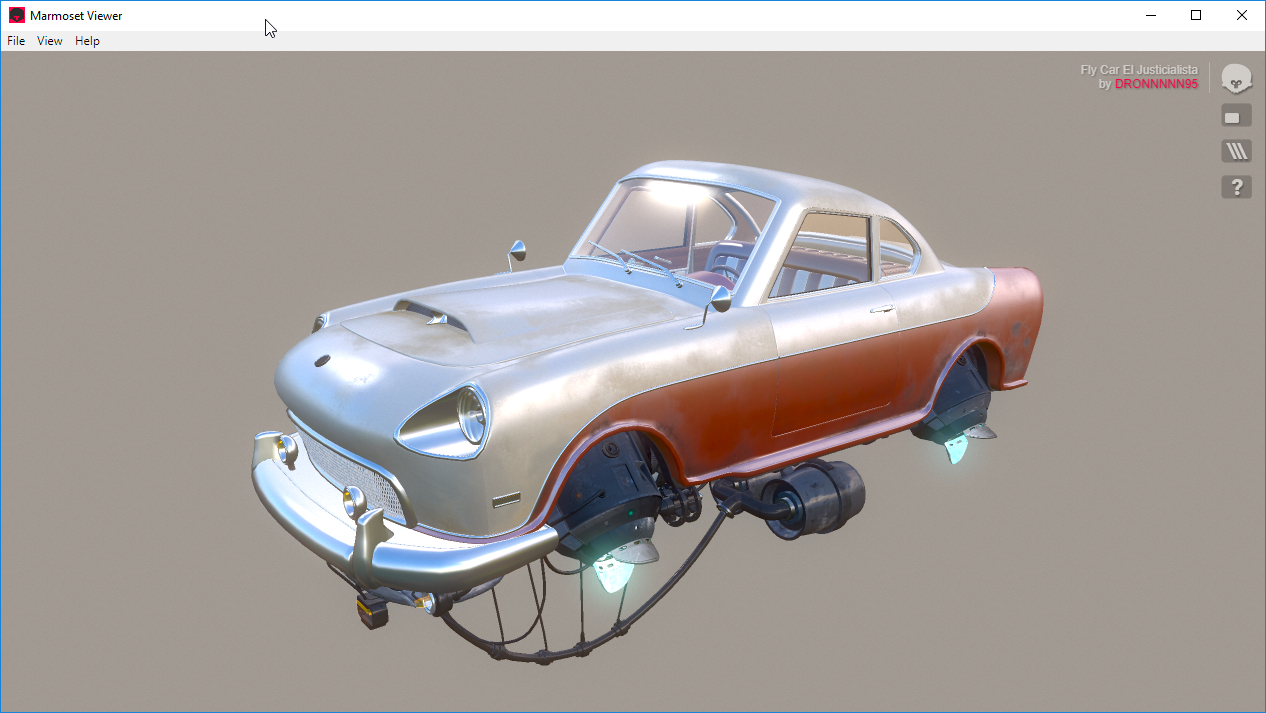
At this point, your model will begin a temporary export, and the Marmoset Viewer should automatically launch to show you your model as you have set it up.
If you are happy with this result, you can close the Marmoset Viewer and click on the Export button to generate the final .mview file. If not, you can go back into Toolbag and make further adjustments to your work.
At the end of this process, you should now have an .mview file that you can publish to TurboSquid.
Artist Guide: Publishing an .mview file to your TurboSquid Product
This process is incredibly simple and should only take a few minutes to complete.
- Go to your My Products page and click to edit the model you want to add the .mview file to
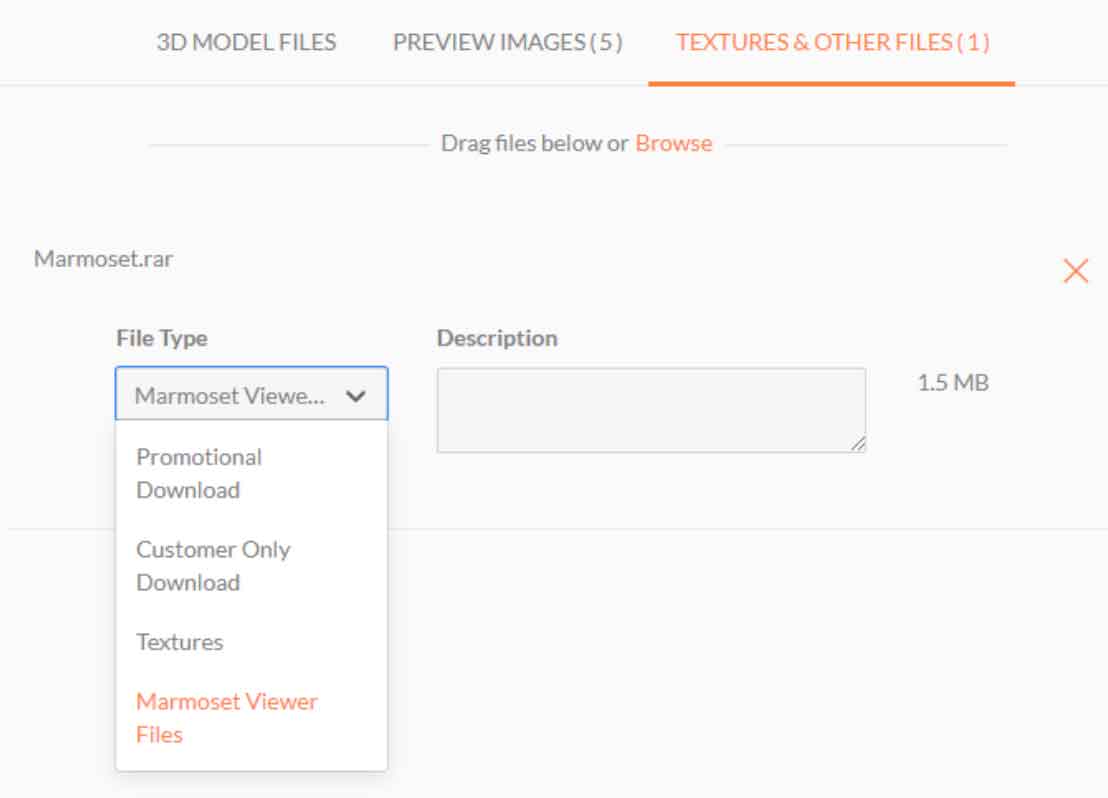
- From the tabbed interface, go to Textures & Other Files
- Click the upload files option in that tab and upload your .mview file
- Once uploaded, from the dropdown, choose Marmoset Viewer File from the dropdown
NOTE: The Description field for this additional file does not display in the Full Product Preview, so you should leave it blank.
- Save your product and once it updates on the TurboSquid servers, you’ll have an embedded .mview file for customers to view
It is important that you understand where an embedded .mview file is placed with regards to your existing thumbnail gallery so here are some things to keep in mind:
- An embedded .mview file will always show up in the second position in your thumbnail gallery
- A user cannot currently change the position of an .mview file in relation to the other imagery that you’re including with your product; it will always appear in the 2nd or 3rd position based on the rules above for now

