
TurboSquid is the go-to marketplace for all kinds of 3D industries, and one of the largest groups are game developers. If you’re looking to sell models that will appeal to this group of people, it often means much more than simply making the correct textures and hitting a specific polycount. Many customers searching for real-time content and game-ready 3D models are also looking to make sure what they see is ready to go into their project with as little fuss as possible.
This article will cover the following topics (click to jump to a subject):
-
Images
- Real-time Context Images
- Unreal Editor Images (external article)
- Unity Editor Images (external article)
-
Descriptions: What to add to a model and how to describe it
- Materials
- Textures
- Mesh Subobjects
- LOD Meshes
- Lightmaps
-
Tags
Reference Products
Before we begin, here are links to some products that follow the guidelines set forth in this article.StemCell: Dirty Tricycle and Desk | Non-StemCell: Real-Time only
Be sure to pay attention to the formatting, the content within the description, and the thumbnails. If you need a starter course on popular real-time engines, we have a primer with links to get you started.
Creating Images
The same images that you’re used to generating for film and television customers might take on different but equally valuable meaning for game developers.
Wireframes, for instance, are valuable for real-time customers because they can get an idea of what was modeled in, versus textured or baked on, and they can make a good guess of how well a model will decimate with automatic tools. UV previews speak to the efficiency of texture use as well.
One thing that puts compatibility questions to rest is seeing that the model was brought into a game engine, or at least a real-time oriented renderer. Marmoset is a rendering tool that makes any model look outstanding and includes templates for Unreal Engine’s shader model. It’s a great introduction to the real-time workflow, and given that TurboSquid ready spinners and supporting images can be generated in seconds to minutes, it has found its way into many artists’ toolboxes. However, there is no substitute to loading up models in the engines themselves.
Just like a customer using Max V-Ray would want to see what the model looks like as rendered through Max V-Ray, real-time customers are receptive to images taken in the engine they’re using. Luckily, even the most powerful real-time engines are completely free to download and use and only require your time to learn.
There are essentially two types of images for real-time engines: product shots and in-editor shots.
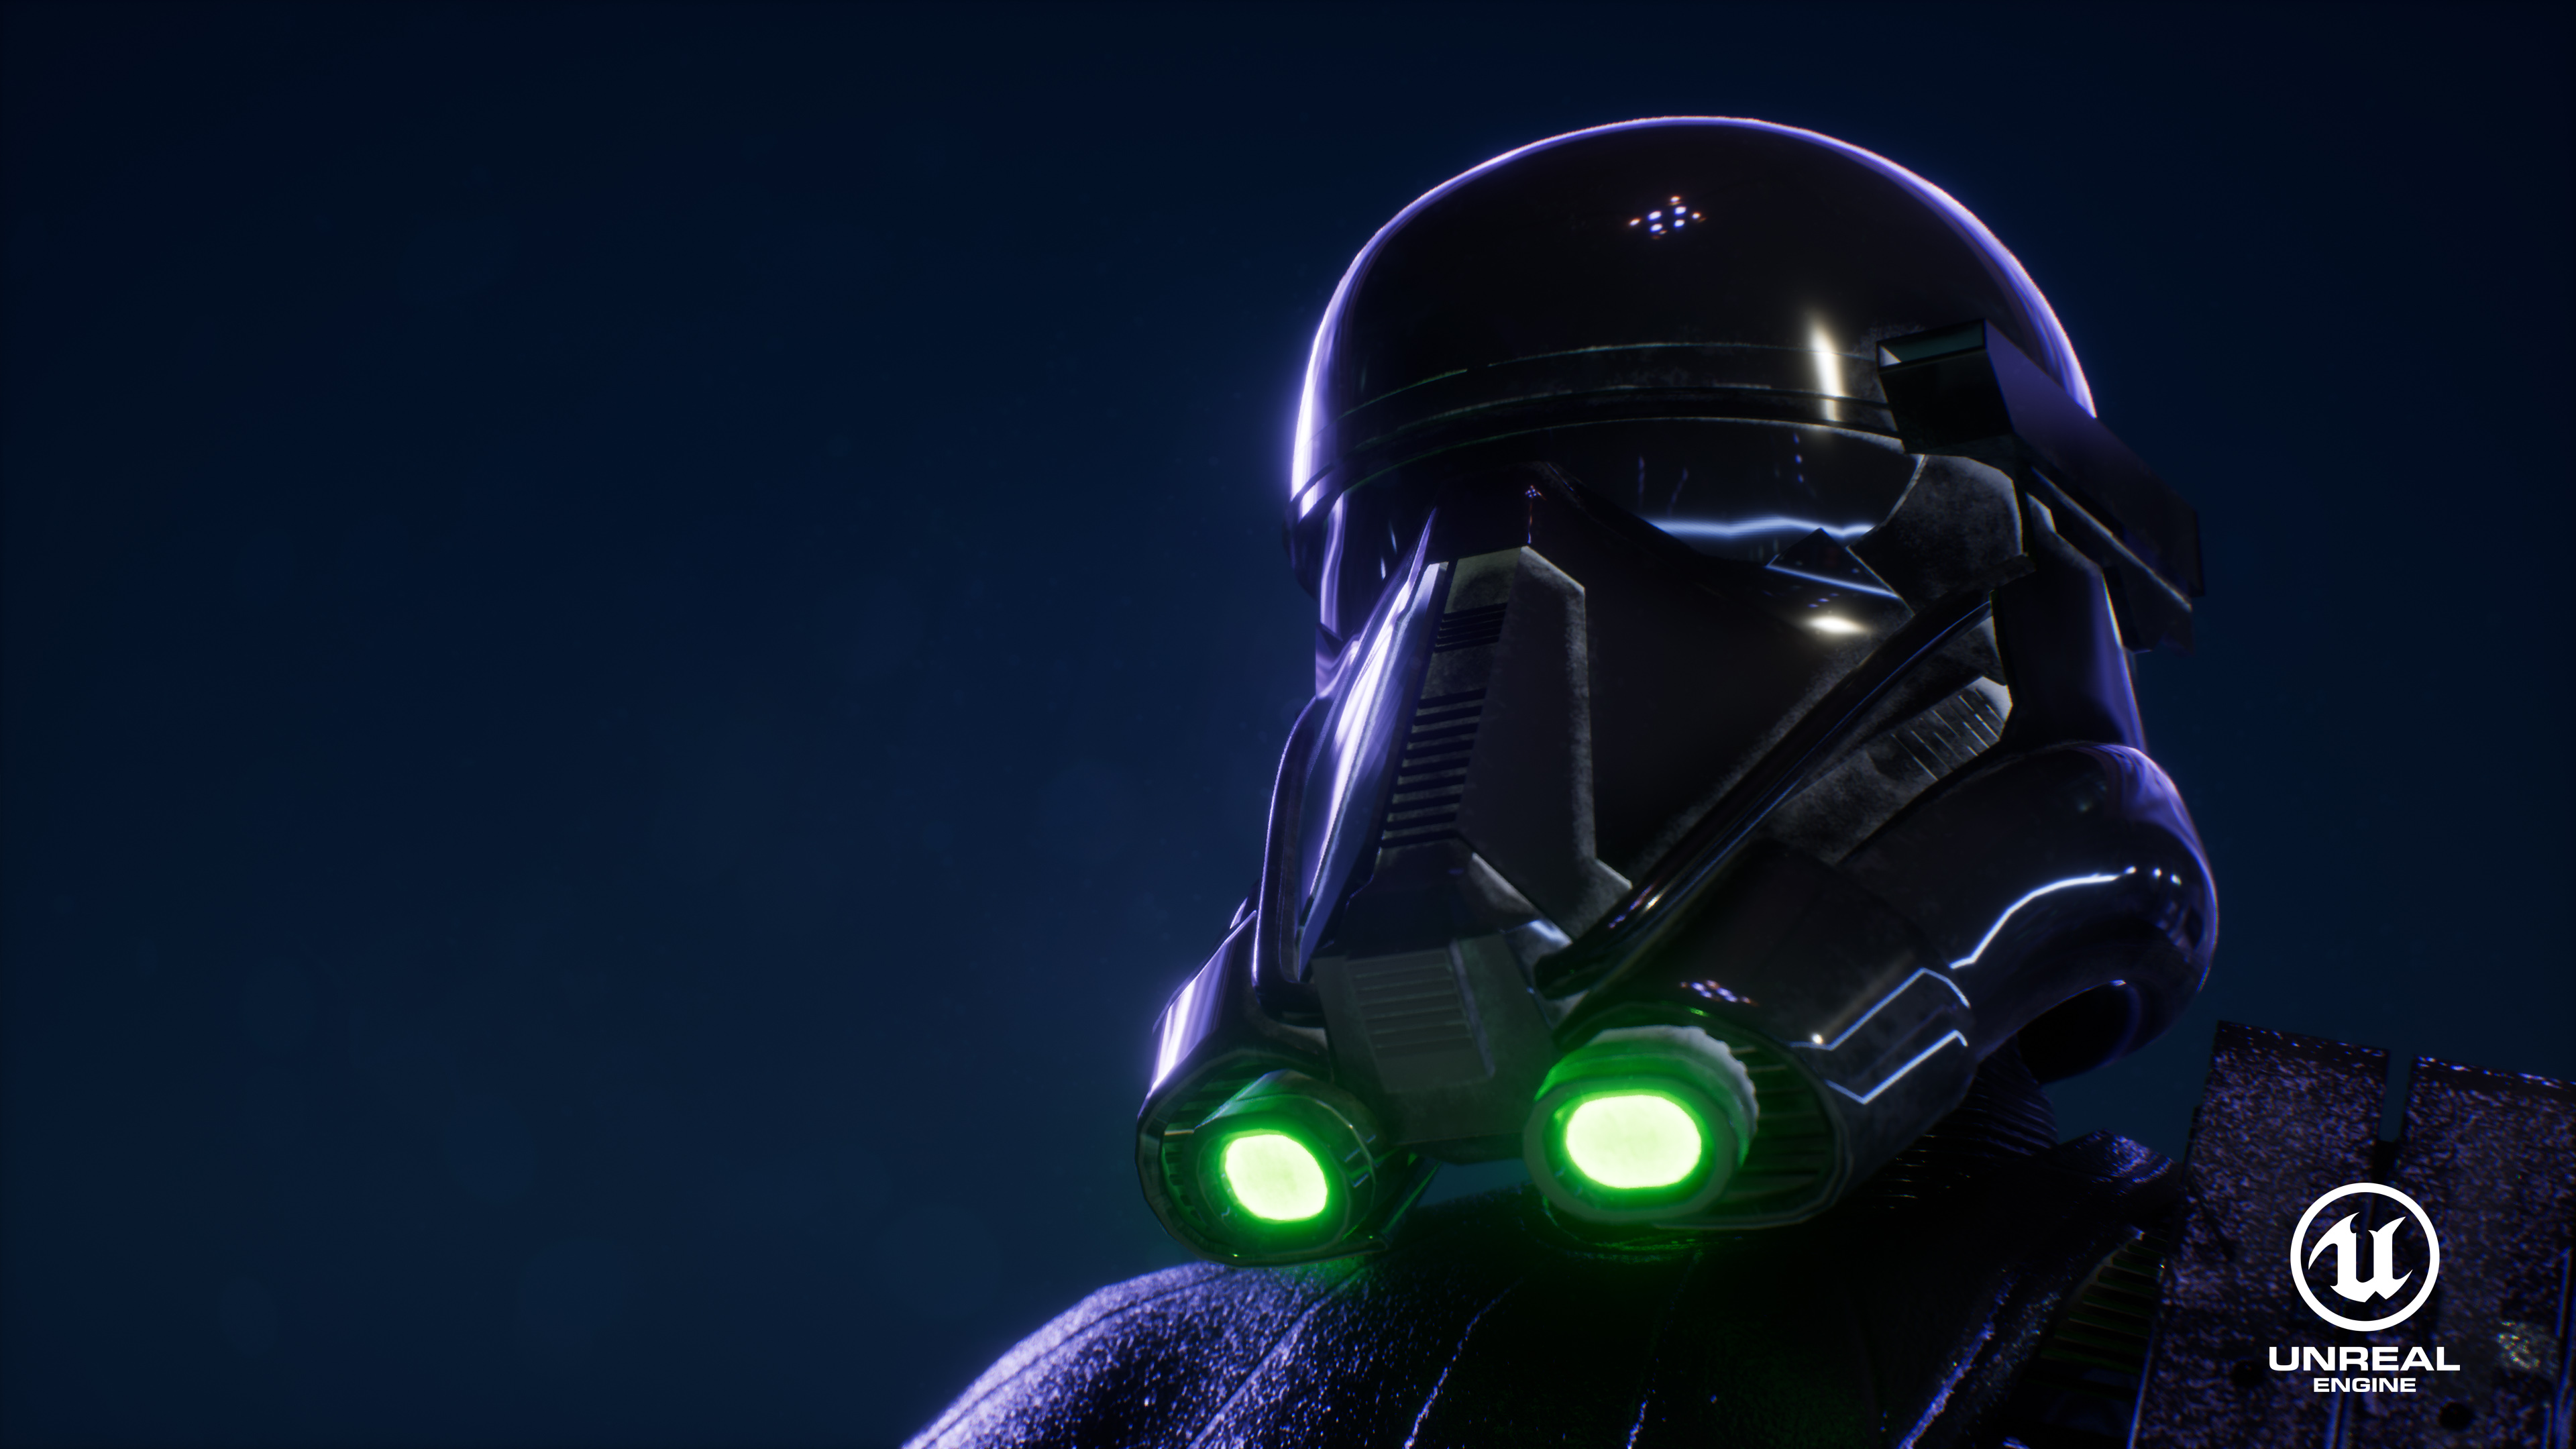
Product Shots
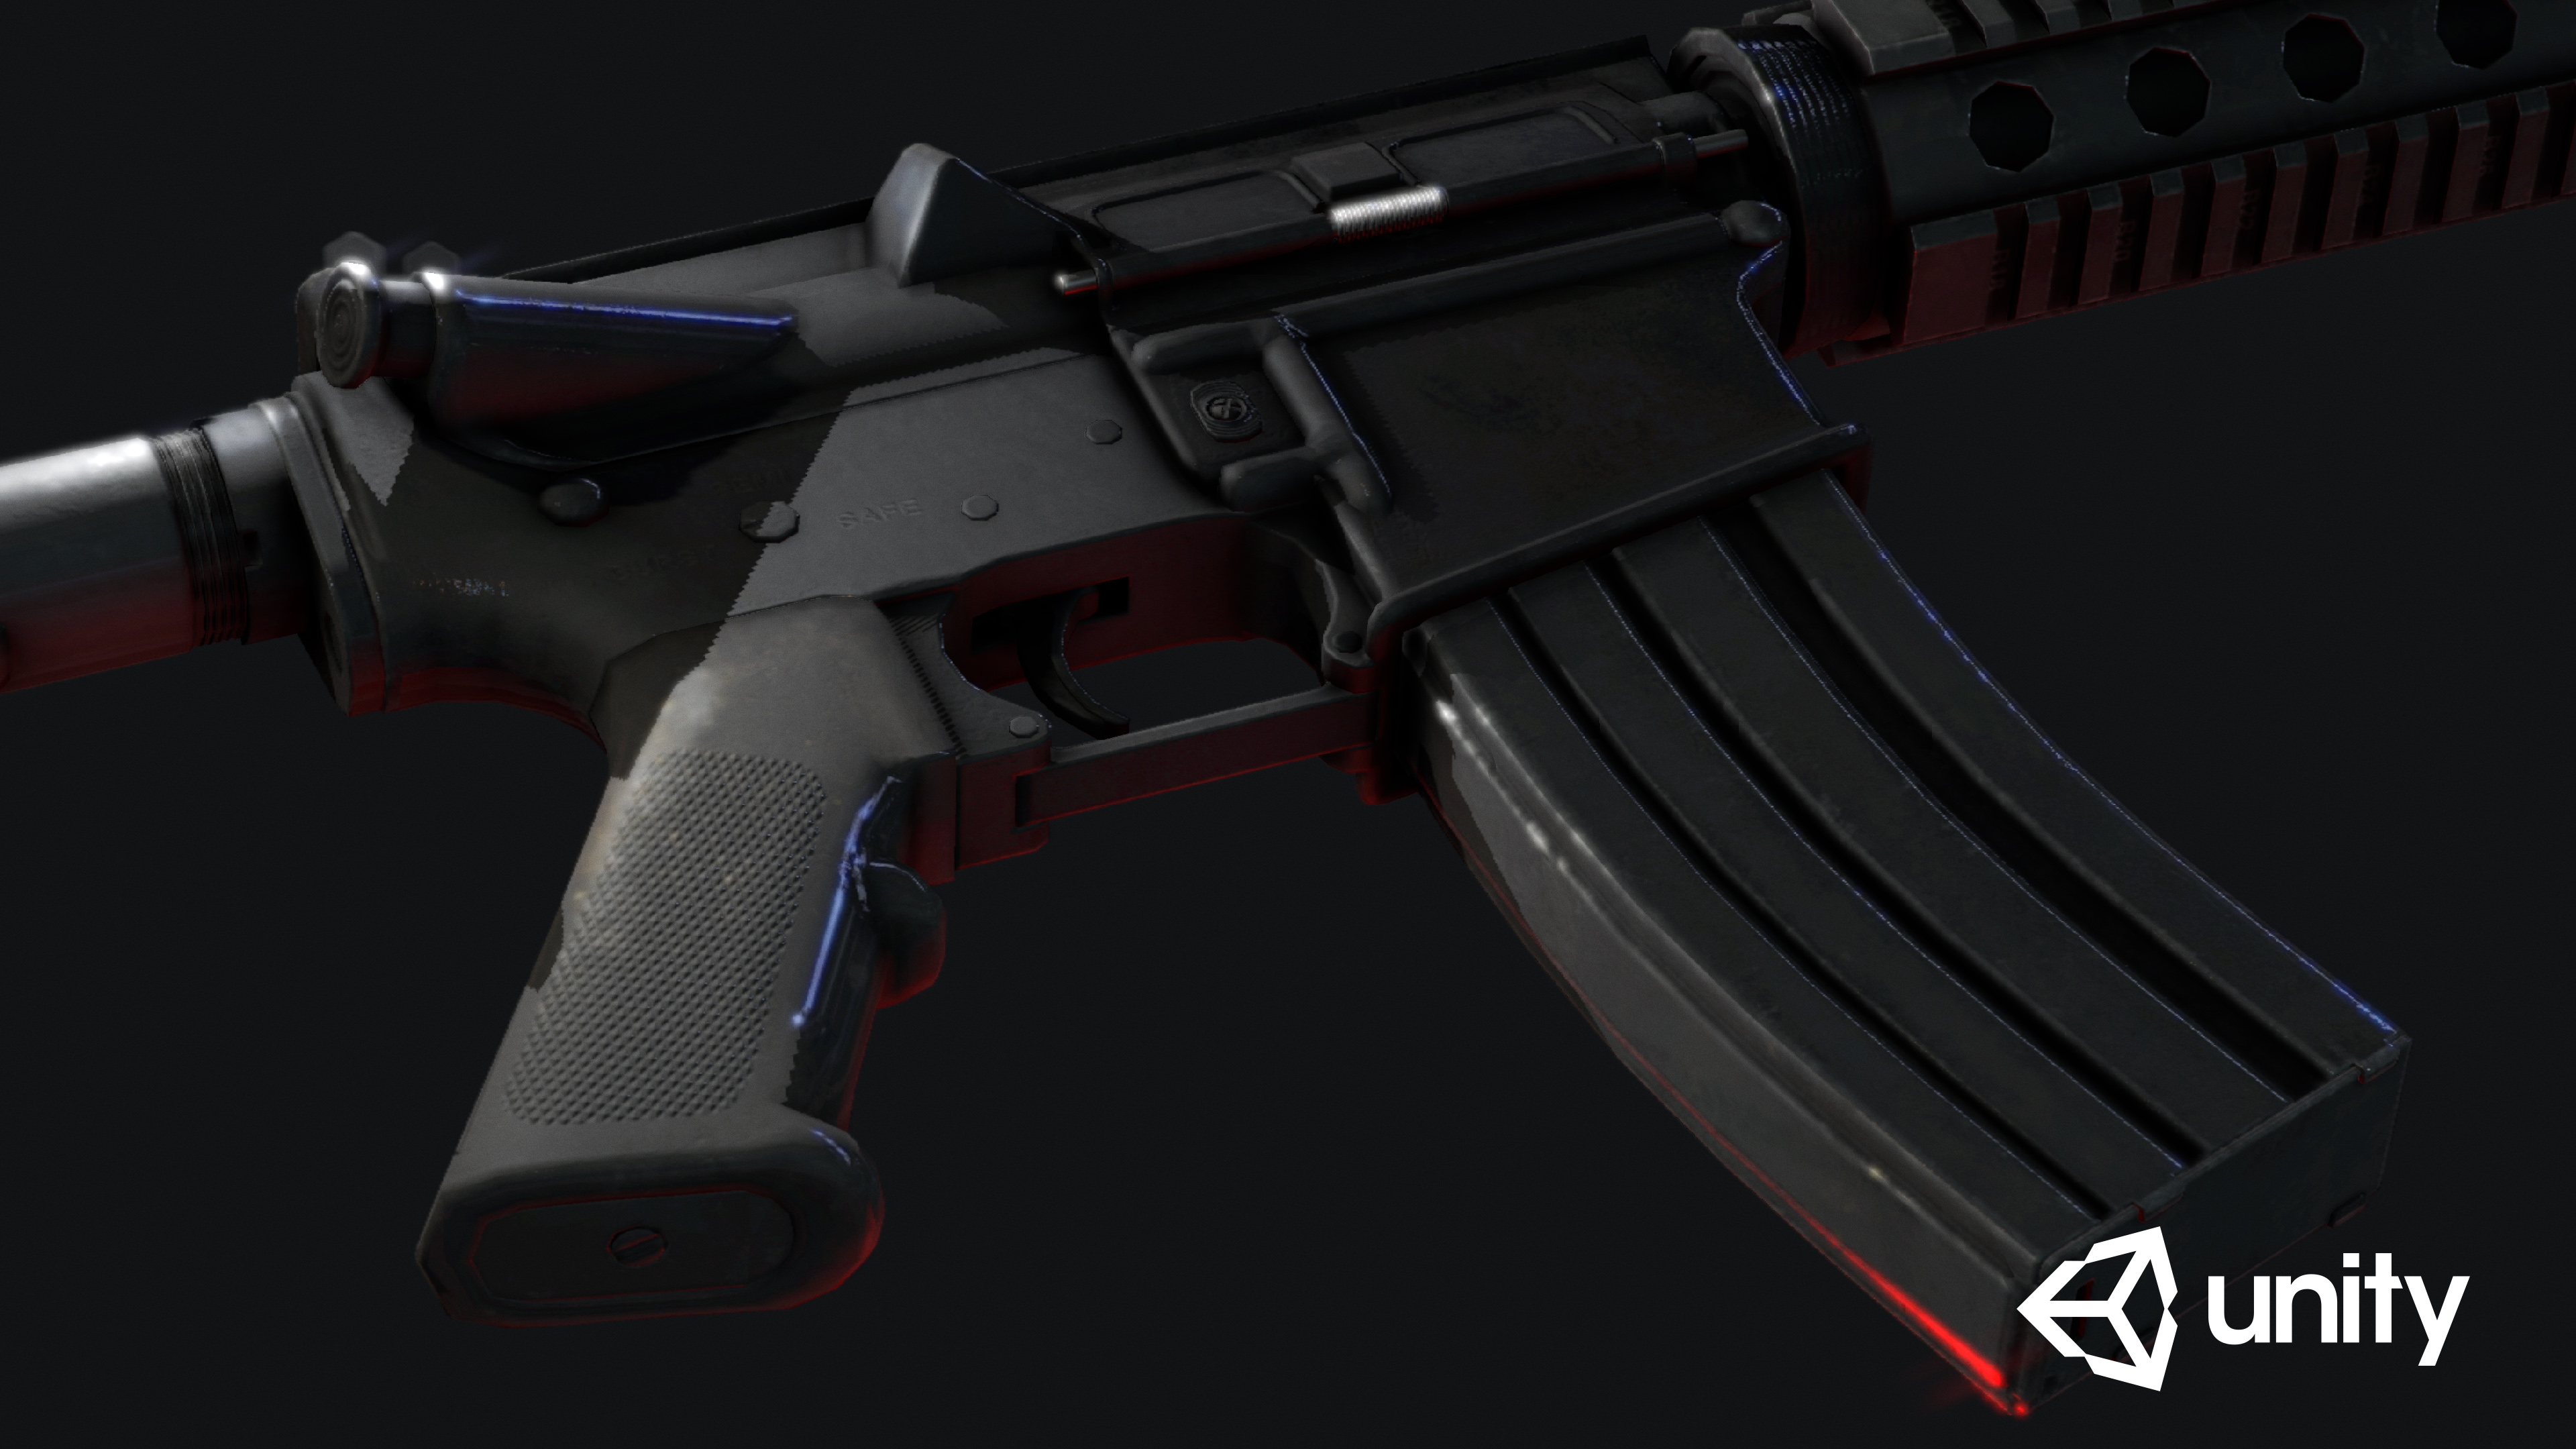
Like a standard V-Ray or Arnold render, the goal is to make your model stand out and present it in its best light – just in a real-time engine. The only specific thing to remember is to watermark your image with the logo of the engine you used.
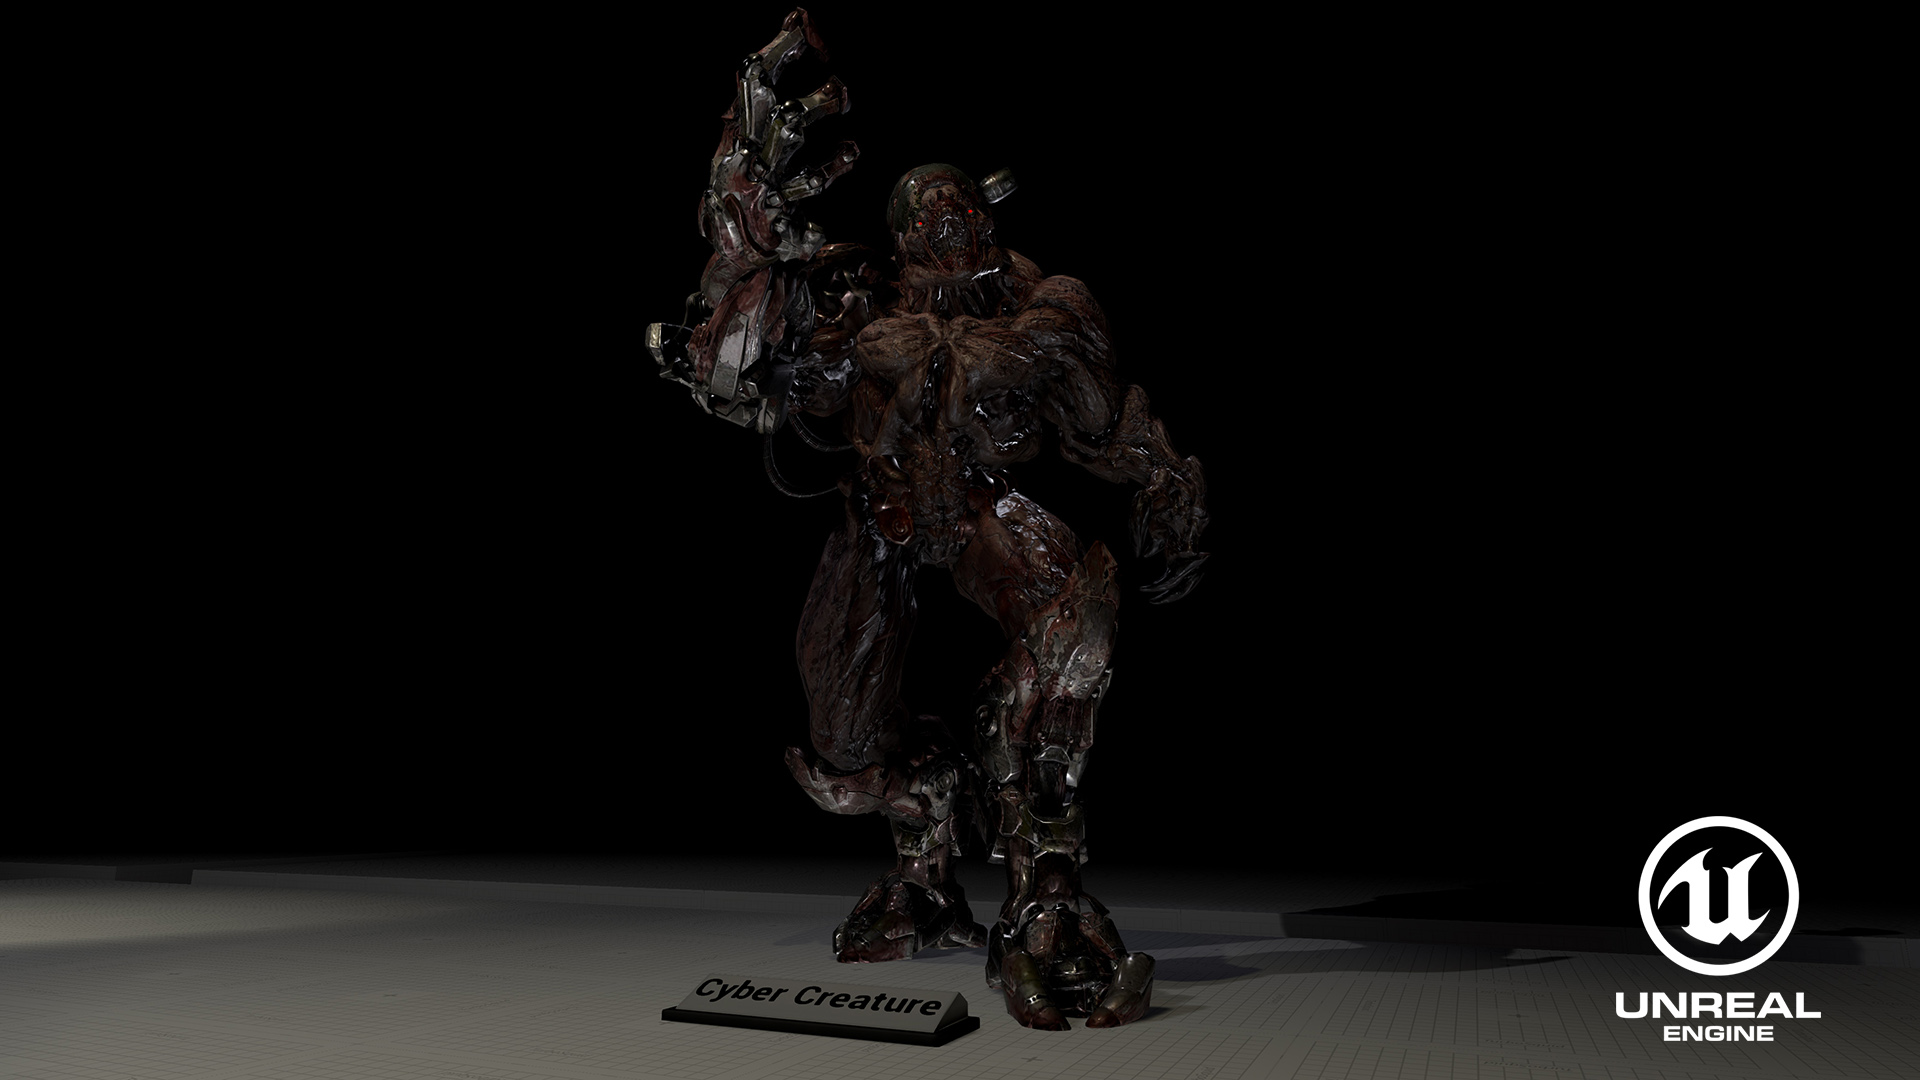
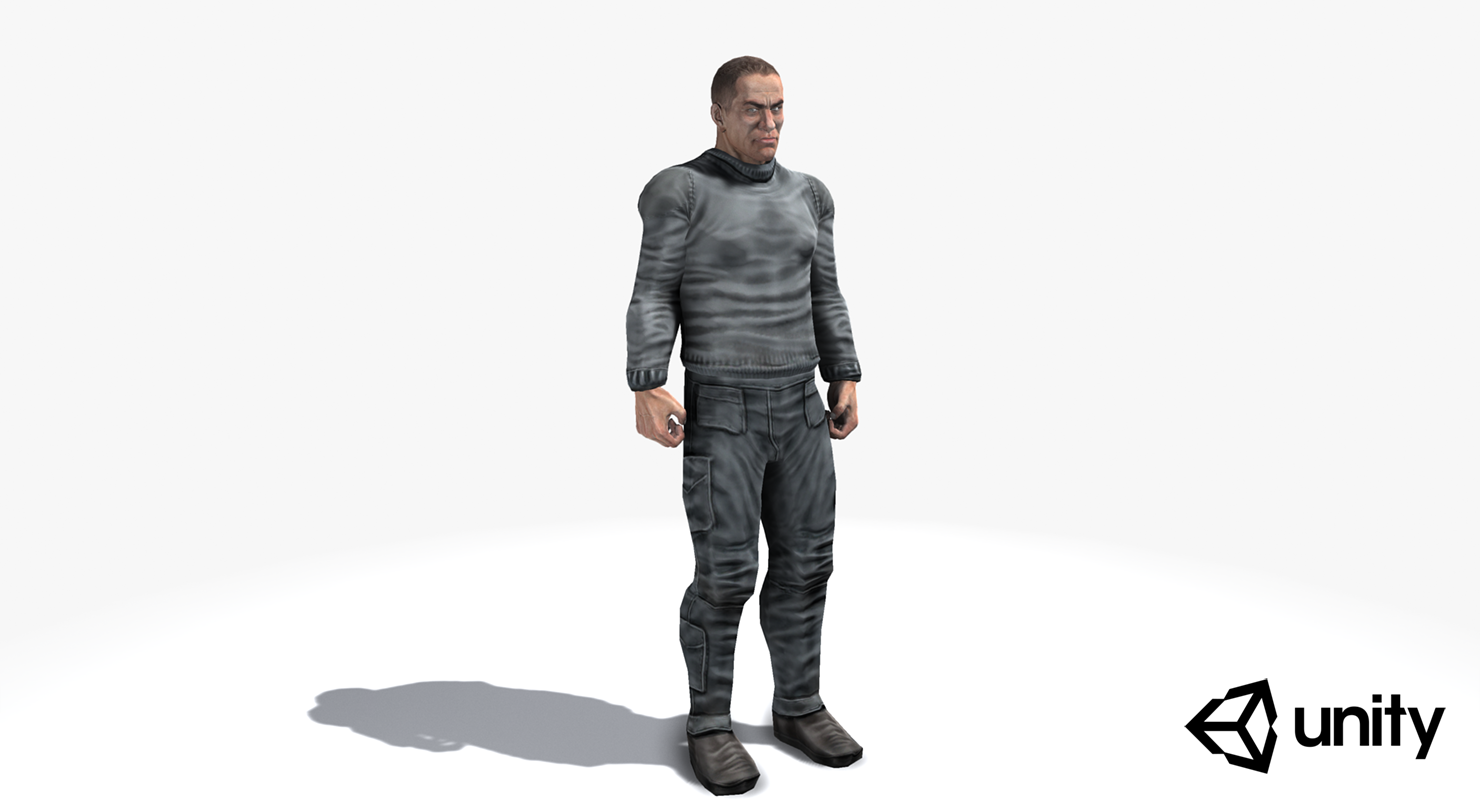
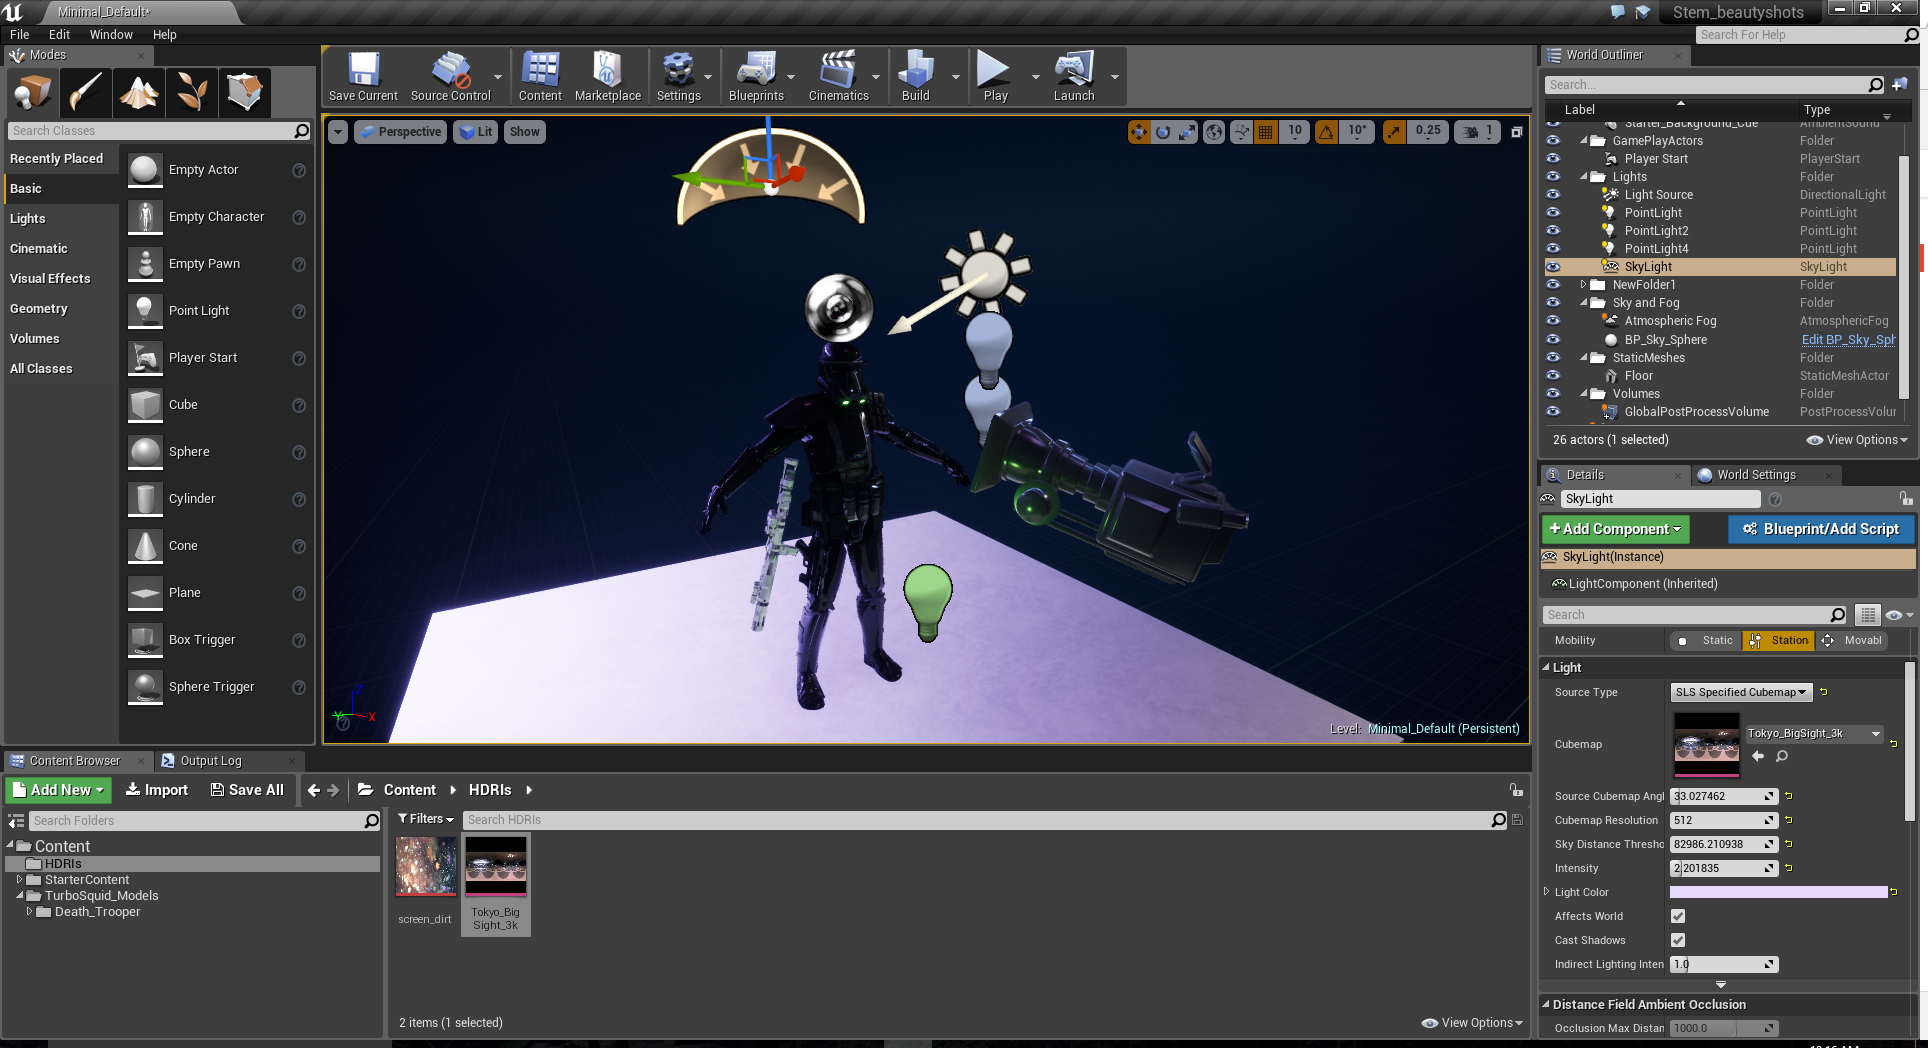
With a little practice and a bit of post-process magic, you can get some great results from both engines without needing to edit the image in post. Here are the product shots we used for StemCell promotions, and their ‘behind the scenes’ setups in the editor.
We have a guide on 3D photography available here; most everything talked about in that article directly applies to game engines as well – the only difference is the interface you’re working in.
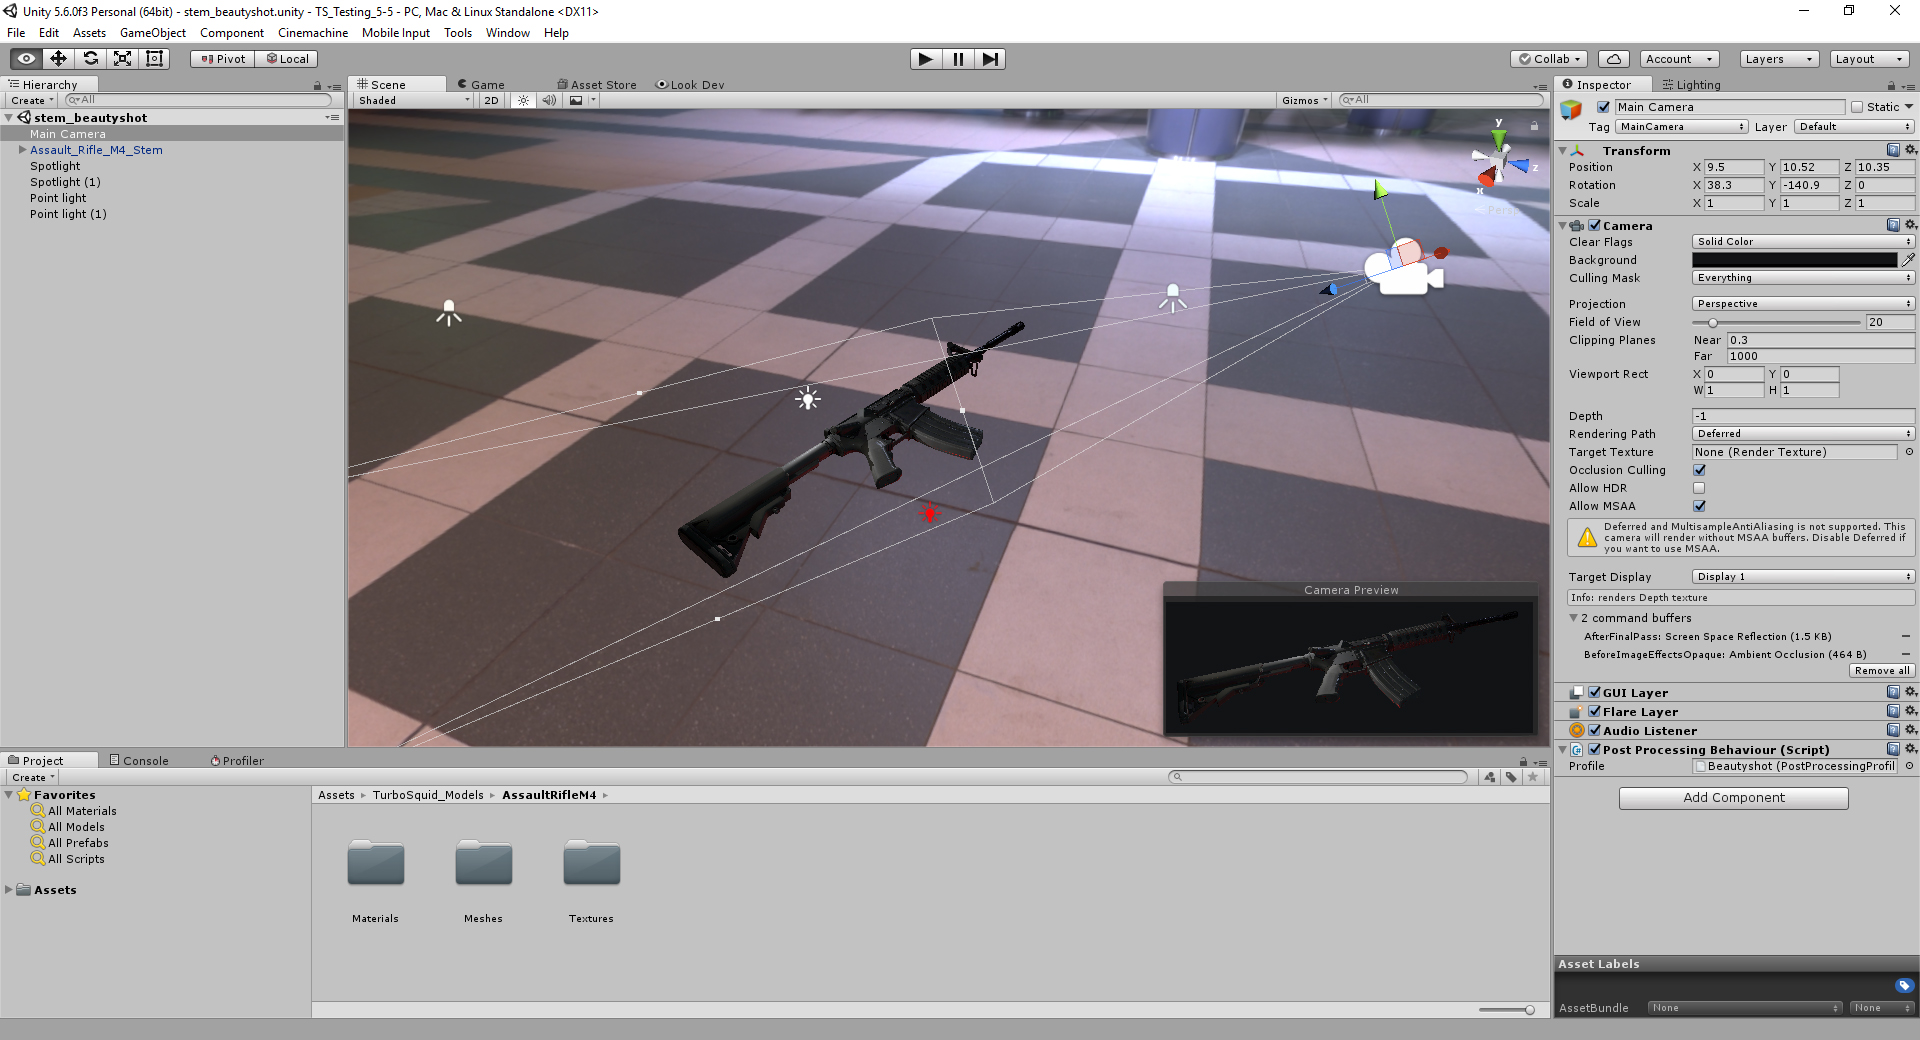
In-Editor Images
This is arguably more important than generating a nice looking looking image from a game engine. Images of the model in the editor can convey a fair amount of technical data to a well-trained eye, if you take picture of the right windows.
To take images from within these engines, follow our step by step guides for Unity or Unreal.
If you are including these shots, we recommend grouping them with your technical images, like wireframes and UV outputs.
Writing Descriptions for Game-Ready 3D Models
On the surface, DCC and Real-Time customers are looking for the same information. They all want to know the scale of the model; how many materials it uses; the number of textures and which formats they are in; and the number of polygons the model has.
However, here are a few specific things real-time customers might be scanning your descriptions for, and why:
Rendering Type and Texture Formats:
PBR is the industry standard now. Unreal is limited to Metalness PBR, and Unity can read both Metalness and Spec-Gloss PBR. If you’re StemCell ready, then you’ve already authored both, and your textures will work for everybody. If not, this is one of the quickest ways real-time customers can decide whether or not your model is going to work for them. JPG’s compression and BMP’s large file size are big red flags as well – stick to PNG, TGA, and TIFF formats for textures.
A section in your description may be something along the lines of:
This model uses the metalness PBR workflow and includes 4096×4096 .png files for the following:
BaseColor
Metalness
Rougness
Ambient Occlusion
Normalmap
Glow/Illumination
Unity 5 Standard Shader Packed (metal/ao/smoothness, .tga)
Number of Materials:
Today, most graphics cards can crunch a lot of polygons, and tools exist to reduce the number of triangles without any effort on the developer’s part. What isn’t so easy to solve is the number of unique materials the model uses. In most engines, one material roughly becomes one draw-call, which is now a common bottleneck for real-time rendering pipelines. The less draw calls your models use, the less expensive they’ll be to render.
A line in your description may be something along the lines of:
This model uses 4 materials mapped to 3 textures: 1 for the body of car, 1 for the interior, 1 for the tires, and 1 for the glass windows.
Number of Subobjects:
The number of subobjects that the model has is also important to most customers, as it ties into systems like lightmapping and draw calls. Having a model split into dozens of small objects can make it arduous to work with in an editor as well. Unreal, for instance, will import a model with 30 subobjects as 30 separate meshes that are then treated as completely independent files. Just make sure you list how many subobjects your model is comprised of in the description.
A line in your description may be something along the lines of:
This model has been split into 10 subobjects to make animation easier. The hood, side doors, trunk, wheels, and steering wheel are separate subobjects, and their pivot points have been moved to allow for realistic rotation.
The next few subjects go ‘above and beyond’ a true cross platform model and are real-time specific. Adding them to a model you’ve already made will both show your understanding of the medium and boost the value to this specific customer base, if you so choose.
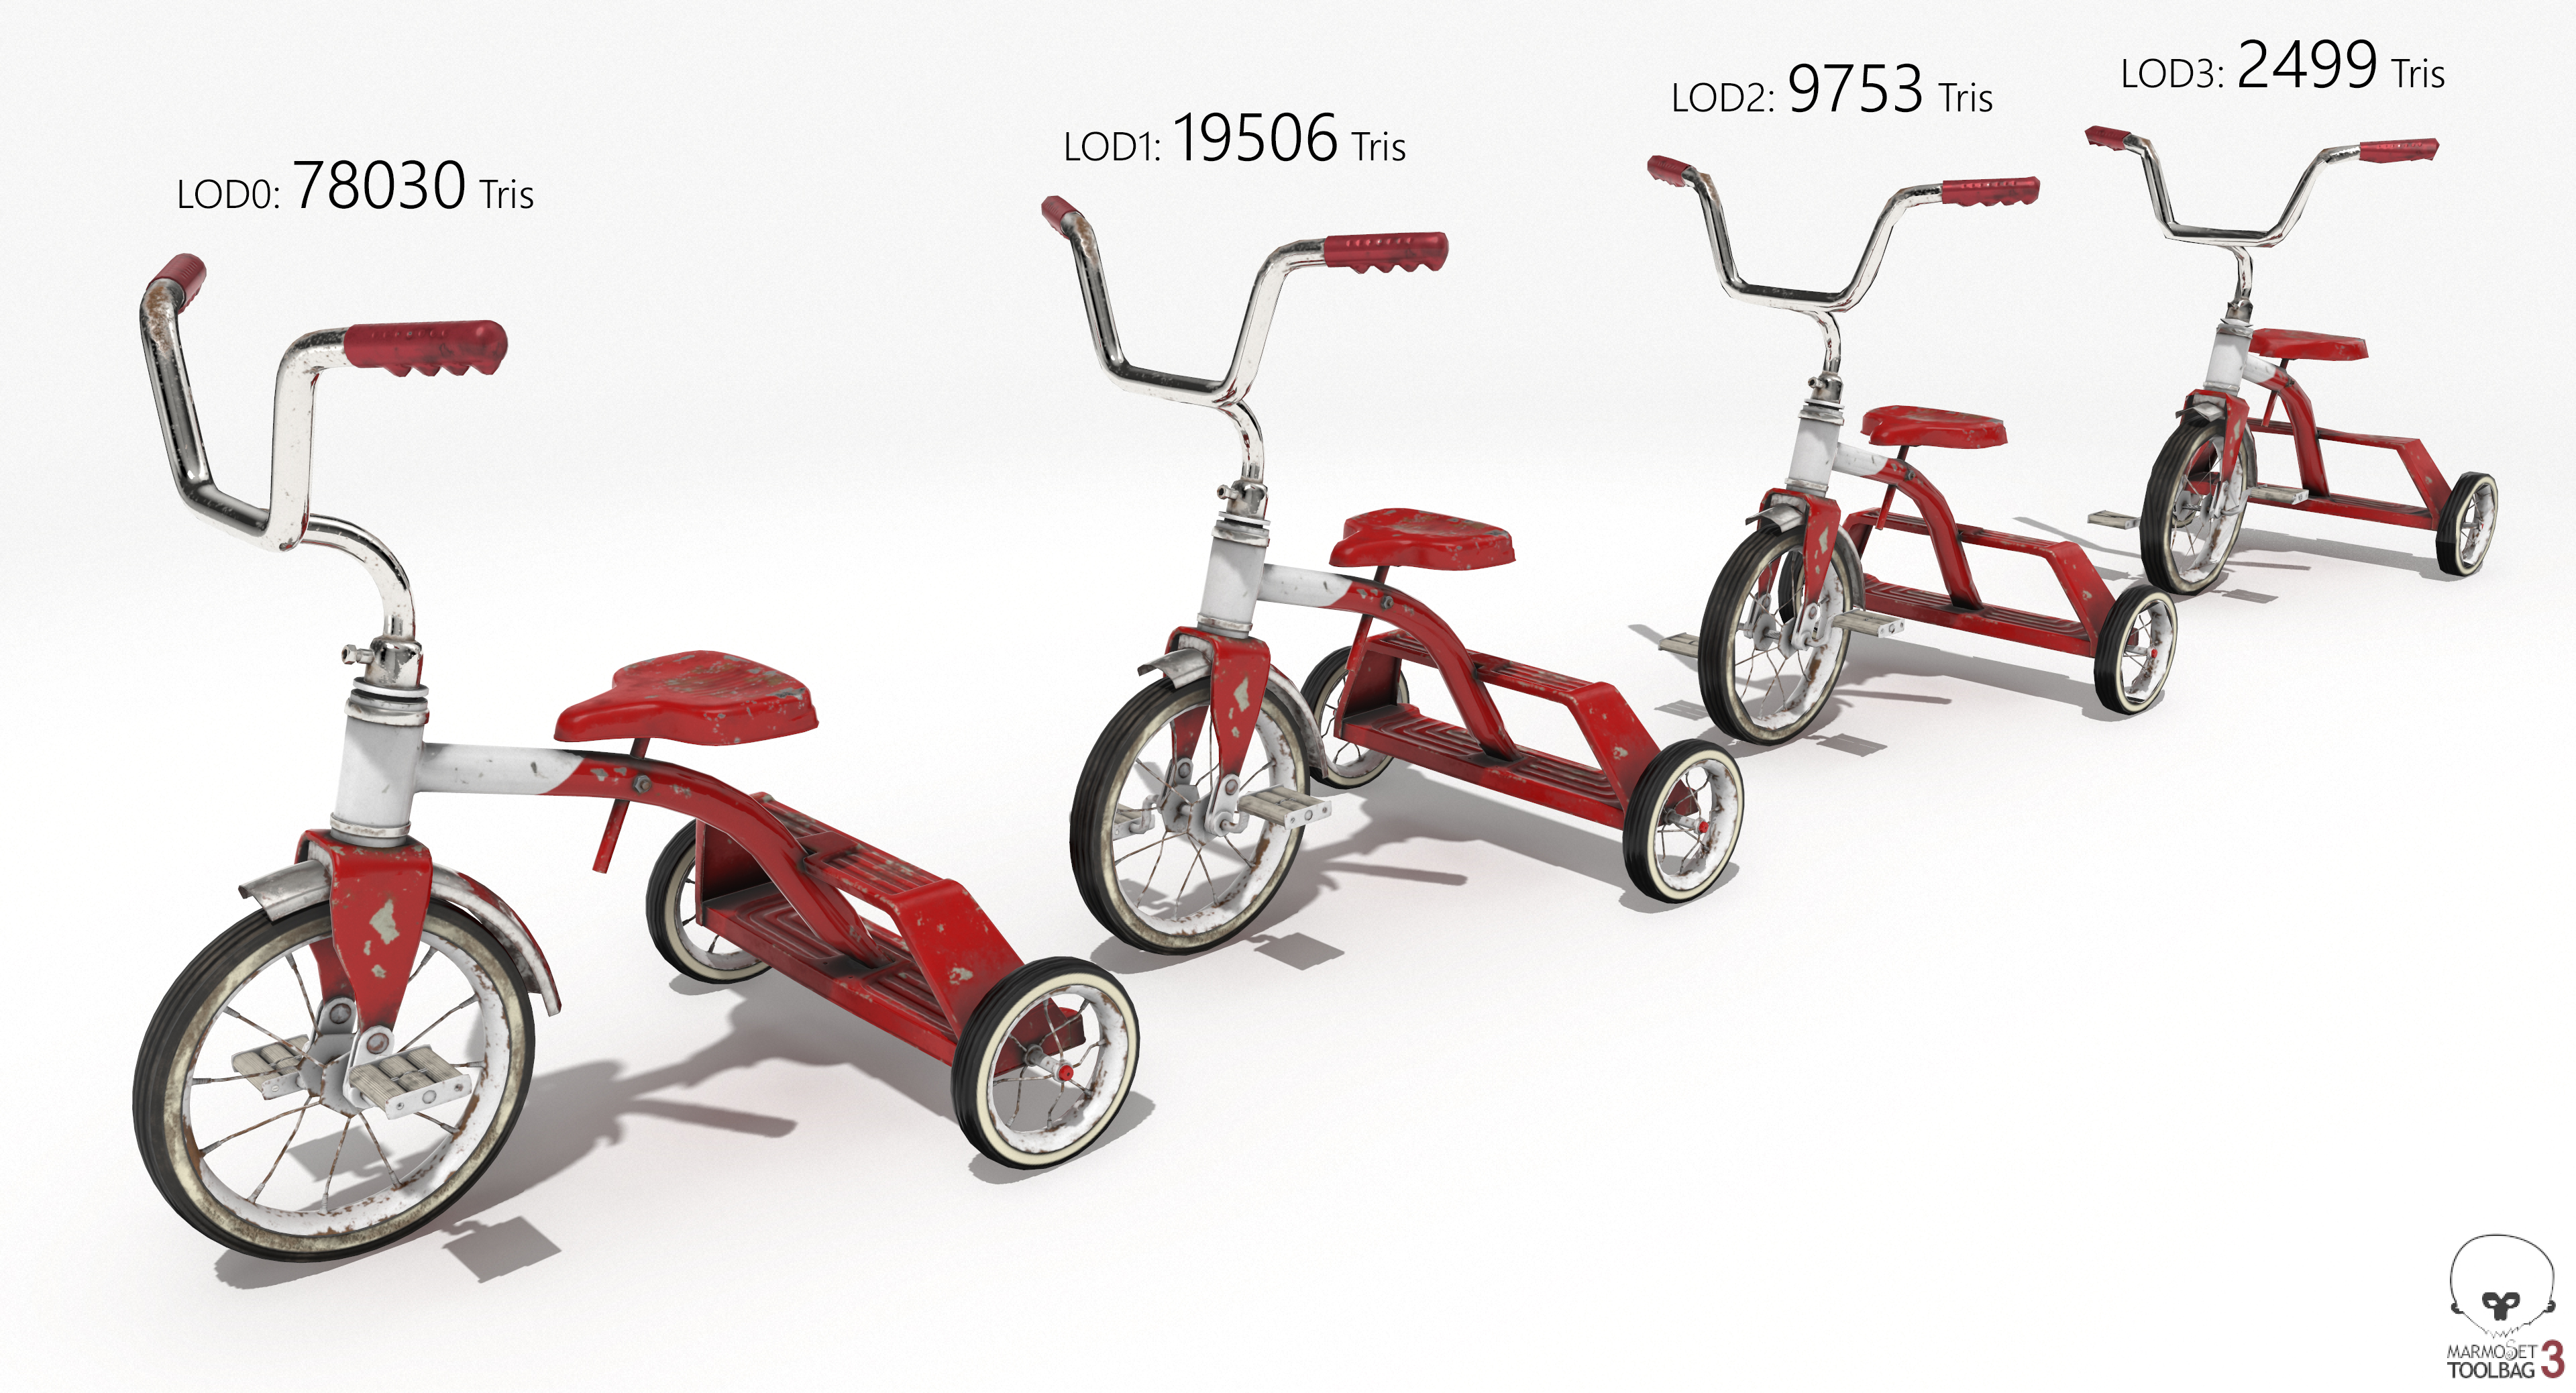
LODs (Levels of Detail):
Think of LODs as the the opposite of subdivision. A lower level of detail (higher number) means less polygons – the key difference from subdivision is that the model can begin to rapidly degrade at different LOD steps, and each step is a new mesh. This is okay, because these are only swapped out with the main model when they’re relatively far away and small on screen. There are tools available to generate them automatically, but hand made LODs generally look better and have more thought put into them.
Although you can and should list the poly/vertex count of each step of your LODs in your description, it’s always good to include a visual breakdown in your images.
Lightmapping:
If your model is a static prop, like a building or something that will sit in an environment without moving, real-time customers will usually lock these models in place and bake lighting onto them. Lightmaps need a second set of UVs that are always mapped to the 0-1 space with no overlapping faces and live in the model’s second UV channel. Game engines all have an automated solution to generate these UVs, but like LODs, a human touch can significantly improve the quality of baked lighting and will be a definite bonus for most real-time customers.
A line in your description may be something along the lines of:
This model has non-overlapping lightmap UVs in the UV2 channel and is ready for lightmap baking in real-time engines.
Other model details:
Information unique to model type is usually important to customers – characters with rigging, for example, are more valuable if they’re compatible with specific character tools, like Unity’s Mecanim. Conversely, characters generally don’t need lightmapping.
Including source files like PSDs and textures designed to be easily changed or modified by customers can also be useful for any platform.
Most engines have unique systems for all kinds of effects. Just remember that the further you go down an engine specific path, the more value you may bring to smaller and smaller sections of customer bases. Creating ragdoll physics and collisions for an Unreal Engine version of a model may be a game changer for a handful of people looking for just that feature, but will have no worth for someone not using that specific engine. It’s important to cater to a wide audience, and if you do decide to make specific features for one platform, make them an optional download.
If you’re including files that are unique to real-time customers, make sure to list them. Scene files, blueprints, physics and collision proxies, damage states – regardless of what it is, write it down or take a picture of it.
Tags
If you’re including the above features in your models, include them in your product tags, since real-time engines and major real-time related features are often used as search modifiers.
Tags for a product that has the features mentioned in this article might include:
Unreal
Unity
PBR
LOD
lightmap
realtime or real-time
game ready or game-ready
low poly or low-poly
Regardless of market, the more information you make clear through images, the product description, and tagging, the more confidence your buyers will have in your product. Adding specific features to your models can also go a long way to make it stand out among its peers, but showcasing what your model is good for is already a good start.
As always, you can post in the Squid.io forums for feedback on your products and their presentations – we’re happy to help!


