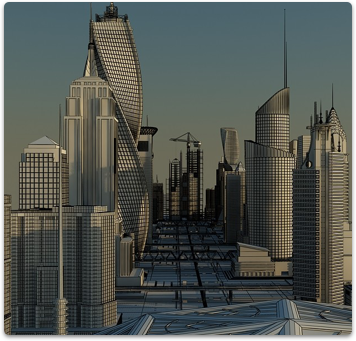
Manually unwrapping UVs can seem like a very daunting task. Often this is put off until the very end when modeling is complete. This can make the amount of unwrapping overwhelming which is why many artist decide to to skip this step by auto unwrapping or applying basic projection maps. The key is to unwrap each object as you complete it when it is small and manageable. This is especially important for any piece of the model that may be copied repeatedly.
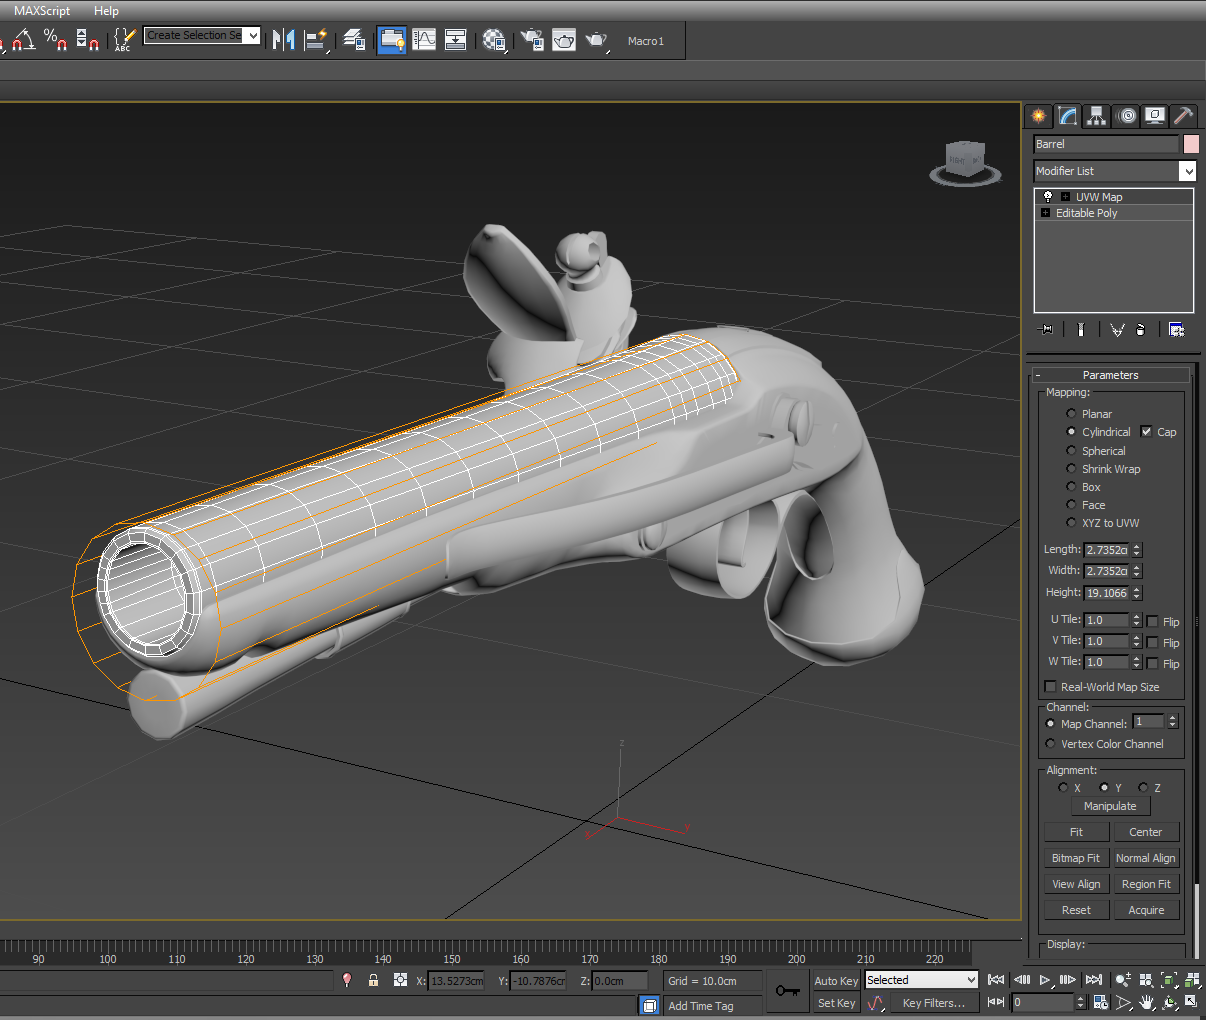
The easiest way for you to get started is to apply a simply projection such as a planar, cubic, spherical or cylindrical map to the part of the object or subobject you are going to be unwrapping. The projection shape you use will depend on the shape of your object.
Basic Map projections will automatically try to pack all the UVs into 0-1 space. This overlap can look messy and tedious. Separating it out is easier done by face selection on the model directly most of the time.
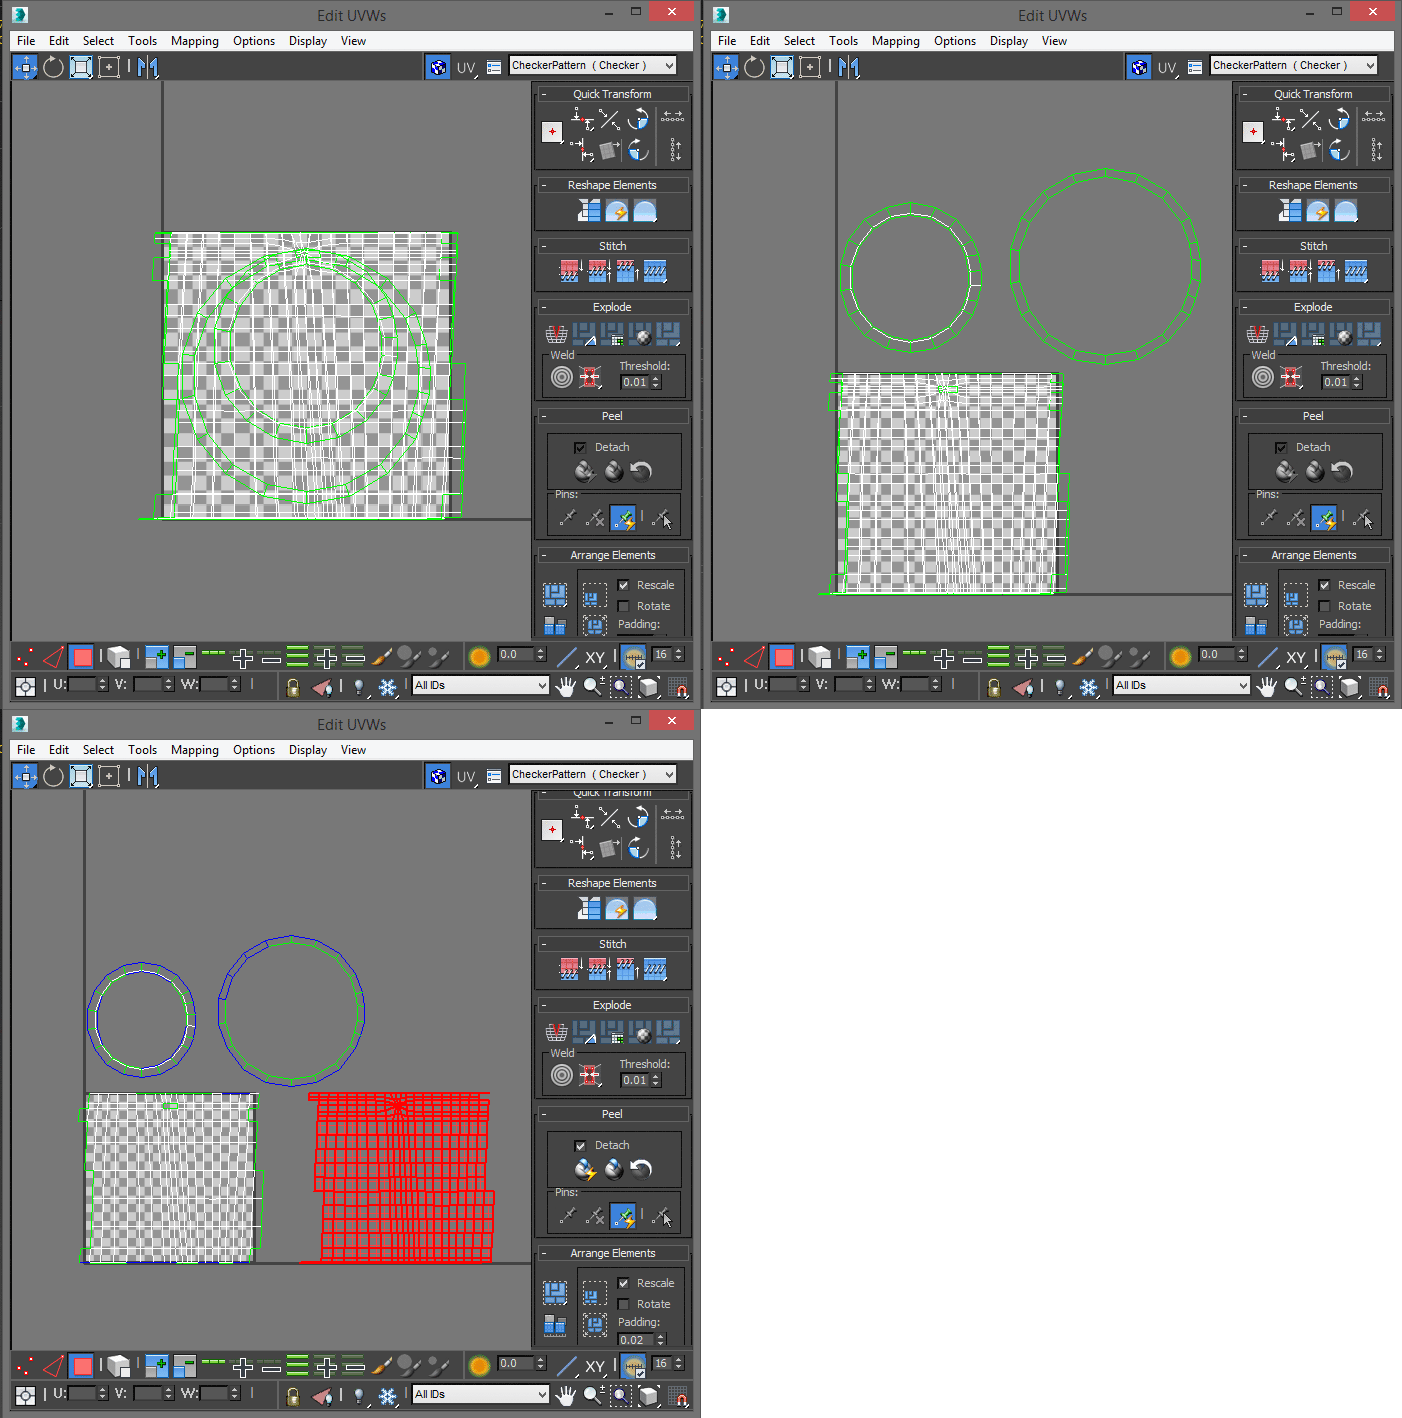 All UVs packed default packed into 0-1 UV space. The UV elements need to be separated so there is no overlapping and more visibility to work.
Be sure to pay attention to seam placement. When starting with projection mapping, some faces at high angles may be placed on a different plane causing seams to split. This can easily be fixed by welding those vertices and re-cutting the seam. There are times when you may be able to simply detach a face and weld it to where it should be. After seams are fixed it is a matter of scaling UVs to normalize them over a checker pattern.
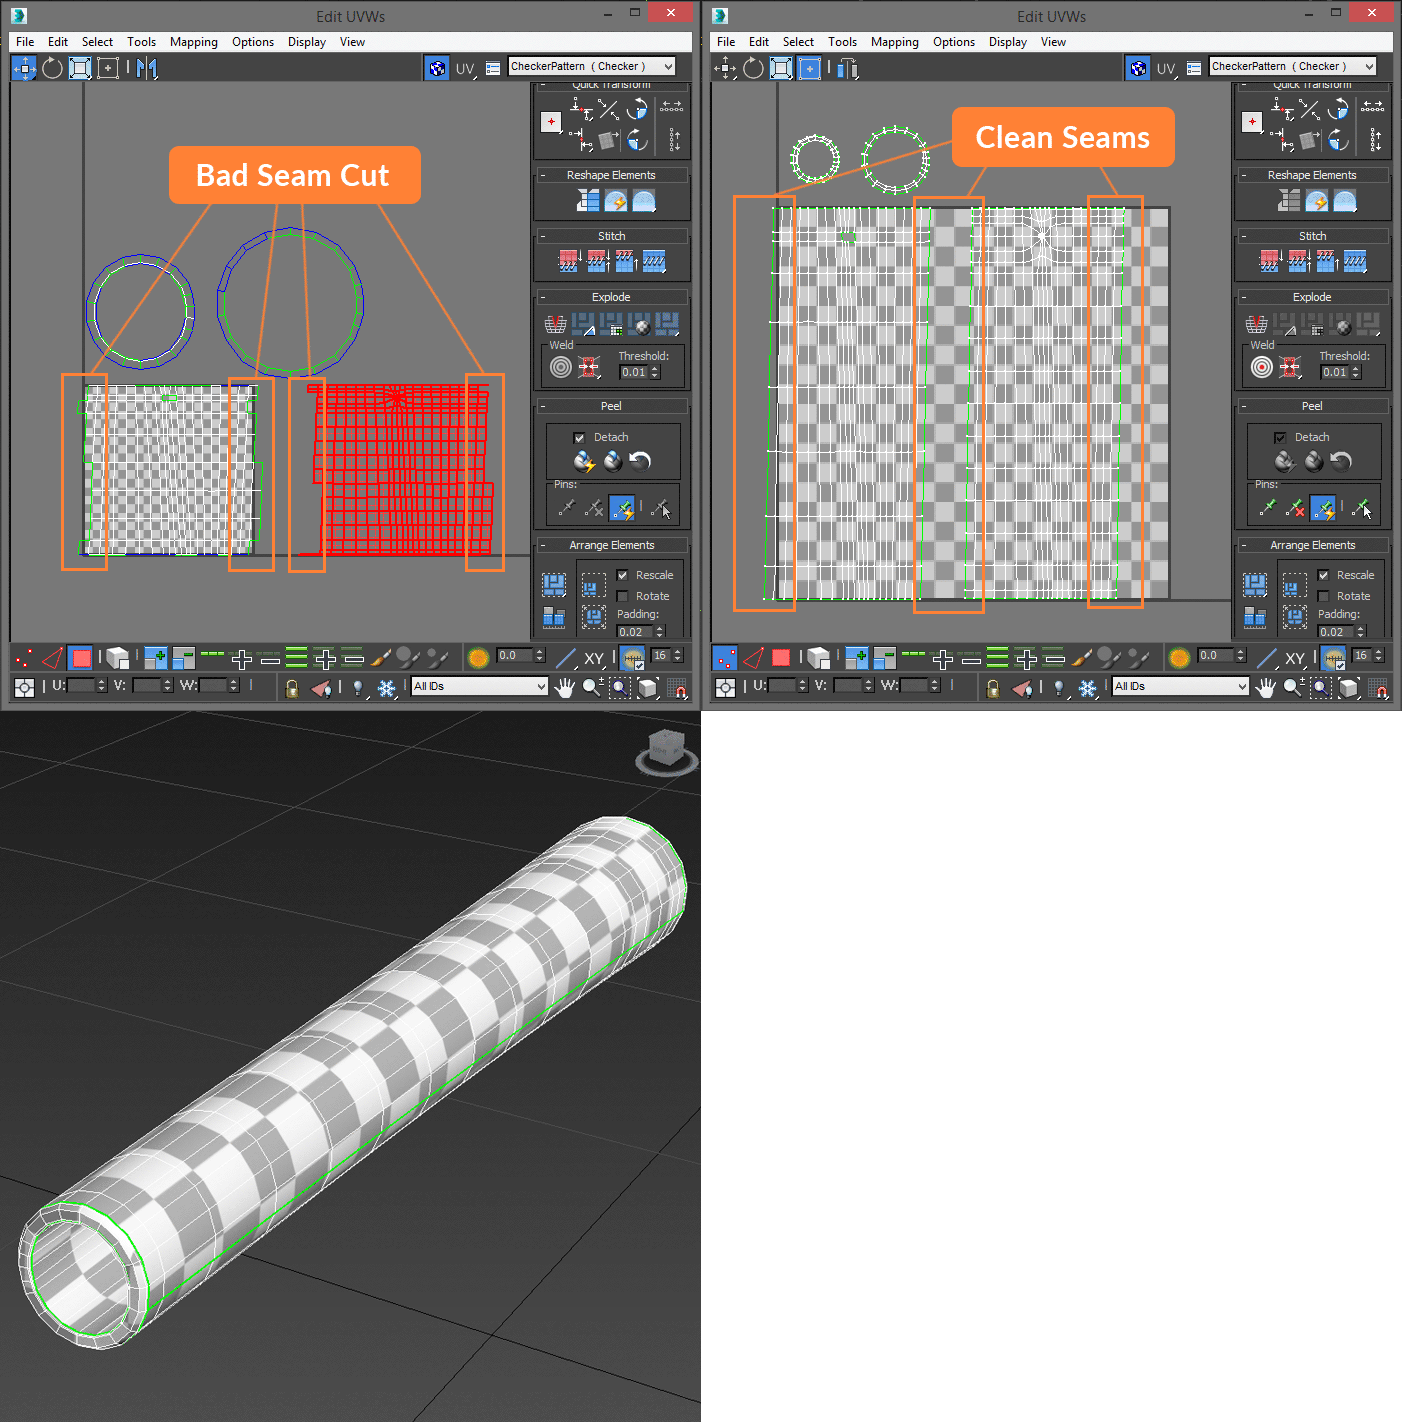 Jagged UV seams were fixed by relocating faces and welding. This gives nice continuous seams. Then normalizing the UV elements with a checker pattern.
Unwrap your UVs as you go so all you’ll need to do is organize or pack the UVs once you’ve finished the modeling process. If you try UVing at the end, the process can be overwhelming and significantly more complex. Pack the UVs as tightly as possible leaving just enough padding space for texture bleed at the seams. It helps to try and keep like materials or associated portions of the model close to each other on the UV sheet. It’s also useful to rotate and stack the UVs in a way that makes them easier to use in your preferred texture painting application.
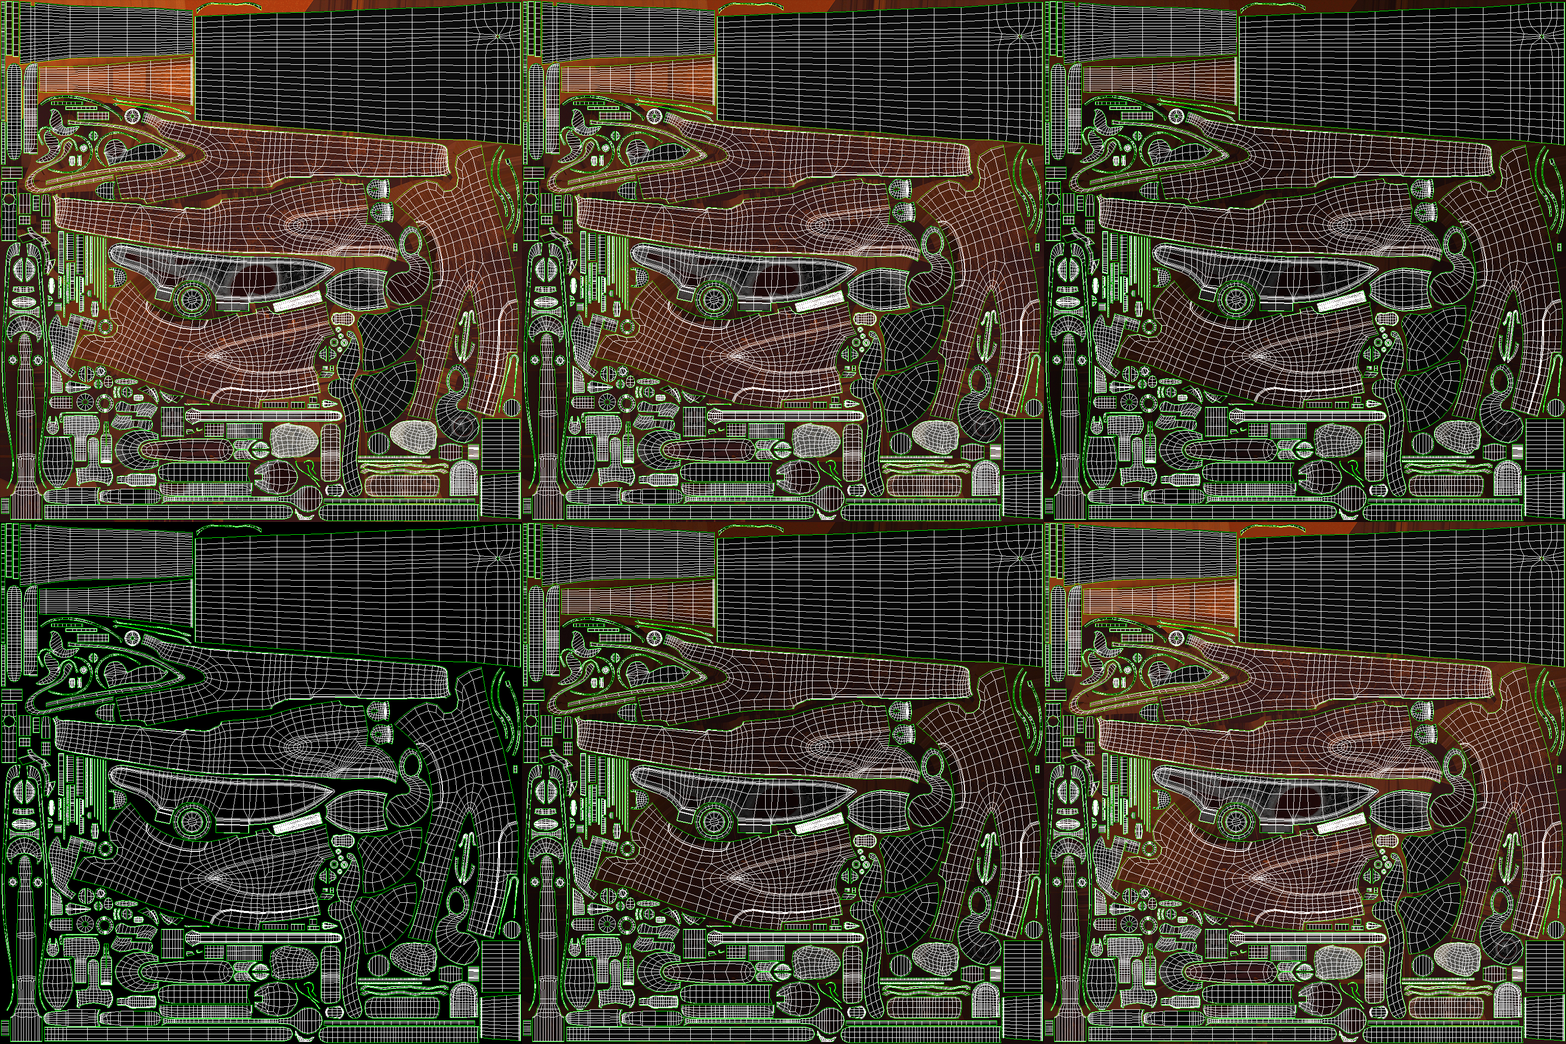 All individual objects manually unwrapped and packed tightly in 0-1 UV space maximizing texel density.

