
StemCell Textures & Materials
Texture Based Materials: The Key To 3D Content Portability
It would seem that texture maps are the key to 3D content portability. Sure there are other issues that can prevent a model from being transferred from one application to the other, but for many, many years geometry, animation, grouping, even rigging have been mostly figured out. Still, once you got the file over, you began the tedious task of rebuilding materials, and many times you simply couldn’t match it.
StemCell solves this problem by adopting a purely texture map based workflow. No proprietary procedural textures allowed. And by having a full set of textures, we can replicate the appearance of your model in a variety of different applications within a very close margin. No surprises. And even better, it’s automated so you don’t have to master the dark art of file conversions. Instead, you can spend that time creating.
Two Material Workflows – Endless Outputs
Many 3D artists are familiar with traditional Specular/Gloss workflows. It has been the standard for decades. But a few years ago, Disney released a new workflow… PBR (Physically Based Rendering), which quickly began to gain popularity. One of the many reasons for its quick adoption is its simplicity. For many artists it removes a lot of the guesswork found in a traditional Spec/Gloss workflow. Once the game engines began to adopt it along with great new painting programs such as Substance Painter and Quixel, it quickly became the new industry buzzword.
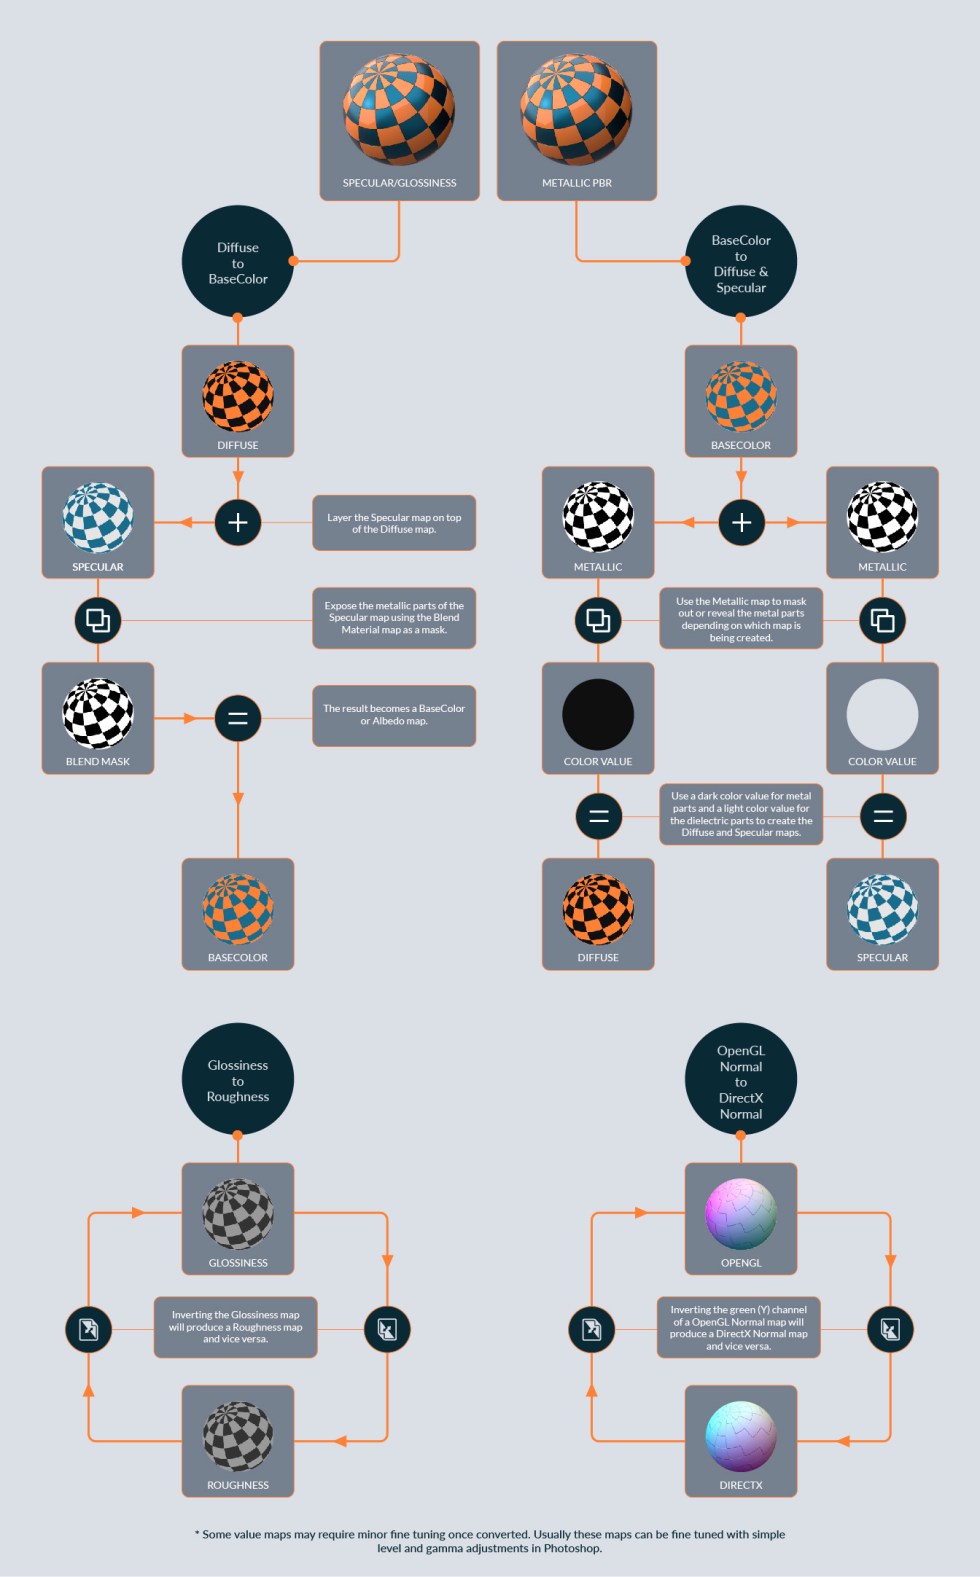
There may be more similarities between Spec/Gloss and Metallic PBR workflows than you might think.
Still, there are many applications and renderers that don’t yet support a PBR workflow. That’s quickly changing, but for the moment, we still need to rely on a traditional Spec/Gloss workflow if we’re using certain apps. This is why a true StemCell requires both workflows. It’s the only way a piece of content can be exported to so many different outputs.
Spec/Gloss Versus PBR Metallic: Understanding the Similarities and the Differences
As with any new process, learning a different way to do something you already know how to do can be frustrating. But the similarities between Spec/Gloss and PBR Metallic workflows may be closer than you think. If you’re already comfortable using a Spec/Gloss workflow, you’ll find that many of PBR’s concepts are the same. If you’re more of a PBR artist, then you’ll see that it’s actually quite easy to convert to Spec/Gloss. Regardless, if you already understand the fundamentals of either, the points below should help guide you towards expanding your skillset.
Dielectric Versus Metallic
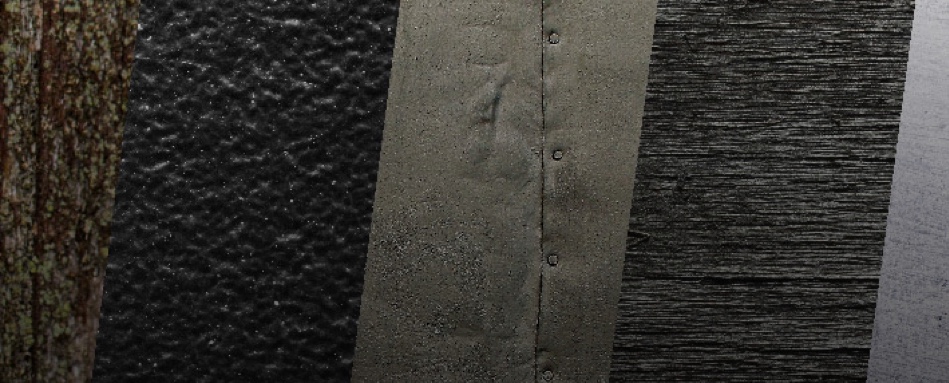
There are generally only two types of materials when it comes to texturing. Metals (conductors) which are usually seen as being highly reflective and/or having colored highlights, and non-metals, or dielectrics (insulators), which, are most every other material you see in the world. To simplify it, there are only metals and non-metals… but sometimes there are creative considerations to be made.
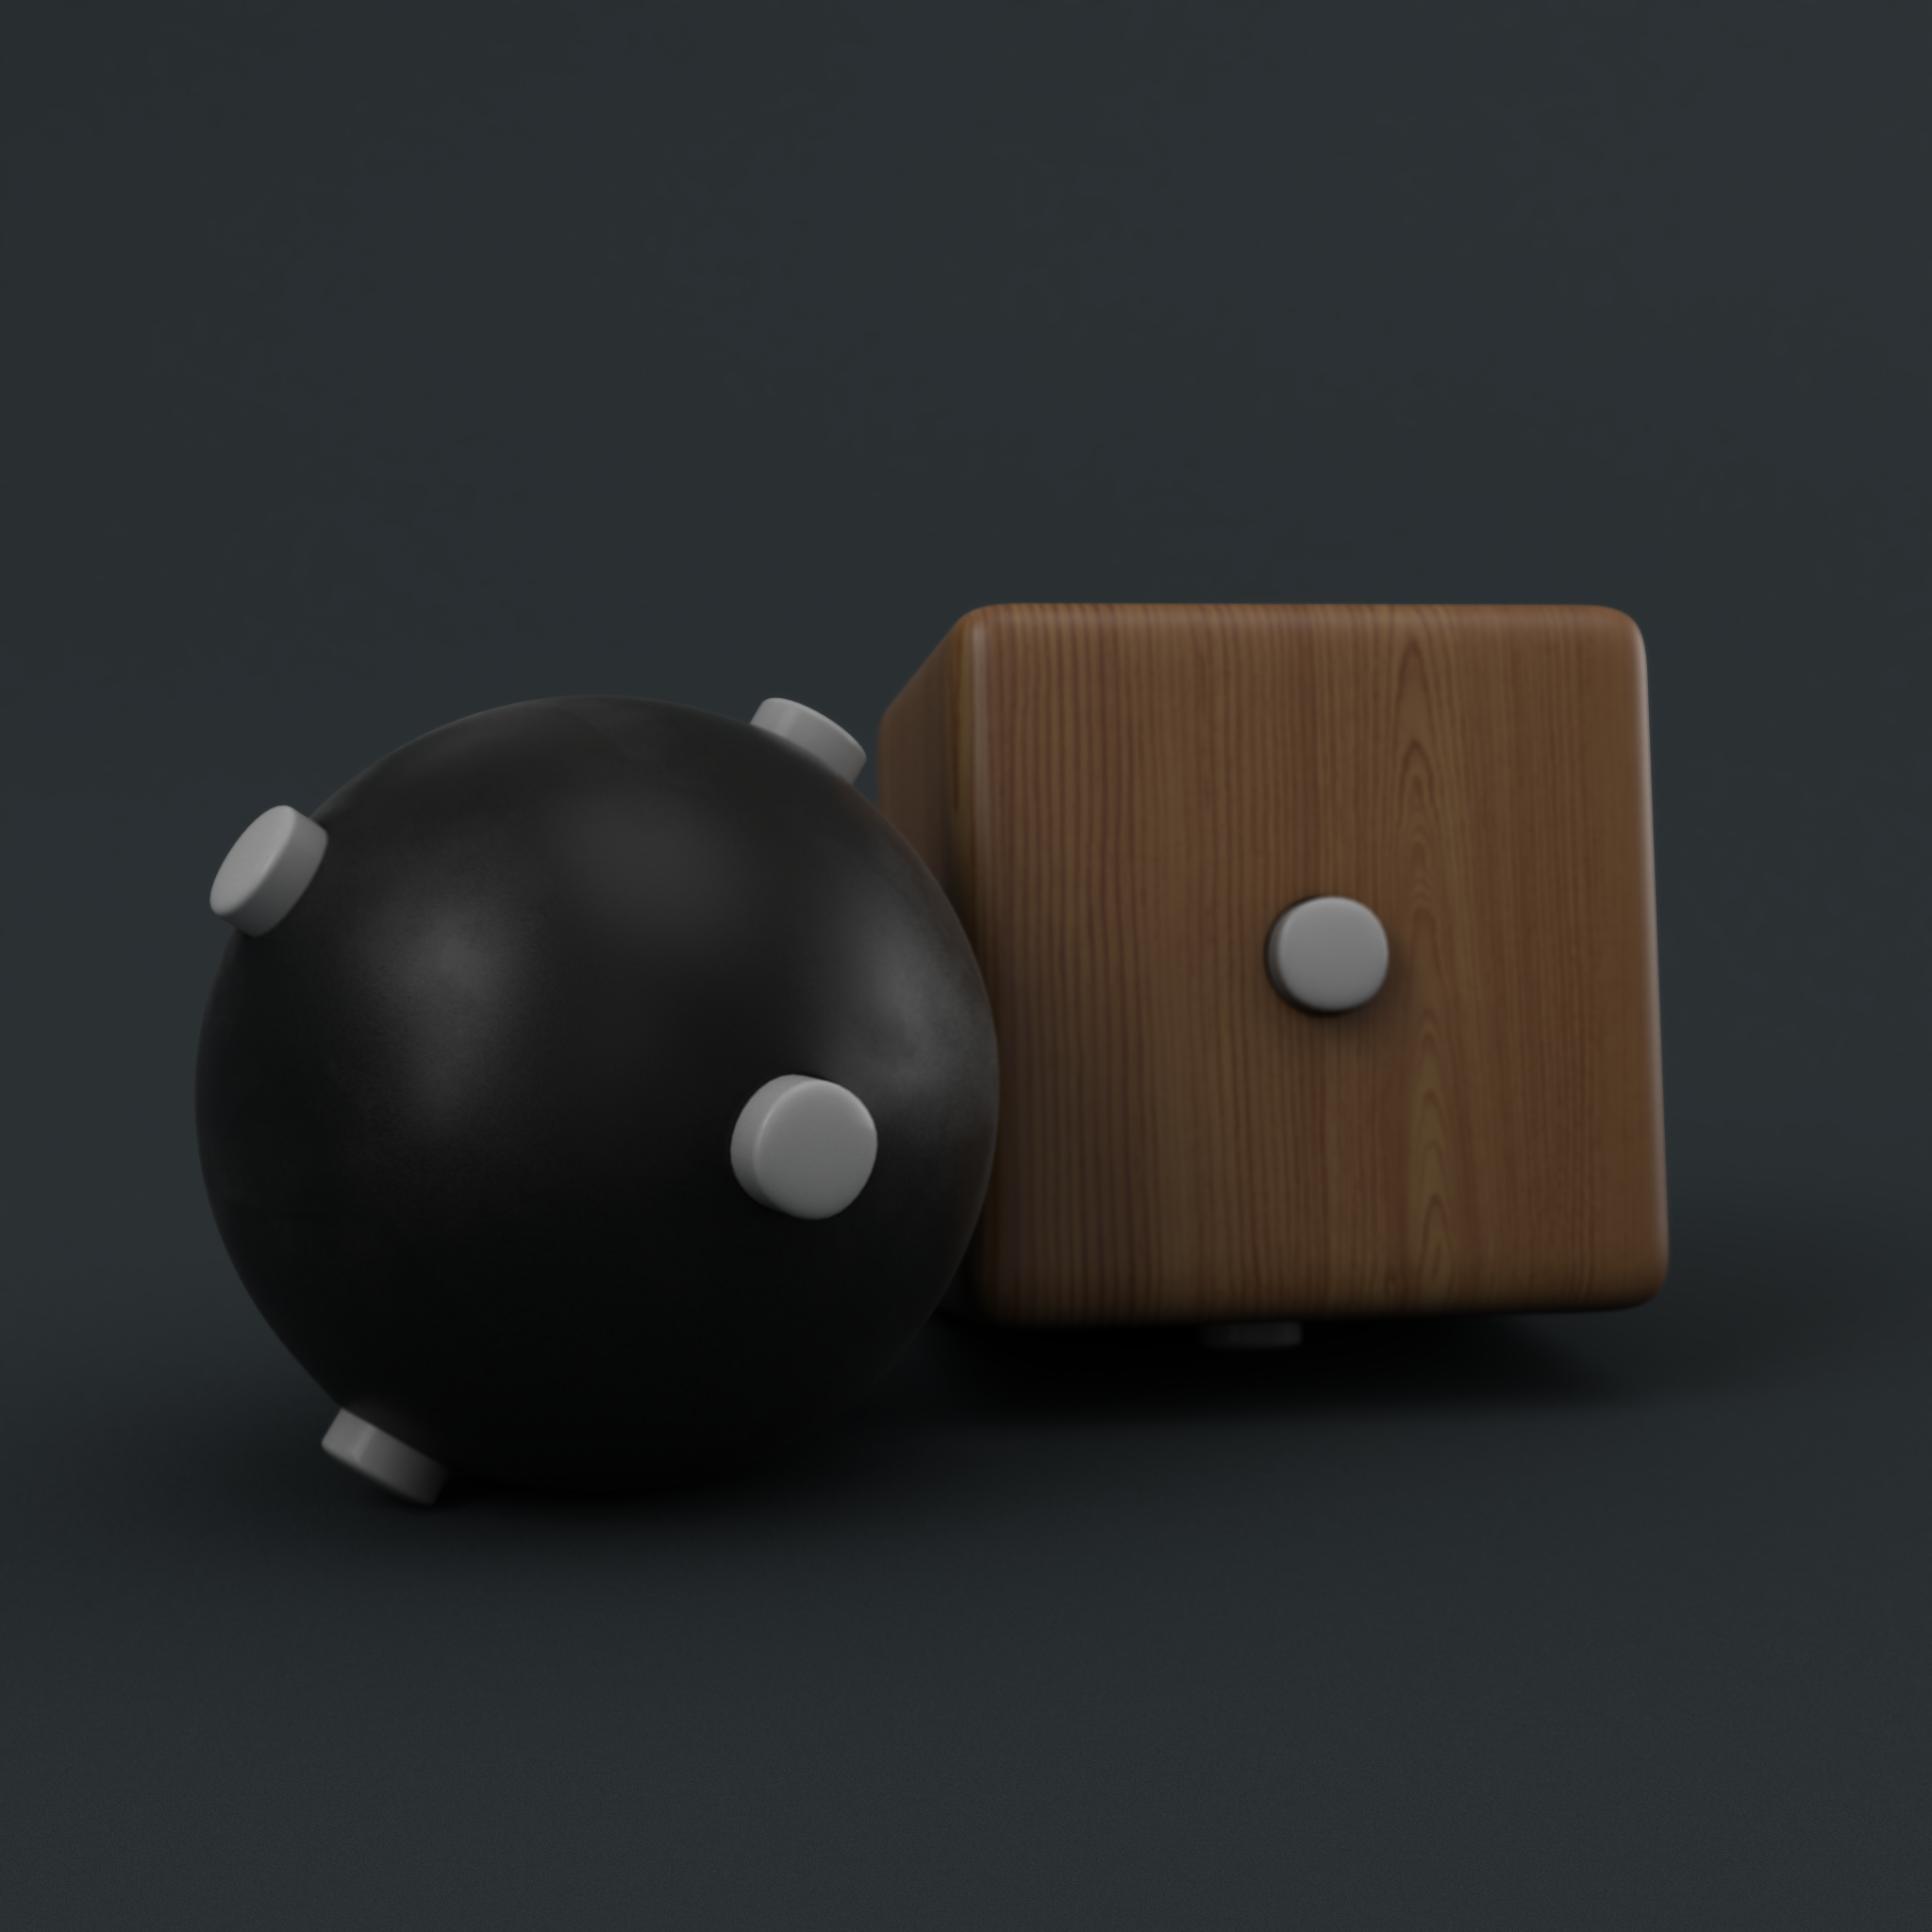 Materials like rubber, plastic, and wood are are common dielectric materials.
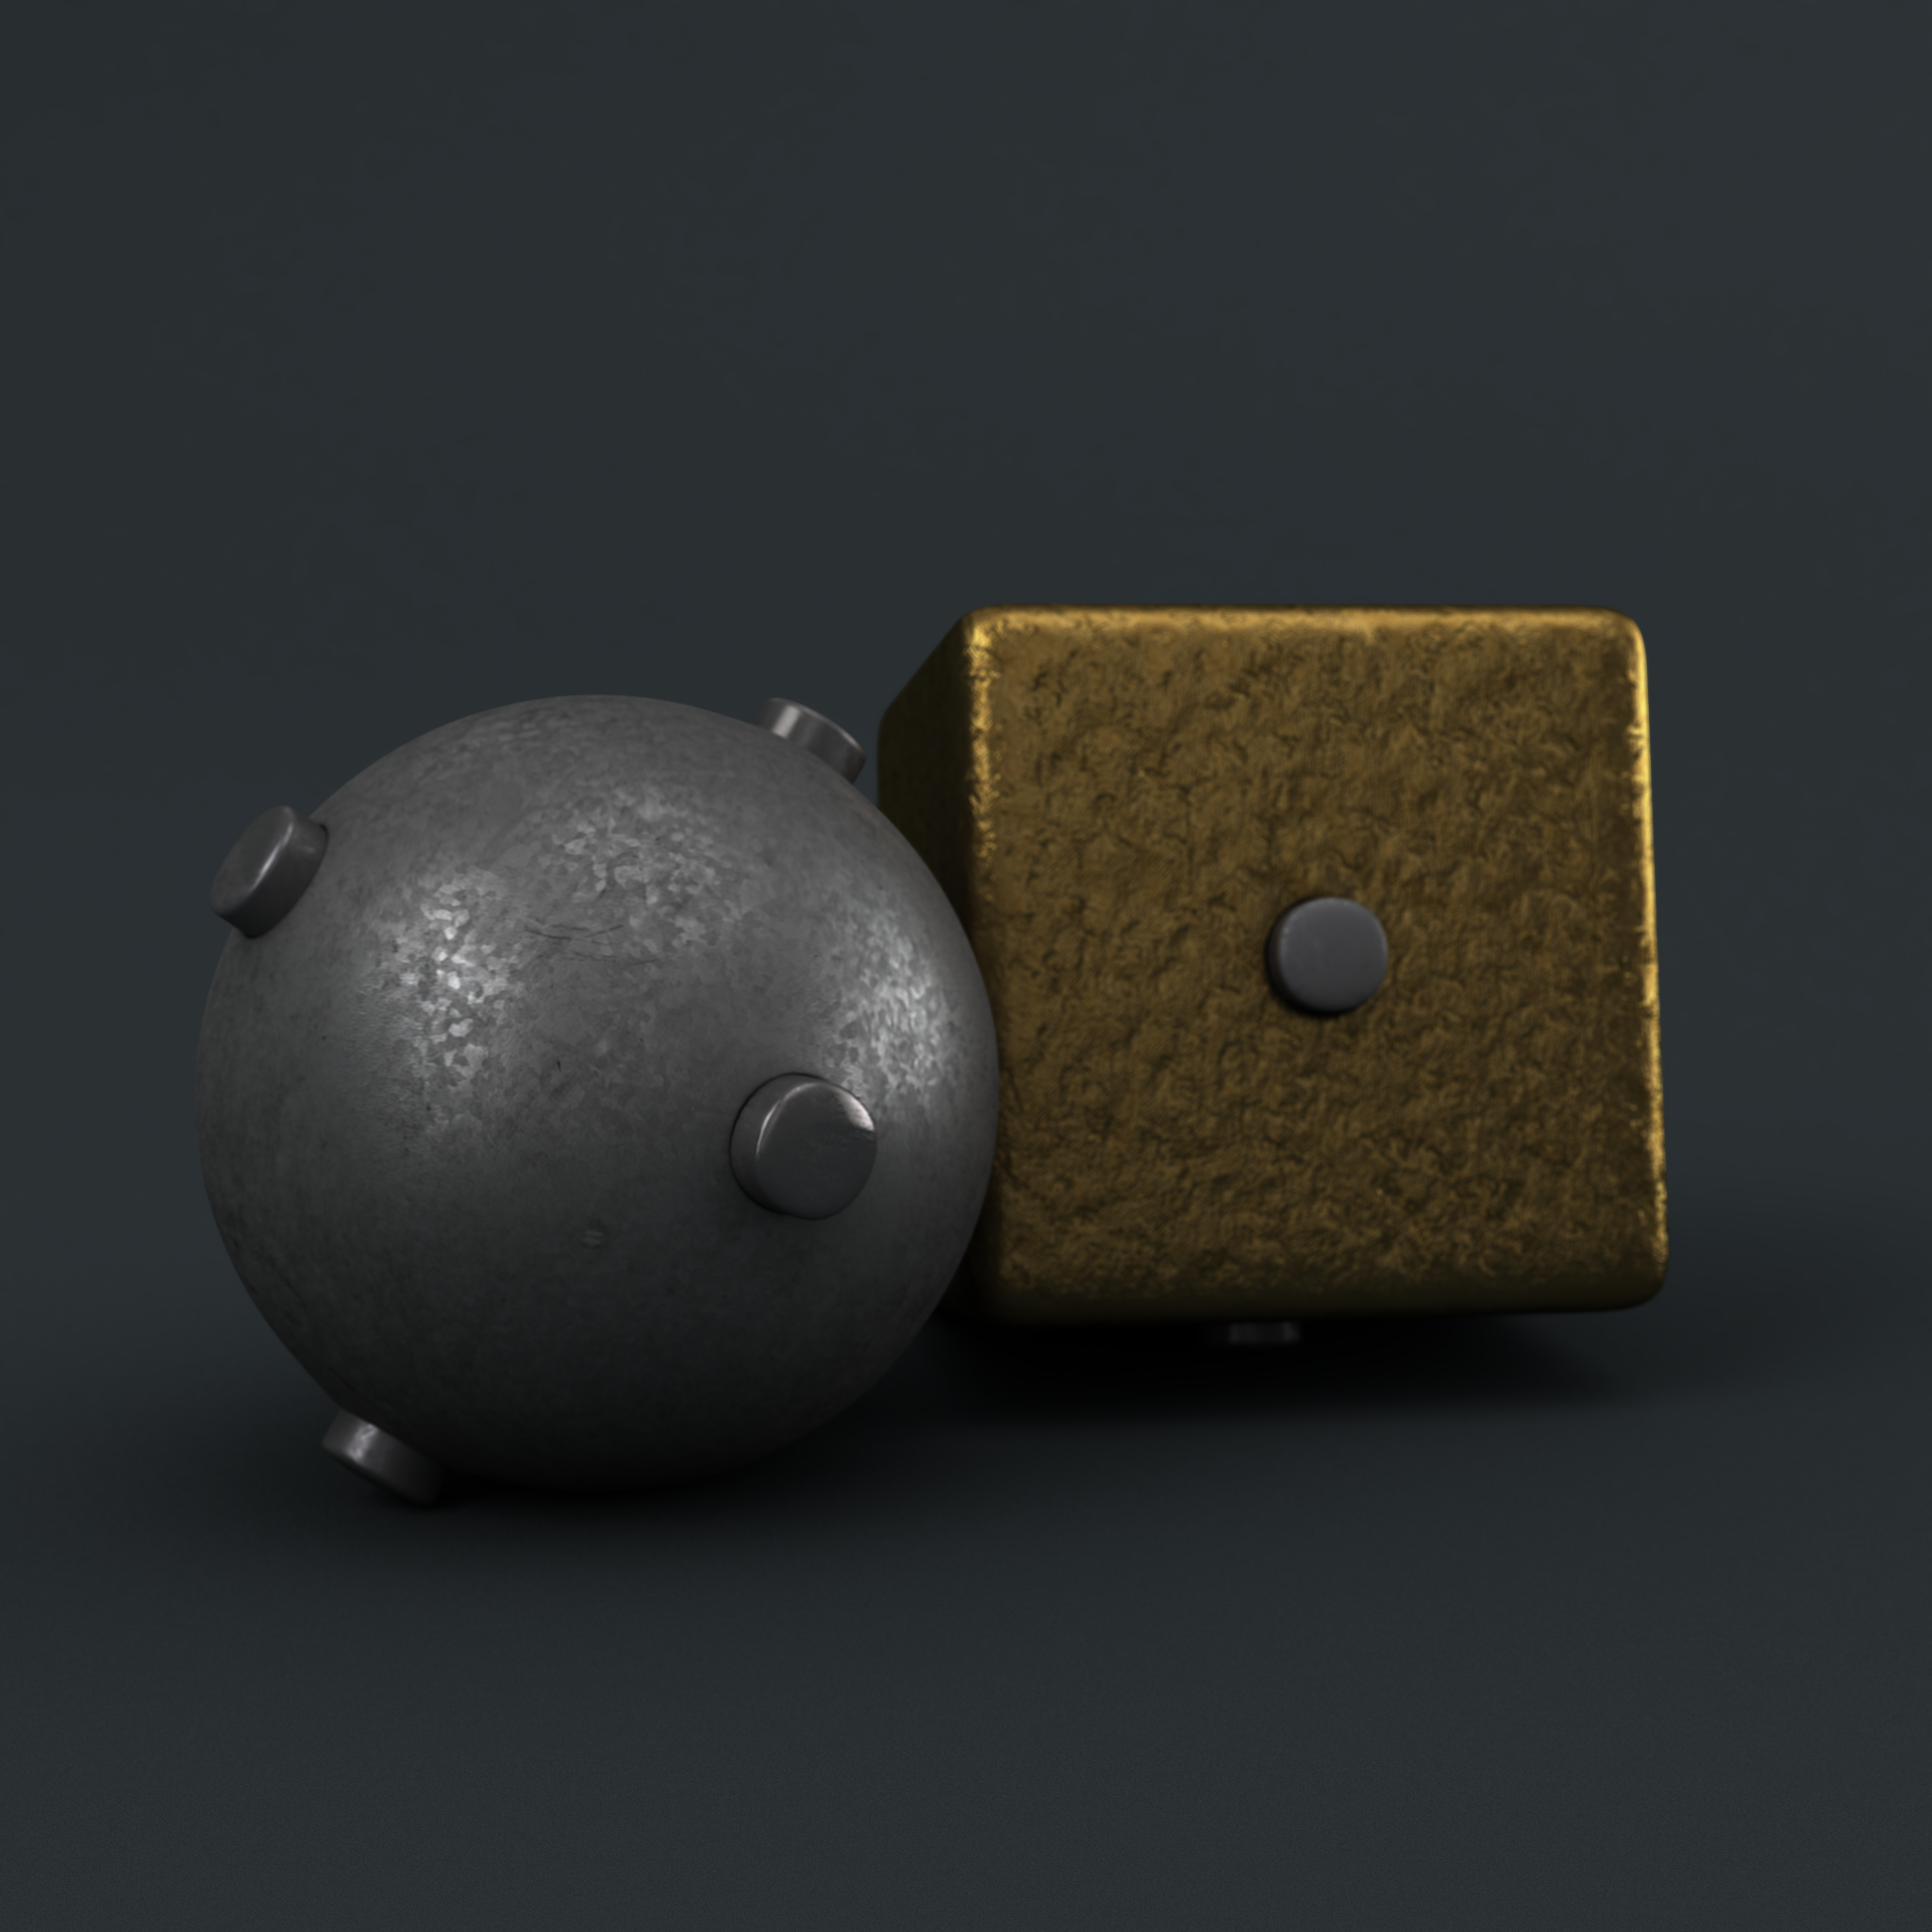 Materials like galvanized steel, stainless steel, and gold are common metallic materials.
IOR Versus Metallic Map
There are more similarities between Specular/Gloss and Metallic PBR workflows than you might think. Both control how reflectivity appears by using specific value ranges. Even though the values are not shared between them, a lot can be borrowed from the other. Set these values based on material type (value range) and surface finish (where in that range) of the intended end material.
For most materials, you can keep your reflective IOR values in a narrow arrow in the middle of each range.
Ranges:
Dielectrics : 1.3 – 3.0 (water – lacquer)
Metallics : 10 – 30 (iron – chrome)
 On non-refractive materials, IOR value controls reflectivity of the material. The higher the IOR the more reflective the surface until it is mirror like.
Metallic maps values are between near pure white for metals and near pure black for dielectrics (no color ever). Generally speaking, your values will usually be in the lower end of the range for dielectrics. Metallic vary more within their range depending on surface finish and type of metal.
Ranges:
Dielectrics – RGB 5 – 100 or Grey value 2-30%
Metallics – RGB 190 – 250 or Grey value 70-98%
 Metallic value controls reflectivity similar to IOR. The higher the metallic value the more reflective the material. Metallic value also affects your other maps.
Diffuse & Specular Versus BaseColor
Both material workflows use different map methods to handle color, but they are closer than you might think. In fact, the BaseColor map in a PBR workflow is essentially the Diffuse map combined with Specular map of a Spec/Gloss workflow.
As a general practice keep Diffuse and Specular map values between 5 and 230. Going above this range can cause bright values to blow out in different renderers. Any values lower than this range can clamp to black which gives no color contribution.
Learn More These maps for a flintlock pistol have both dieletric and metal materials. Note the color values for the metallic materials are present in the Specular map.
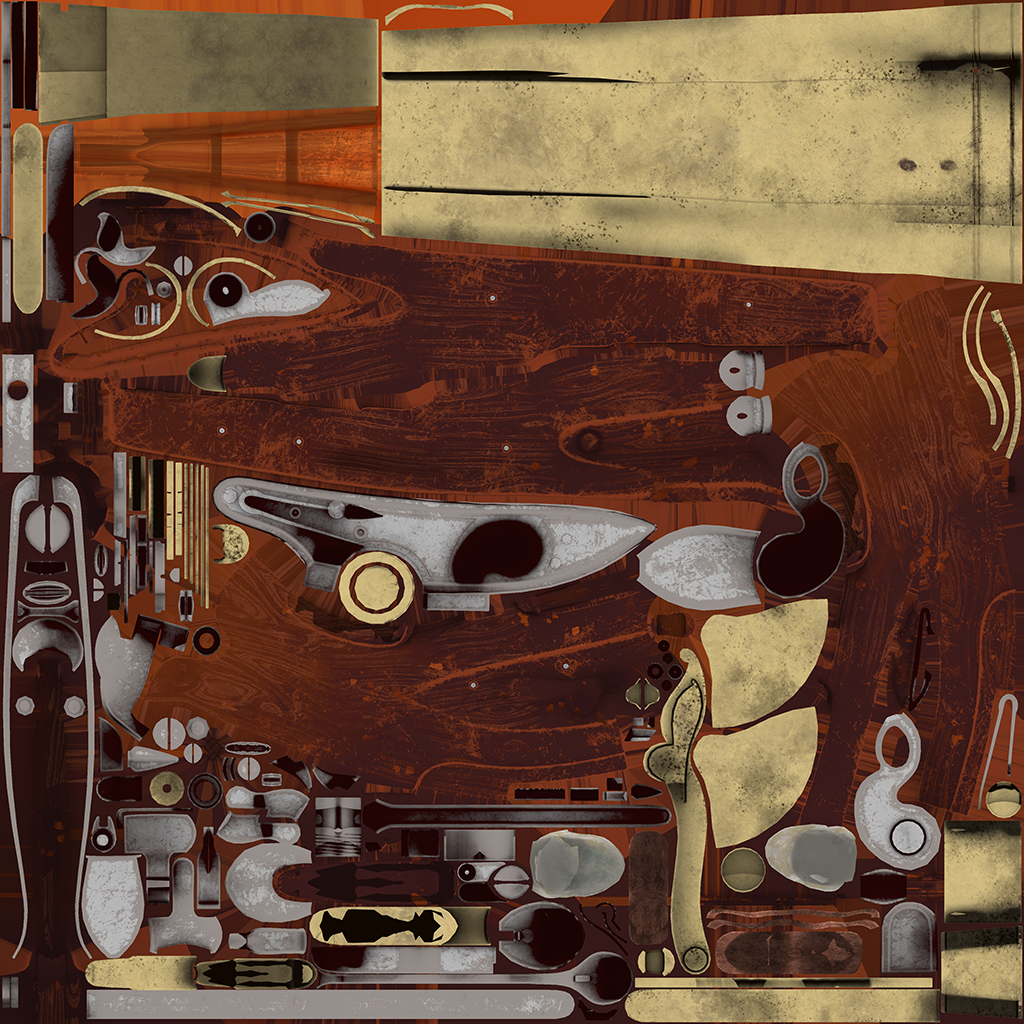 This is the BaseColor map for the same flintlock pistol. It is essentially the Diffuse and Specular map combined into one.
Glossiness Versus Roughness
Glossiness and Roughness are both grayscale maps. As a matter of fact, one is practically an inverted version of the other. The values determine the microsurface properties of the material, such as whether a material is smooth and shiny like glass or rough and grainy like sand paper. Since these maps have the most impact on how a material feels, it’s important that the values be correct and consistent. Glossiness and Roughness maps can really help you tell a story with your model. How the object has been used, how old it is, and where it’s been in the world or even the universe. This microsurface detail is what gives the object character and a sense of reality.
When creating these maps, it is important to remember that no surface is perfectly smooth in real world conditions. Also, it is rare you would exceed a 50% value when making a surface rougher in either workflow. At a 50% value, light hitting that surface is nearly completely diffused leaving only soft highlights. Realistically all materials have at least a subtle highlight. If you exceed a 50% value, the material can appear to absorb light, which can look like render problems.
 The Glossiness and Roughness map are essentially inverts of each other with some minor levels adjustment.
Transparency Versus Opacity
It’s easy to confuse transparency and opacity when dealing with 3D materials. This can get even trickier when you start to think about game-engines and true real-time rendering. For this reason it’s important to clearly understand the fundamental differences between the two and the definitions given to them for StemCell.
 Transparency is solid surfaces allowing light to transmit through. Opacity is solid surfaces having masked areas completely removed from the surface.
Normal Maps: Direct X Versus OpenGL
When talking about Normal Maps it is common to hear the terms DirectX and OpenGl. This is in reference to how an application interprets the normal map. OpenGL reads values as Y being up or positive. DirectX reads values as Y being down or negative. To switch between the two is as simple as inverting the green channel of the map.
 In 3DS Max, normals maps are default in DirectX, -Y as up. If you use an OpenGL, +Y as up, normal map in Max it will be read inverted with raised areas as indented areas.
StemCell Material Library
We understand that learning a new workflow can be daunting, so we’ve built a custom library of common materials to help get you get started. Each material has been checked and calibrated specifically to work for StemCell and they’re completely free for you to use in your creations.

Available for Multiple Applications and Renderers
Max & Maya V-Ray, Max & Maya Mental Ray, Cinema 4D Physical & Marmoset Toolbag materials are included in the archive.

Specular/Gloss & PBR Metallic Maps Included
You get all the texture maps you need to help you get the values right for both workflows without the guesswork.

100% Texture Based
We give you the freedom to use your preferred texturing tool. Never start from scratch again.


