

Glass with V-Ray in 3DS Max
When developing StemCell we took a deep look at how VRay handles materials and worked to support as many features as possible. By following the guidelines below we are confident that your creativity will be preserved across all of the major StemCell outputs.
If you previously published via StemCell v1 you’ll be pleased to know we now support tinted (colored) refraction.
Refraction & Base Color
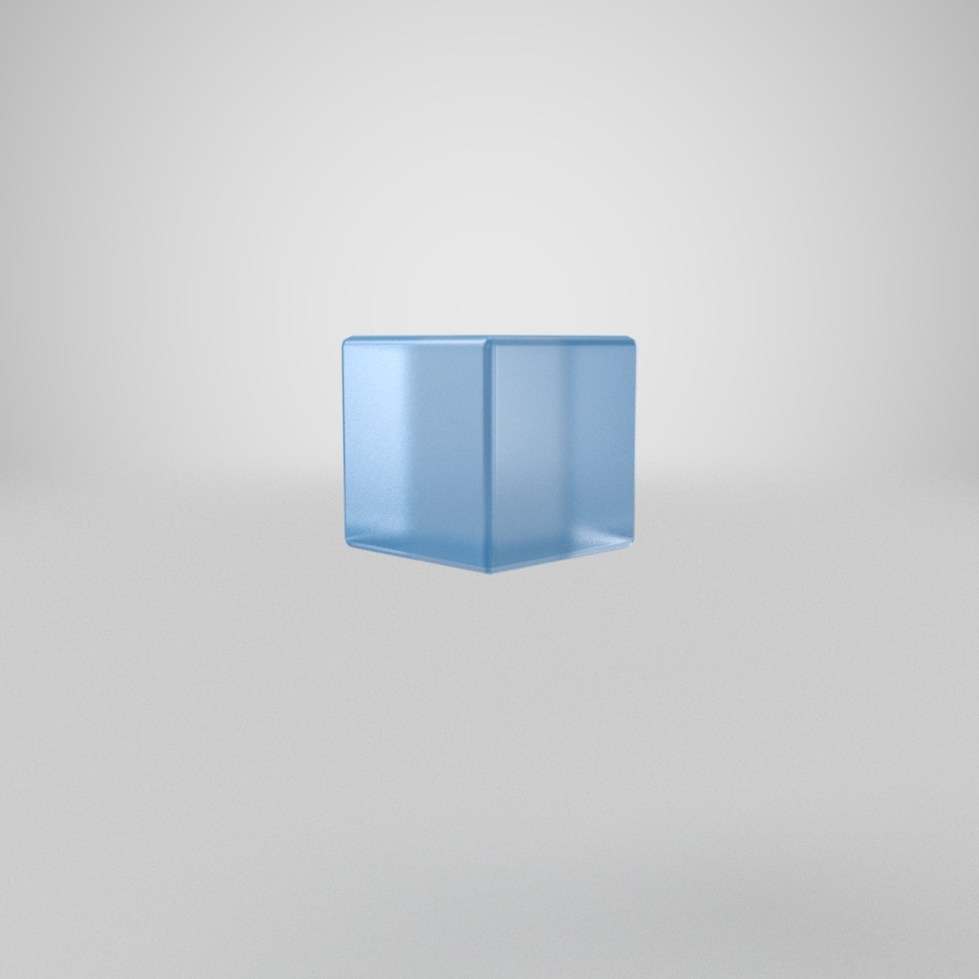
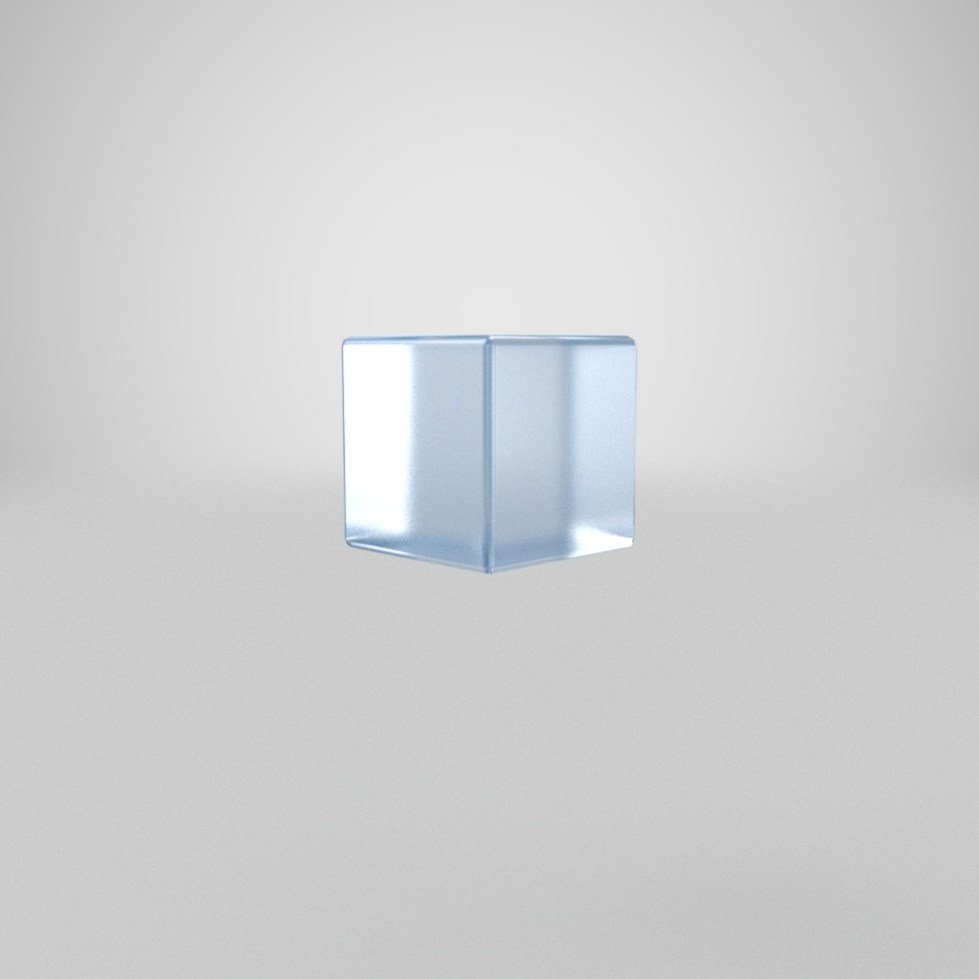
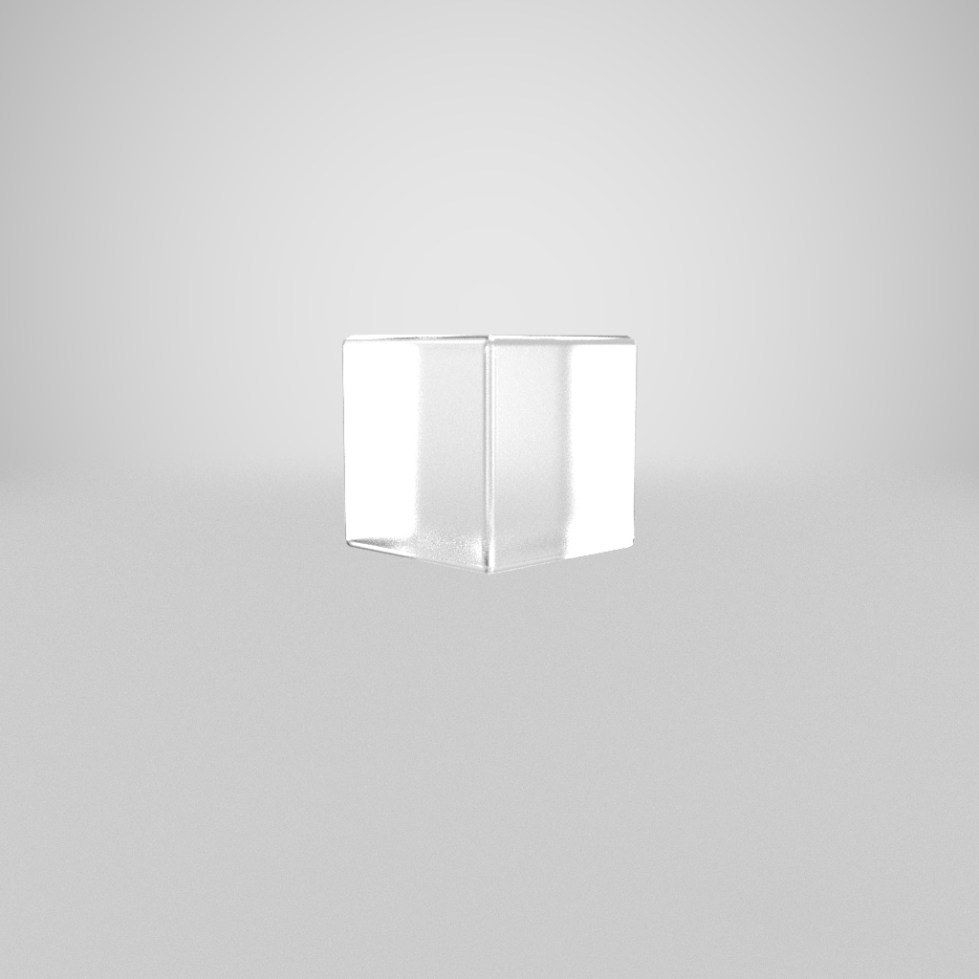
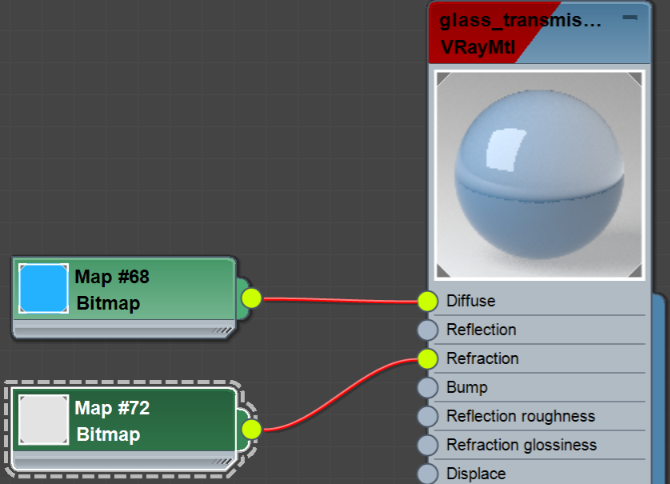
When it comes to building transparent materials, both the Refraction and Base Color map play a very important role, so having the proper values is key. For an object to appear transparent, the material must have a Refraction (transmission map) value higher or brighter than RGB(0,0,0).
Refraction Value Shift from RGB(0,0,0) – RGB(255,255,255)
| Result | 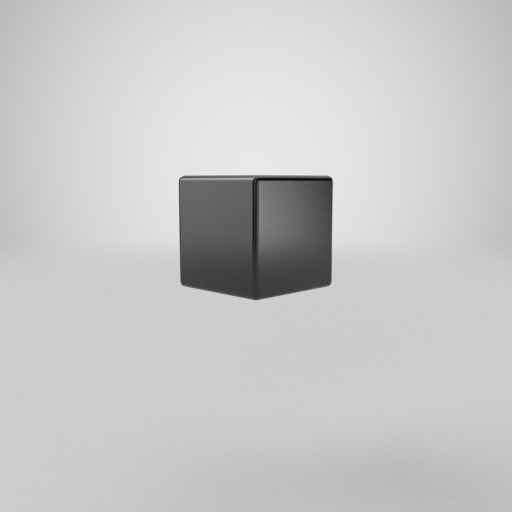 |
 |
 |
 |
 |
| Base Color |  |
|
|
|
|
| Refraction (Transmission) | |
 |
 |
 |
 |
Adding color
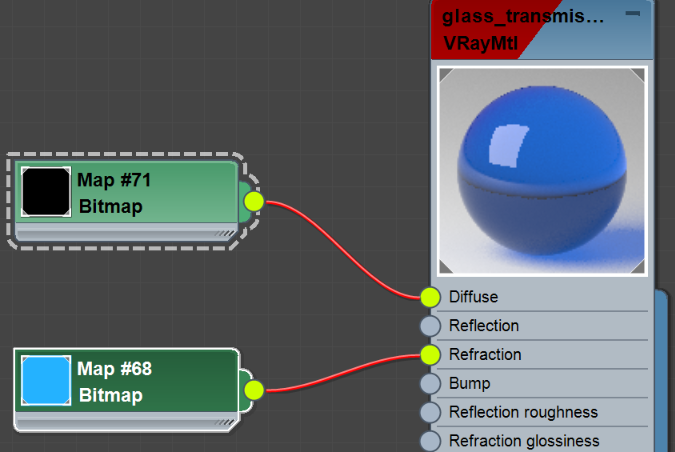
When Refraction (transmission map) is darker than pure white, i.e. RGB(255,255,255), the Base Color’s influence becomes introduced into the render. In the example below we show how a blue Base Color is influenced by the Refraction (transmission map).
Refraction Value Shift from RGB(63,63,63) – RGB(255,255,255)
| Result | 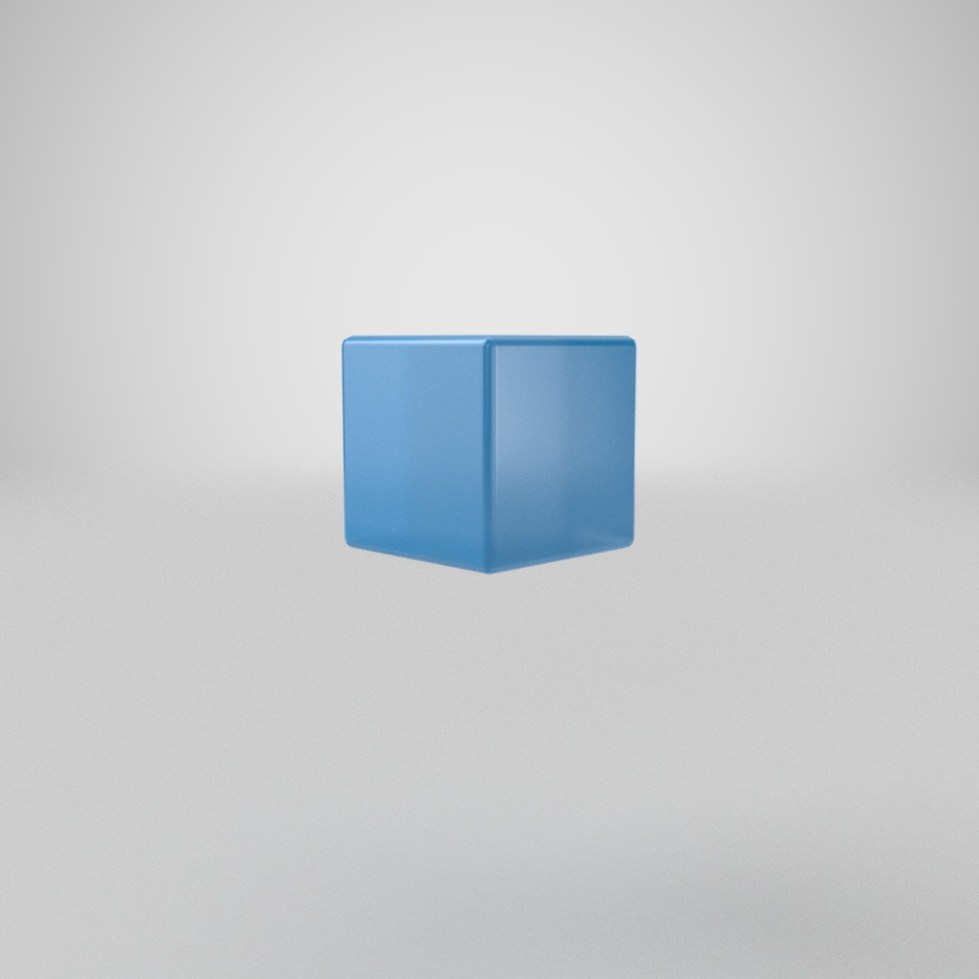 |
 |
 |
 |
| Base Color |  |
|
|
|
| Refraction (Transmission) | |
|
|
|
The artist has the choice as to whether they would like to place the color value in the Base Color or the Refraction channel. Color cannot be placed in both channels.
| ✅ | ✅ | ❌ |
 |
 |
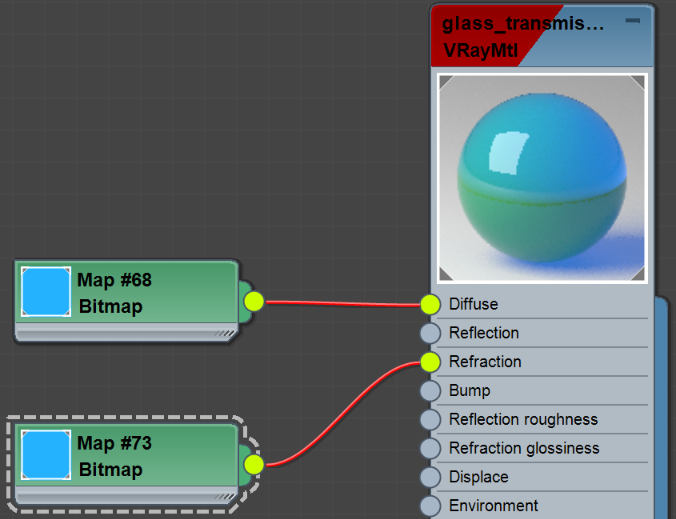 |
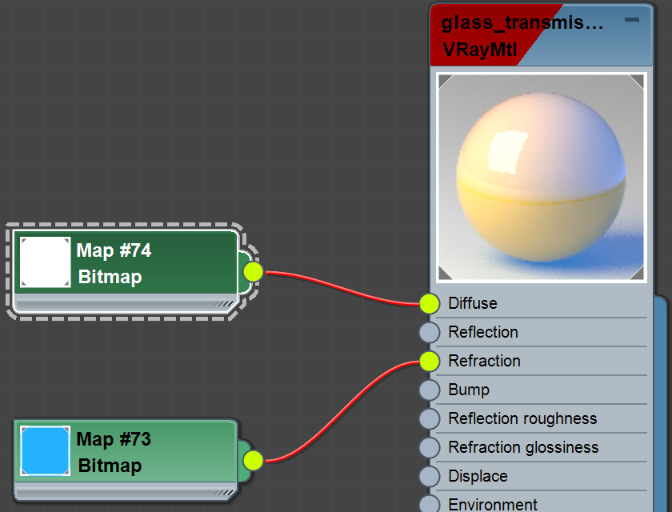
Note that when the color value is stored within the Refraction channel and the Base Color is black, V-Ray materials behave like glass. However, when brighter values are used as the Base Color, the material no longer appears transmissive.
| ✅ | ❌ |
|
 |
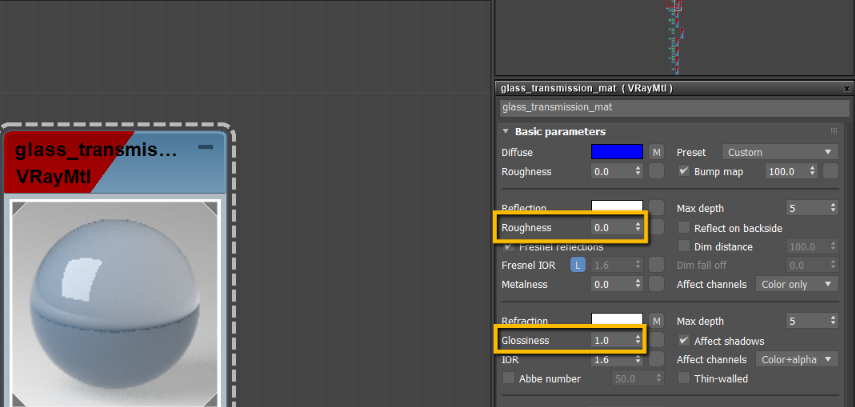
Another unique aspect to VRay is how it handles roughness in refractive materials. When enabling the “Use roughness” attribute the Refraction Glossiness will unfortunately break, but don’t worry we have a solution!

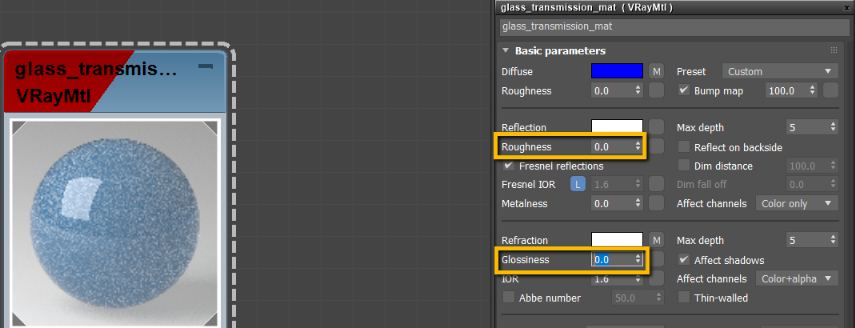
Even though both highlighted channels have the same value of (0.0), they are conflicting; causing the shader to look noisy or grainy. On the left you can see, when the channels have opposite values, the V-Ray material preview looks correct.
 |
 |
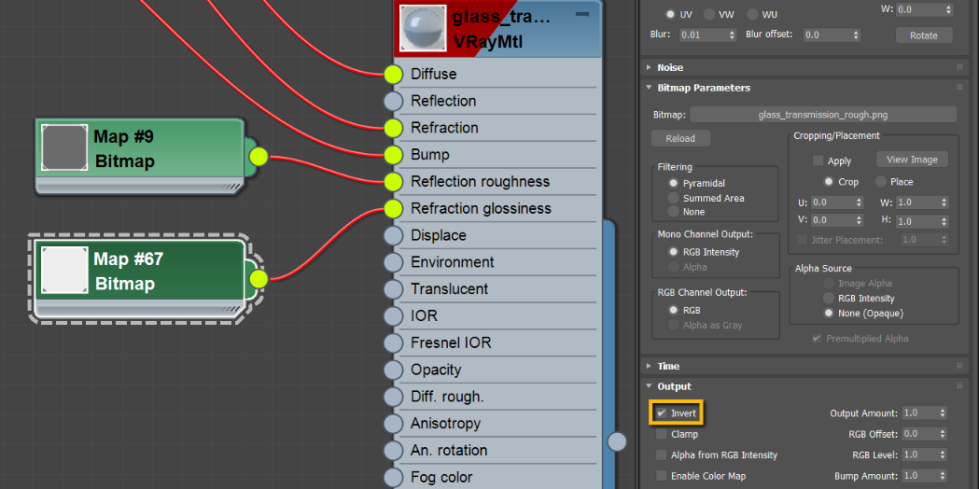
To ensure refractive materials behave correctly, an inverted roughness map is required. This effectively keeps the conflicting roughness and glossiness channels opposite of each other.
There are two methods in which one can do this:
- By duplicating the Roughness map, inverting the output, and plugging into the Refraction Glossiness channel
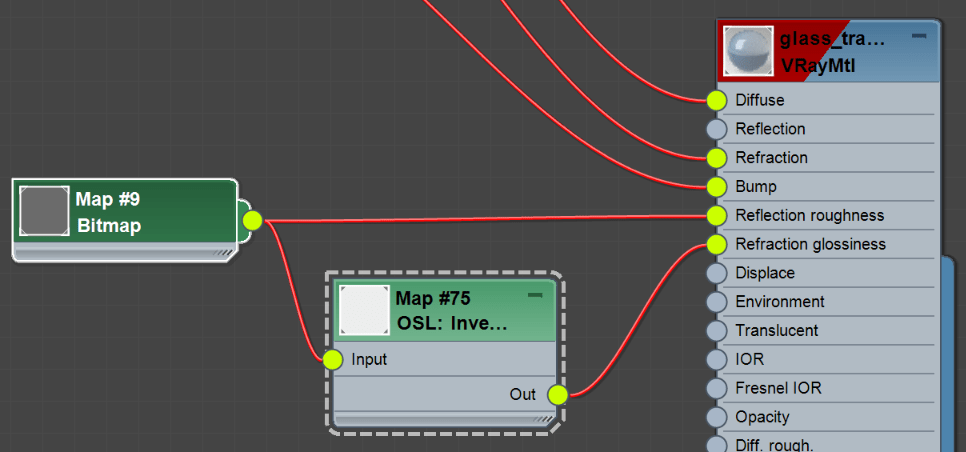
- Connecting an OSL:Invert node into the Refraction Glossiness channel, and then connecting the original Roughness map into the OSL:Invert node.
| Method 1 | Method 2 |
 |
 |
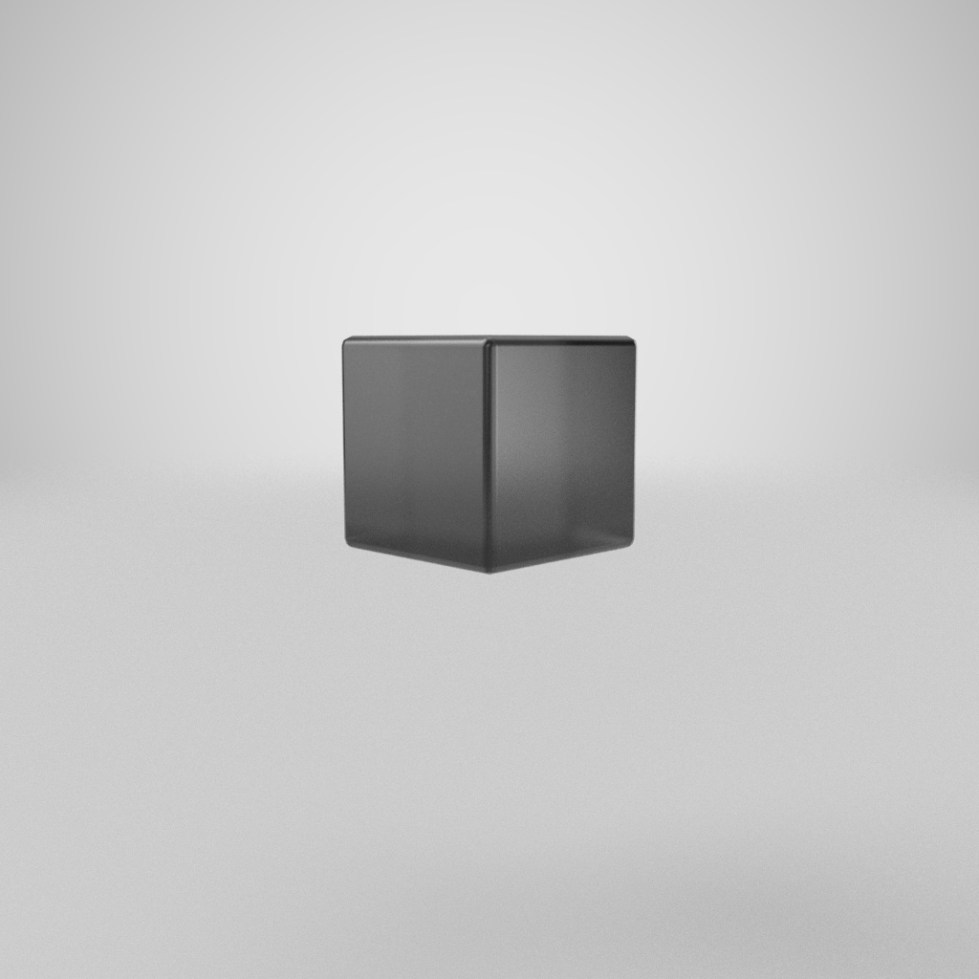
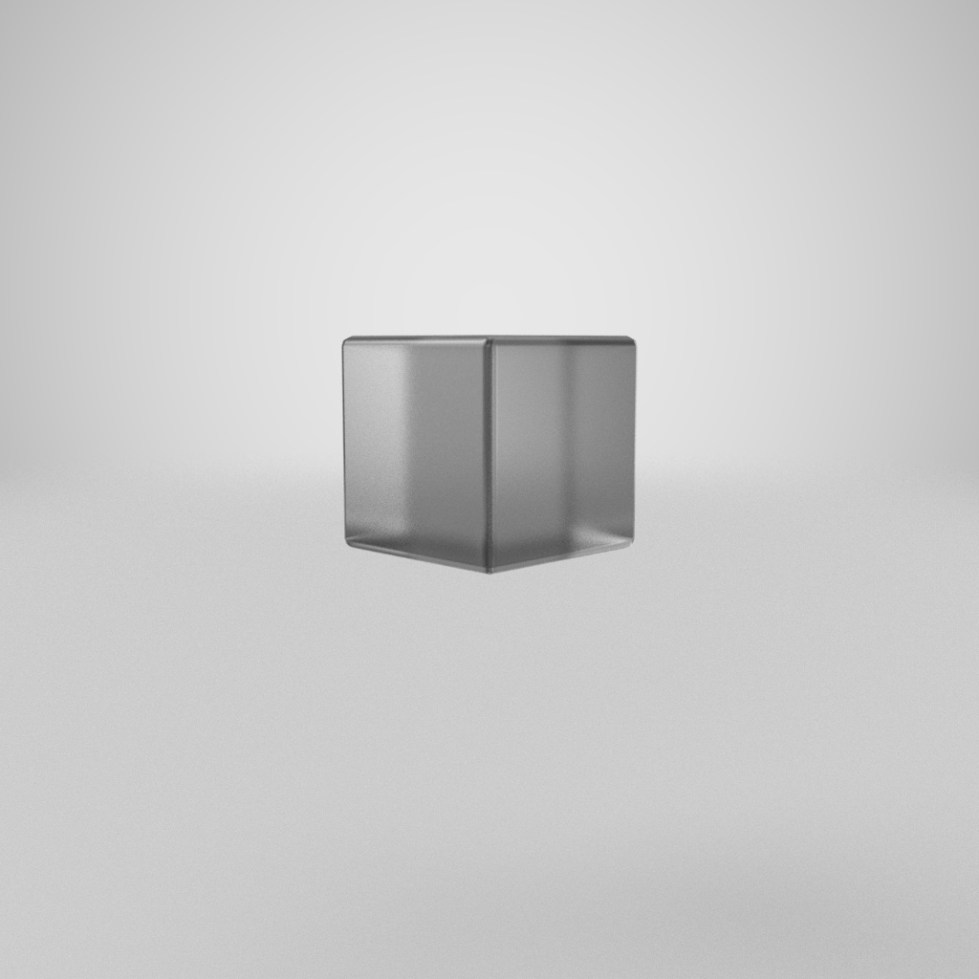
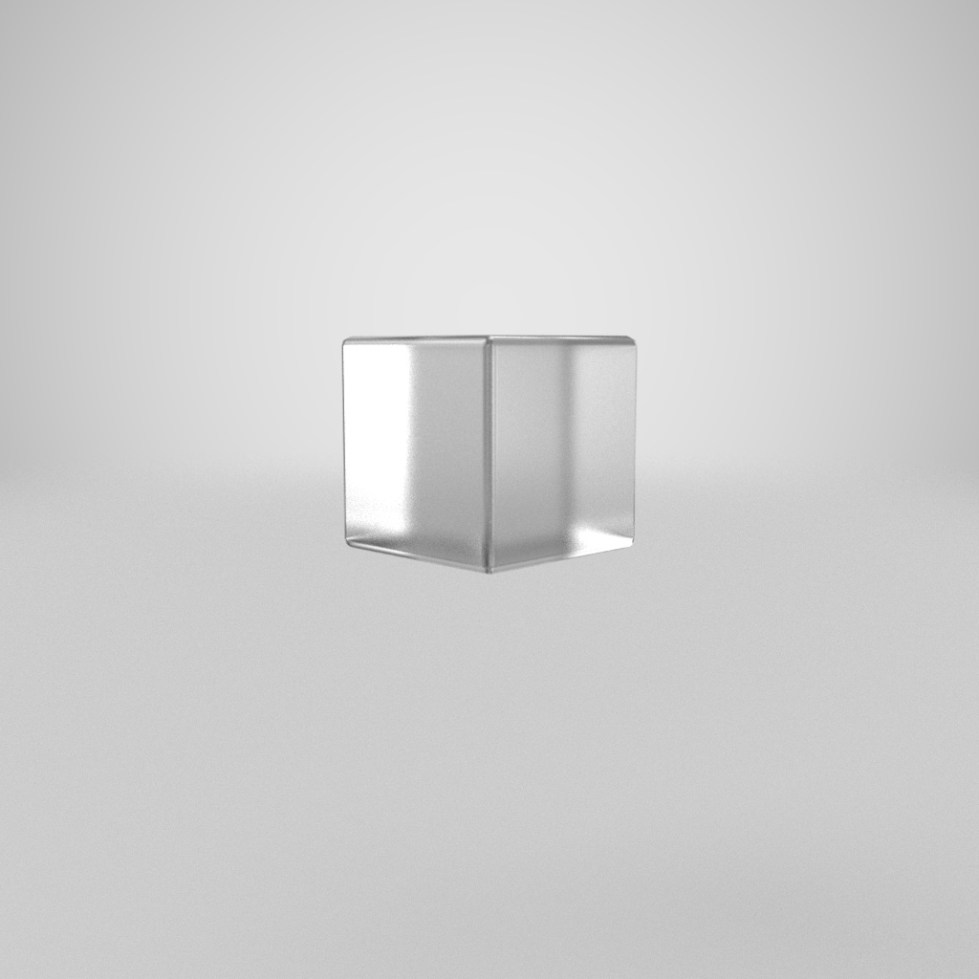
One final note on Roughness maps. If ever in doubt as to why an object doesn’t look transparent when you believe it should, check your Roughness value. As the Roughness value becomes stronger less light will pass directly through the object, making it seem less transparent.
Below is an example of transitioning from low roughness to high roughness, you’ll notice the far right does not appear transparent. In real life you see this effect on frosted glass.

We currently do not support the use of Specular Level maps, but we do understand that this value is important to the way a model renders. This is why we strongly recommend setting the Reflection Color to pure white, and then making any adjustments needed to the Base Color, Roughness and Refraction maps for your desired result.
